Epson PowerLite 77c Fan Replacement
ID: 149089
Description: The fan is an essential component to keep your...
Steps:
- Use a Phillips #0 screwdriver to remove the one 5.0 mm screw from the lamp cover on the back of the device.
- Slide the cover toward you, then lift it to remove it.
- Loosen the two 5.0 mm captive screws with a Phillips #0 screwdriver.
- Captive screws cannot be fully removed. Simply loosen the captive screws until the lamp housing releases, but do not attempt to remove them.
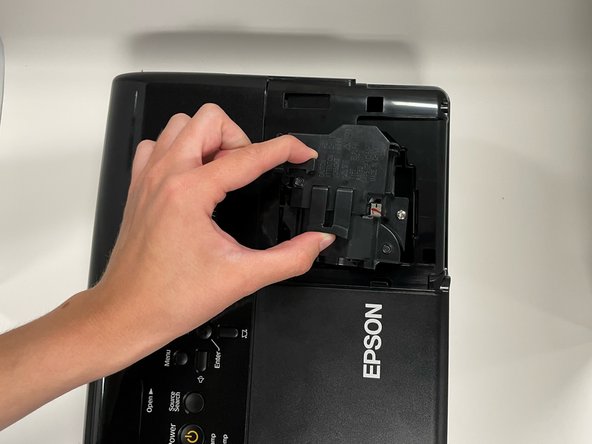
- Pinch the two release triggers to unlatch the lamp housing, and lift upward to remove it.
- Use a Phillips #0 screwdriver to remove the seven 5.0 mm screws on the base panel.
- Pick up the projector with both hands, sandwiching the top and bottom of the projector together, and place it right-side-up, with the ports facing you.
- Lift the top panel up.
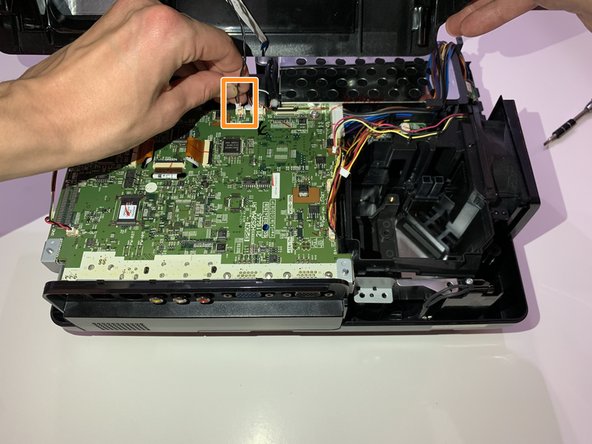
- Two connectors are holding the top panel to the motherboard; be careful not to damage them as you lift the top panel.
- Flip the locking bar of the ZIF connector vertically, then delicately remove the ribbon cable.
- Grip the cable connector as close as possible to the plug, then pull it straight up until it releases from the motherboard.
- Remove the top panel.
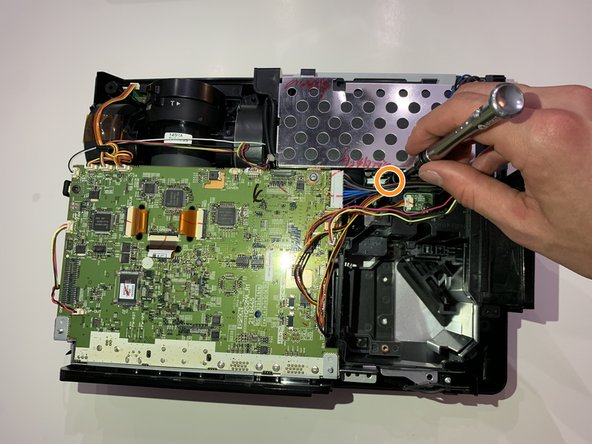
- Use a Phillips #0 screwdriver to remove the two 5.0 mm screws.
- Remove the one 5.0 mm screw on the right side of the gap with a Phillips #0 screwdriver.
- Remove the one 5.0 mm screw on the left side of the gap with a Phillips #0 screwdriver.
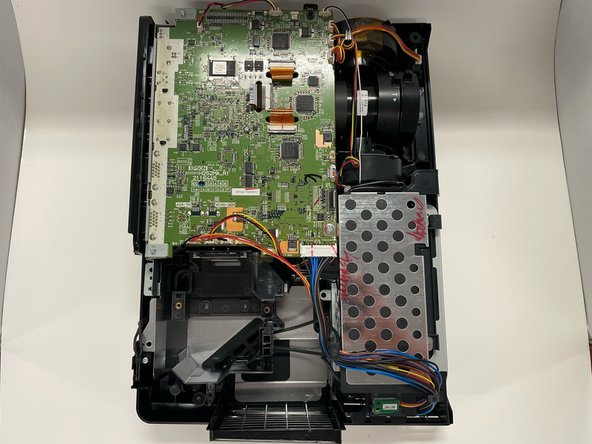
- On the right side of the motherboard, grip the plug labeled "PWR-FAN" and pull straight up to detach the fan from the motherboard.
- Grip the fan and lift it up and out.