2005 GMC Sierra SLT 1500 Rear Passenger Side Window Motor Replacement
ID: 149090
Description: This guide is specifically for the rear...
Steps:
- Using a flat head screwdriver to pry around the edges until the door handle cover pops off, remove the door handle cover from behind the door handle.
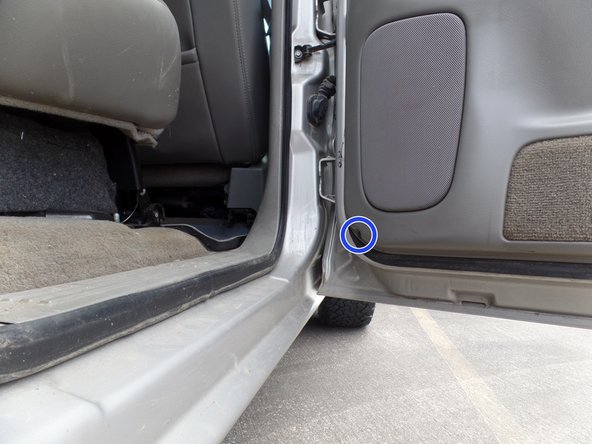
- Remove the (2) 7mm bolts from the door panel.
- One is at the bottom left of the door panel and another is behind the arm rest.
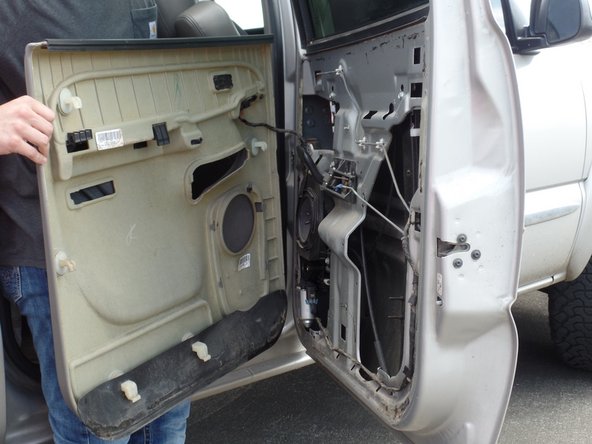
- After grabbing the armrest and the bottom of the door panel, pull straight up to separate the door panel from the door.
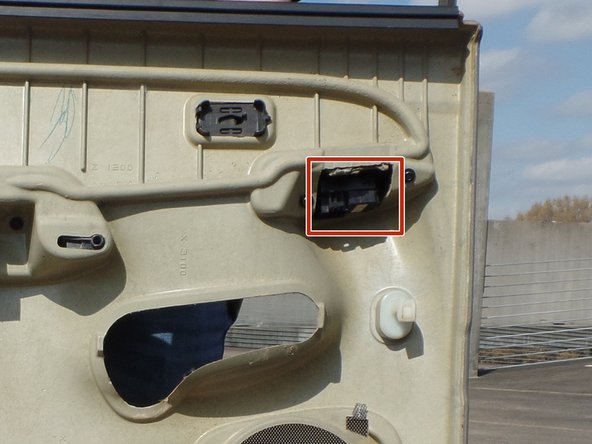
- Using a flat head screwdriver to push in the clip, pull the plug from the window switch to unplug the window switch.
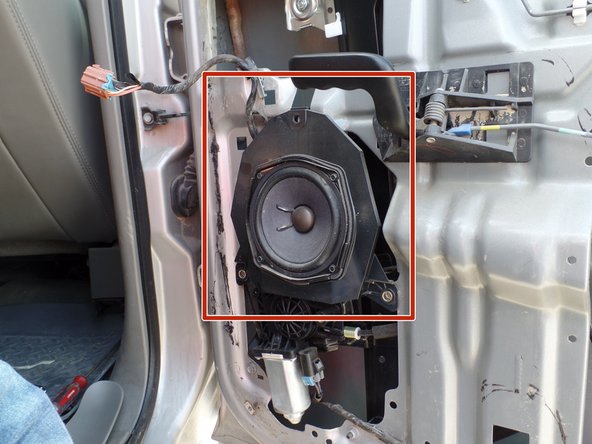
- Remove the (3) 10mm bolts from the speaker.
- Pull the speaker out to separate it from the door.
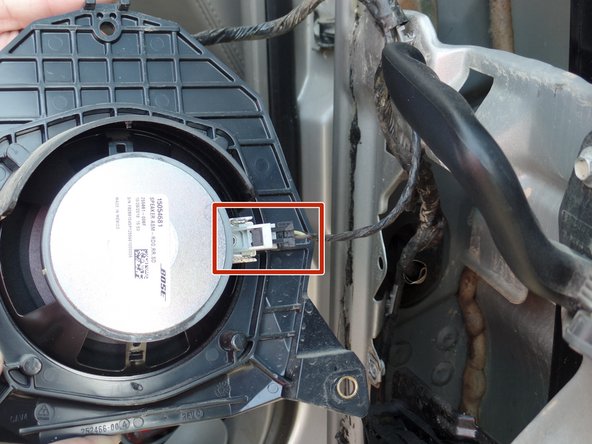
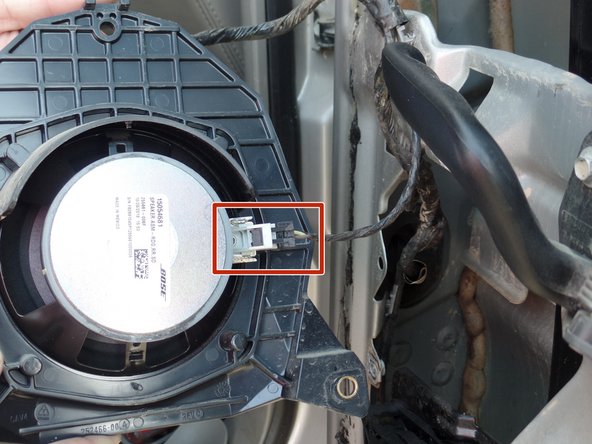
- Using a flat head screwdriver to push in the clip, pull the plug from the speaker to unplug the speaker.
- Remove the (3) 8mm mounting bolts from the old window motor.
- The bolts are inside the door, on the backside of the old window motor.
- Gently remove the old window motor from the pulley housing.
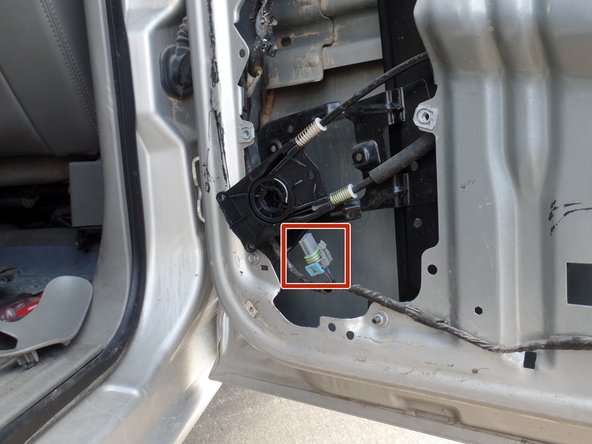
- Pushing in the clip, pull the plug from the old window motor to unplug the old window motor.
- Attach the plug to the new window motor to plug in the new window motor.
- Gently place the new window motor into the pulley housing.
- Place the (3) 8mm bolts into the new window motor.
- The bolts go inside the door, on the backside of the new window motor.
- Tighten the (3) 8mm bolts to secure the new window motor.
- To test the new window motor, follow Steps 16 through 21 before proceeding to Step 22.
- Otherwise, skip ahead to Step 22.
- By pushing out the window switch from the backside of the door panel, remove the window switch from the door panel.
- Attach the plug to the window switch to plug in the window switch.
- Turn the truck key to the "on" position to apply power.
- By operating the window switch, test that the new window motor works correctly.
- Pushing in the clip, pull the plug from the window switch to unplug the window switch.
- Place the window switch back into the frontside of the door panel.
- Attach the plug to the speaker to plug back in the speaker.
- Place the speaker in its spot against the door.
- Place the (3) 10mm bolts back into the speaker.
- Tighten the (3) 10mm bolts to secure the speaker.
- Attach the plug to the window switch to plug in the window switch.
- After lining up the hooks on the door panel with the correct holes in the door, place the door panel against the door.
- Gently push the door panel in and down.
- If the door panel does not easily fall into place, remove the door panel and ensure that there are no obstructions in the door before lining the door panel up again.
- Place the (2) 7mm bolts back into the door panel.
- One goes behind the armrest and the other goes at the bottom left of the door panel.
- Tighten the (2) 7mm bolts to secure the door panel.
- Place the door handle cover back behind the door handle.