TORO 30" Personal Pace TimeMaster Mower Transmission Assembly Replacement
ID: 149102
Description: This guide documents the replacement of the...
Steps:
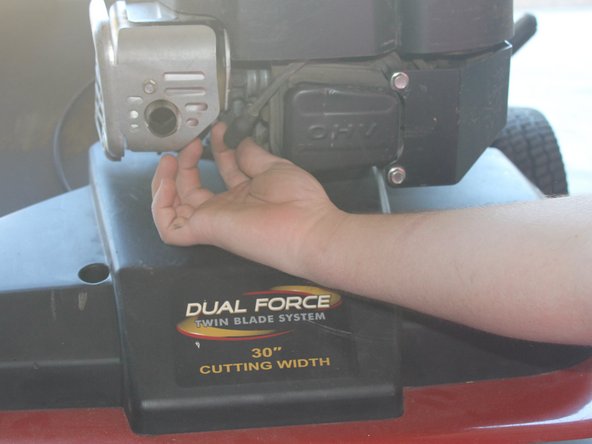
- Remove spark plug wire and spark plug using a 5/8" socket to prevent accidental ignition of mower.
- Prop up the rear end of the lawnmower using a jack stand, scissor jack, or some other stable platform. Both rear wheels should be off the ground.
- Use 2 wedges/wood blocks to keep the front wheels stationary.
- Set tire-height adjustment lever to forward-most position (past "A").
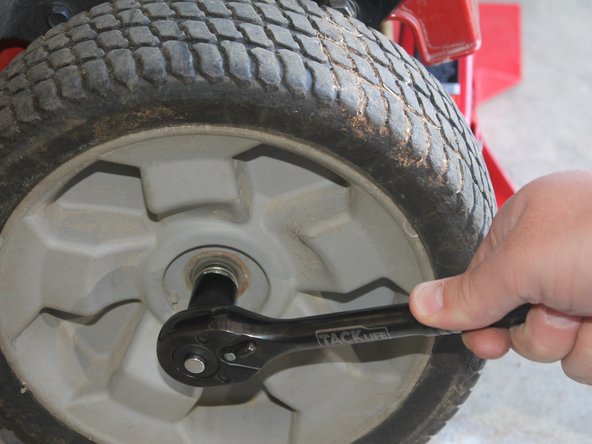
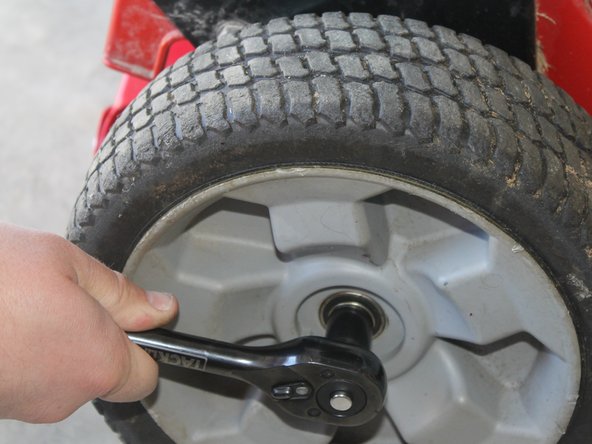
- Remove center nut from wheel using 9/16" socket.
- If the nut is stuck, apply WD-40 to the site and wait a few minutes.
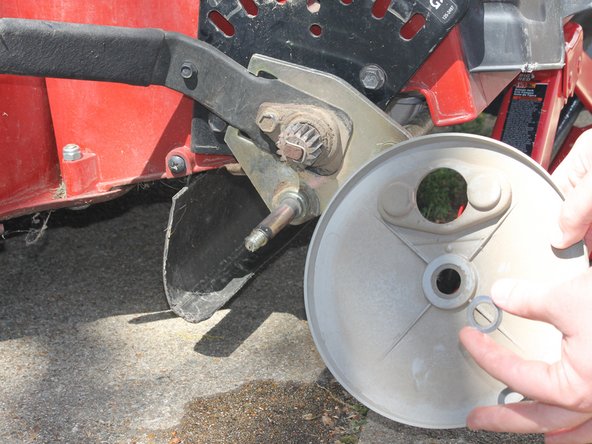
- Remove the wheel, washer, and plastic cover.
- Pry off the metal gear-retaining clip using a flathead screwdriver.
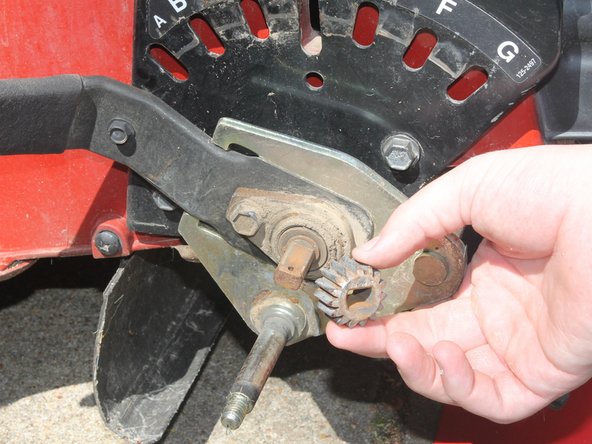
- Remove gear.
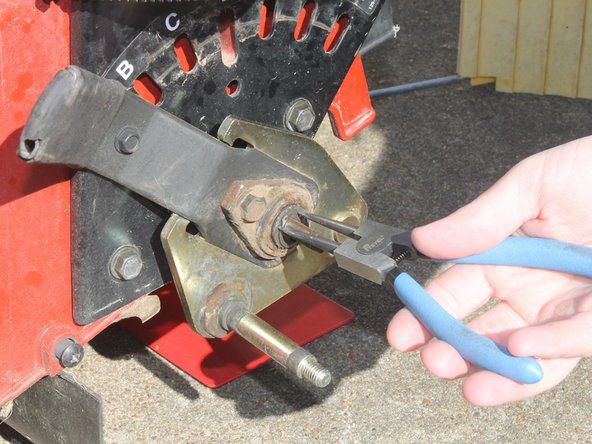
- Remove the snap ring using snap ring pliers.
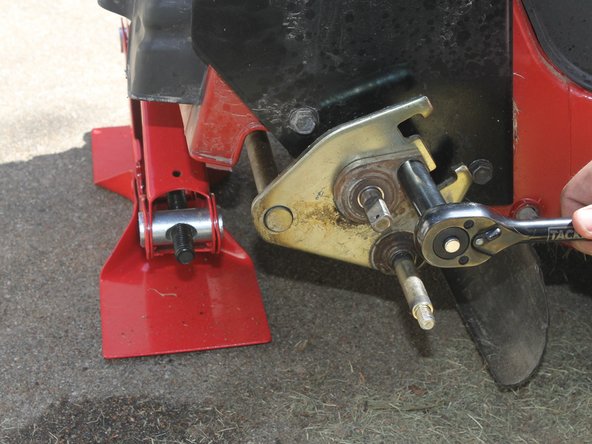
- Use a 1/2" socket wrench to remove the bolt holding the bearing assembly from the wheel.
- Remove the wheel bearing.
- A flathead screwdriver may help to pry off a stuck bearing.
- Refer to steps 3-9
- Flip the lawnmower so that the underside is visible.
- Ensure that the gas tank side is on the top.
- Remove the drive belt from the two mounted locations at the transmission housing and engine shaft.
- Disconnect transmission stabilizing spring.
- Remove the plastic covers (3) from the transmission shaft.
- Use a 3/8" socket wrench to remove the bolts from the supporting tab.
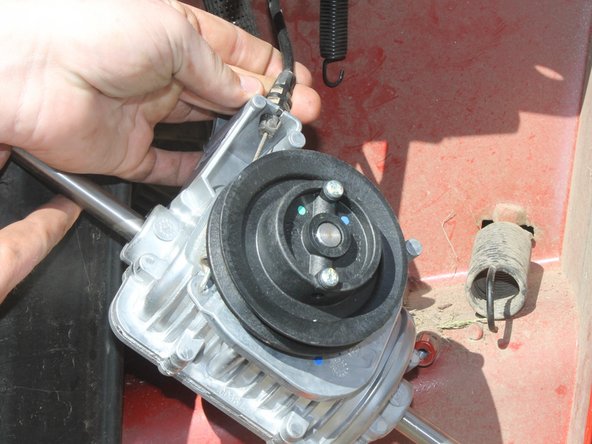
- Remove the transmission from the underside of the lawnmower.
- Remove the drive cable from the transmission housing.
- Needle nose pliers may help in removing the drive cable.
- Ensure that the large spring located on the right side of the picture is disconnected from the transmission housing as well.
- Re-attach the drive cable at the cable mounting point of the new transmission.
- Slide on the transmission support tab to the transmission shaft.
- Slide transmission shaft back into slot.
- Re-attach the springs to the transmission housing.
- Use a 3/8" socket wrench to install the 2 bolts on the bearing support tab to the underside of the lawnmower.
- Re-install the belt to the two mounting points.
- Twisting the transmission housing counterclockwise will allow for the belt to stretch into position easier.
- Re-attach the plastic covers (3) to the transmission shaft.
- Flip the lawnmower back to its original position.
- Place the scissor jack and wood blocks to support the lawnmower.
- Re-install the wheel bearing and bolt on the right-side wheel using a 1/2" socket wrench.
- Secure a clamp between the gold rod assembly and the mower sidewall to ensure that the components added next won't slide off.
- On the other side, re-install the height adjustment lever, wheel bearing, and bearing bolt using a 1/2" socket wrench.
- Re-install the snap ring using a pair of snap ring pliers. There is a groove in the rod that the snap ring must fit around.
- Re-install gear.
- Use a flathead screwdriver to re-install the metal gear-retaining clip.
- Re-install the wheel cover and the washer.
- Re-install wheel and use a 9/16" socket wrench to re-attach the center nut.
- Return to the other side and remove the clamp.
- Refer to Steps 25, 27-32
- Use a 5/8" socket wrench to re-install the spark plug.
- Re-attach the spark plug cable.