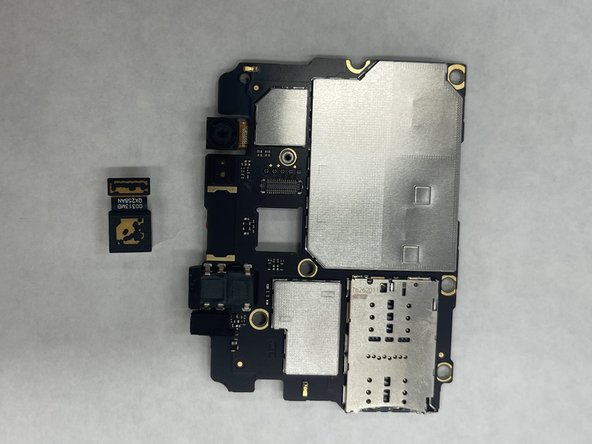
ZTE Max XL Rear-Facing Camera Replacement
ID: 149175
Description: This guide has step-by-step instructions on how...
Steps:
- Before disassembly, make sure that the phone is powered off.
- Remove the SIM Card tray using the SIM Card remover key. Insert the tool into the hole on the side of the phone near the SIM Card tray.
- To break up any adhesive that connects the back plastic piece to the phone, apply the iOpener to the back of the phone. For instructions on how to use the iOpener please follow this guide.
- On our phone there was adhesive on the top of the phone backing, so we specifically heated this area.
- Do not heat the phone too much in one area - it may warp the plastic backing.
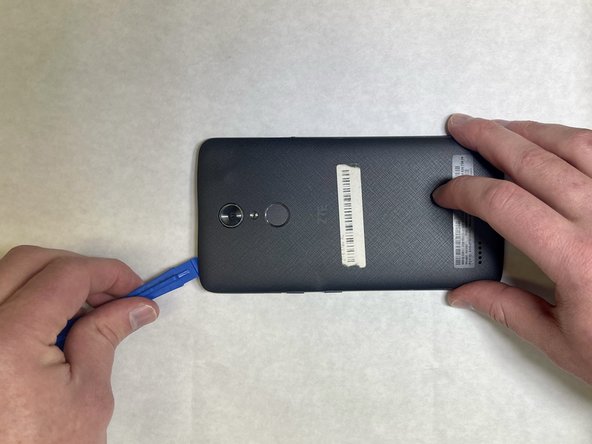
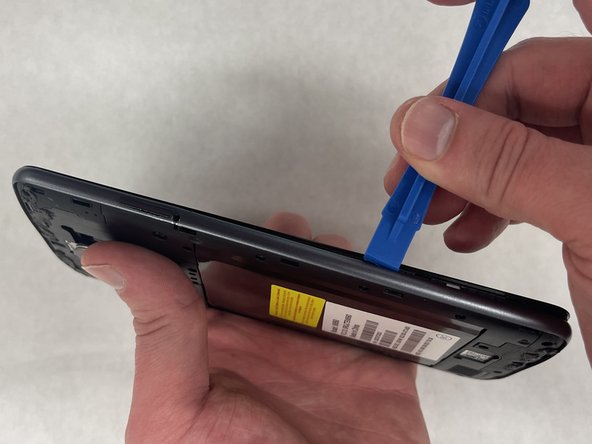
- Starting at one corner, wedge a plastic opening pick or tool underneath the plastic backing to start undoing the tabs that connect the backing to the phone.
- There are 3 tabs on top and bottom and 6 on each side.
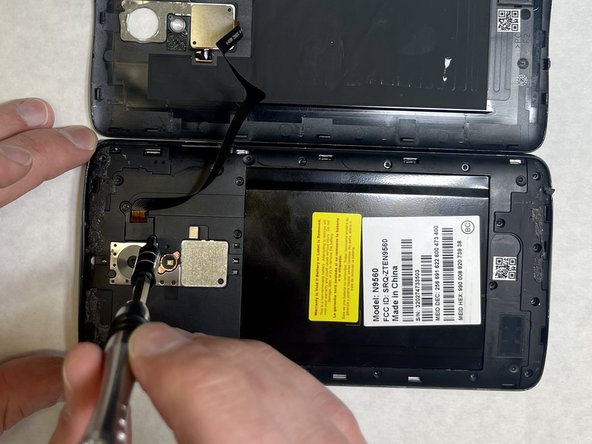
- Remove the two 3.4 mm JIS #00 screws that hold the cable in place—one may be under a lock sticker.
- Use a nylon spudger to lift the press-fit connector and free the ribbon cable from the main part of the phone.
- Remove all nineteen 3.4 mm JIS #00 screws from the perimeter of the back.
- Use an opening tool between the screen and side trim battery cover to remove the screen.
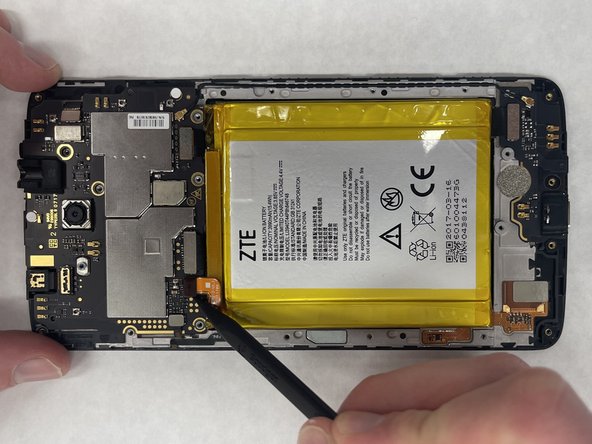
- Use a nylon spudger to carefully lift the 6 press-fit connections free from the motherboard.
- Use a nylon spudger to carefully lift the camera ribbon cable's press-fit connector free from the motherboard.
- With the metal connector detached, the rear-facing camera is disconnected from the phone and can be replaced.