Disassembly and Cleaning of Series 2033 Bissell Featherweight Stick Bagless Vacuum Cleaner
ID: 149198
Description:
Steps:
- Find the gray tab, directly above the power switch, where the blue body of the vacuum meets the gray handle extension
- Lift the tab and pull the gray extension bar away from the blue body
- Remove the vacuum foot from the main body by gripping each piece firmly and strongly pulling them apart
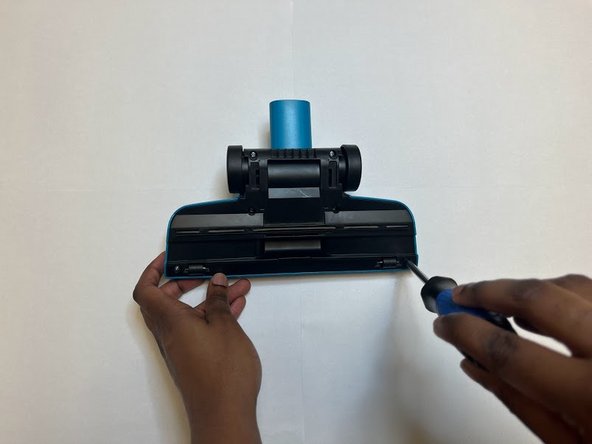
- Using a number 2 Phillips head screwdriver, remove the 6 screws from the base plate of the vacuum foot
- Keep track of the screws for later reassembly
- Grip the top and bottom plate of the vacuum foot firmly
- Pull the plates apart until they are completely separated.
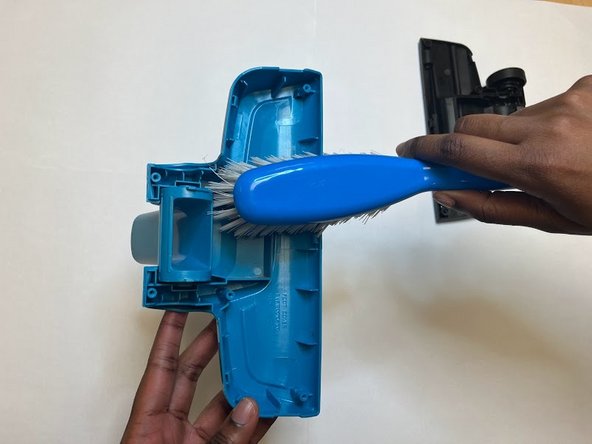
- Use the medium size brush to remove the dirt from plates of the vacuum foots
- Because there are not electrical parts of the foot, It is okay to rinse the parts with water and let it dry instead of brushing
- Press the indented side of the center gray latch
- Using your other hand carefully separate the nozzle form the motor component
- There may be dirt and debris in the filter nozzle. Separate the parts with the body slightly tilted up to avoid dirt in your work space
- Firmly pinch the gray center ridge of the filter and pull away from the blue nozzle
- Be cautious when removing the filter. Dust and dirt will fall out
- Recommended to do this step over a trashcan or outside
- Locate the warning sticker on the bottom of the motor component
- Fold back half the sticker so that it remains attached to only one side of the component
- Use the scraper to lift one corner of the warning sticker
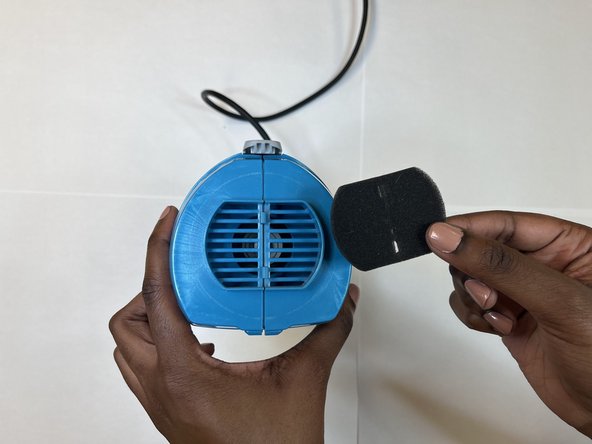
- Remove the foam vent filter. Brush with toothbrush or another small, soft bristle brush to dislodge dirt particles
- Using a number 2 phillips head screwdriver remove all 7 screws from motor component
- Keep track of the screws for later reassembly
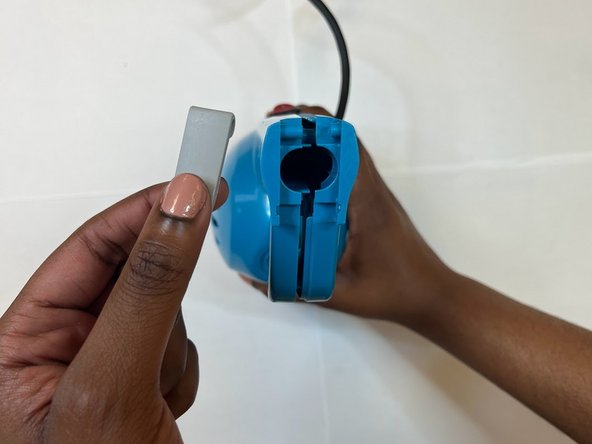
- With the two halves loosened, pry the halves apart enough to remove the handle extension release tab from the end of the motor component
- keep track of the latch for later reassembly
- Firmly grip both sides of the central component with your hands aligned vertically
- Pry the two halves apart while being sure the bottom half remains flat.
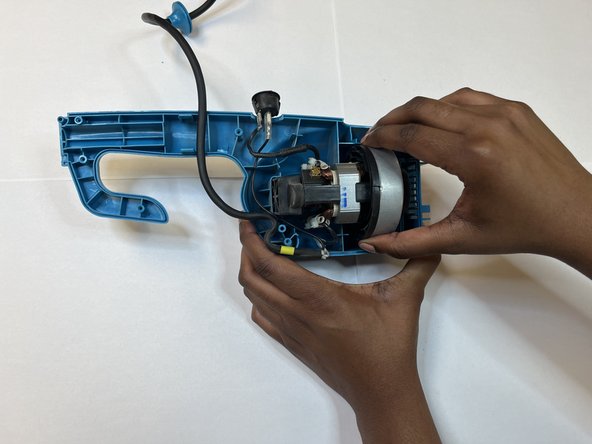
- Untangle and unwrap any cords and wires from around the motor
- With the component laying on a flat surface gently lift the motor up and away from the blue plastic
- Using the small soft bristle brush, gently brush around the motor to dislodge any loose dirt or debris