How to Repair Sony WI-C200 In-Ear Headphones
ID: 149238
Description: After using your Sony WI-C200s for prolonged...
Steps:
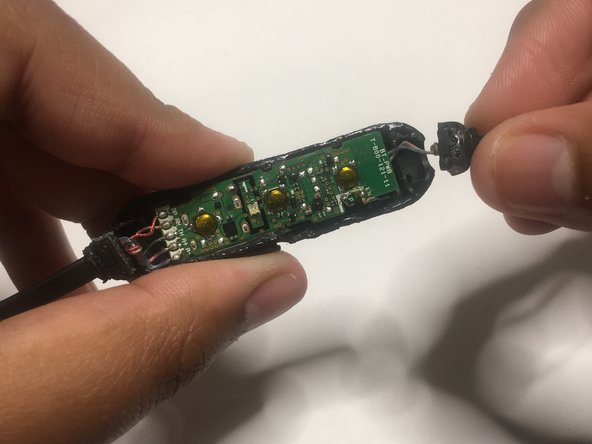
- Wedge the edge of a spudger between the two cases holding the circuit board, then pry open the cases.
- Wedge the edge of a spudger between the two cases, then pry the cases apart.
- Remove the top casing with the volume controls.
- Remove the side tabs connecting the wires to the circuit board carefully.
- Use ESD-safe tweezers to remove the board from the bottom case .
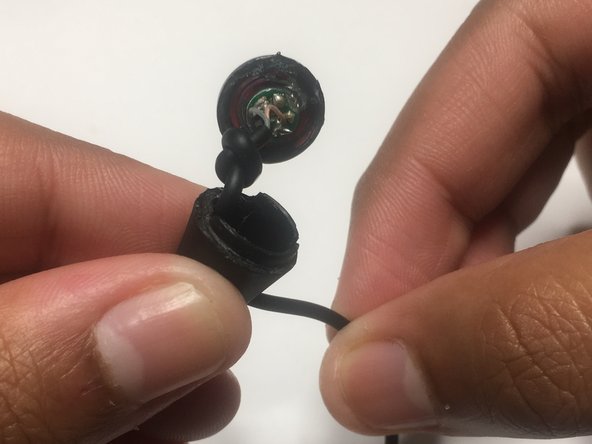
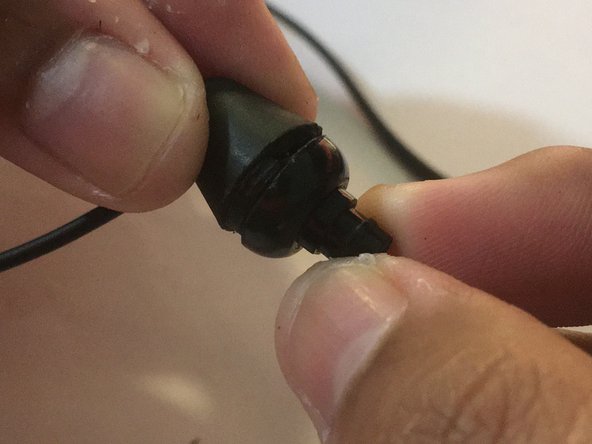
- After prying open the earbud, push the wire outwards from the casing, extending the speaker.
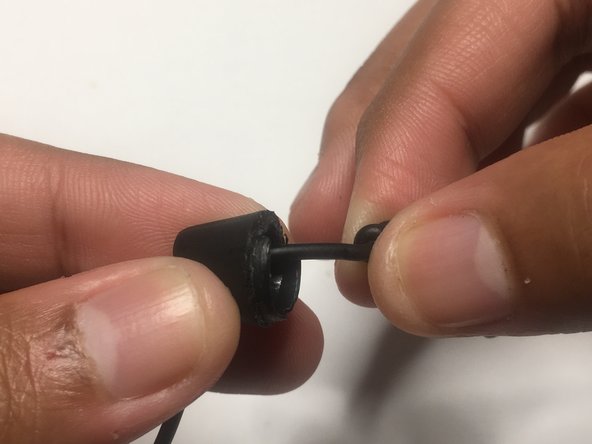
- Slowly slide the casing away from the connections.
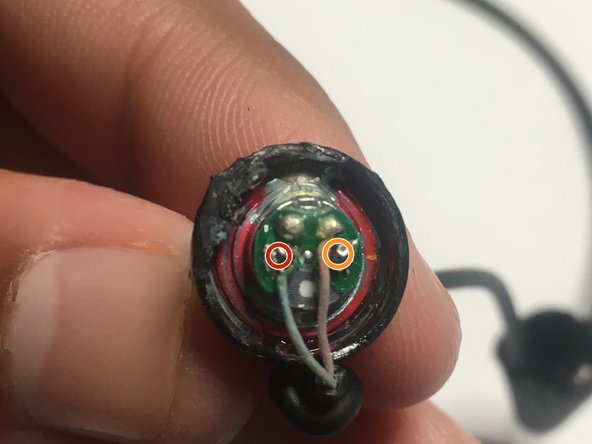
- Place the positive probe of the multimeter on the pin of the red circuit board connection.
- Place the negative probe on the pin of the red connection on the earbud.
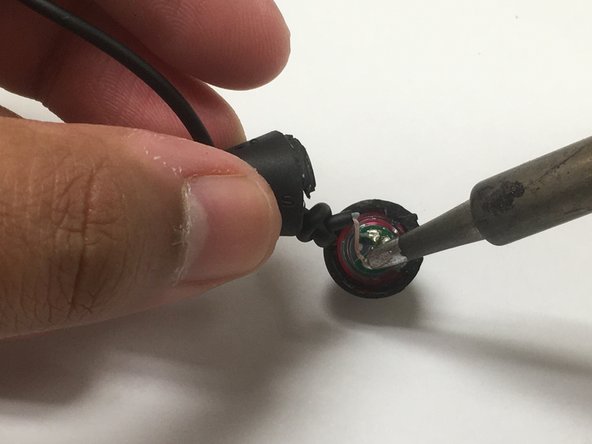
- Measure the voltage across the pins. If the connections yield 0 V, desolder the pins.
- Apply the last three steps for the orange connection to measure the voltage across the pins. Desolder the pins if the connection yield 0 V.
- Soldering/desoldering presents potential for device damage and burns. Always solder/desolder in a well-ventilated area.
- Soldering/desoldering presents potential for device damage and burns. Always solder/desolder in a well-ventilated area.
- Use lead-free solder to solder the connections.
- Place the circuit board back into the bottom casing.
- Press the side tabs of the connections back into the bottom casing.
- Apply adhesive around the rims of the bottom casing holding the circuit board.
- Firmly press the top and bottom case together, then wait a couple minutes for the adhesive to cure.
- Apply adhesive around the rims of one of the earbud casings.
- Press the two sides of the earbud casings together, and wait for a couple of minutes for the adhesive to cure.