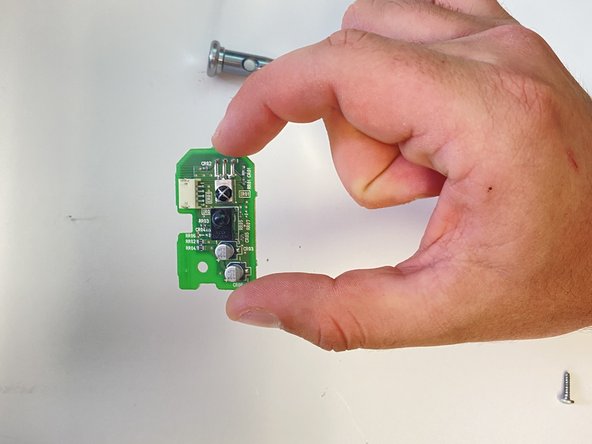
Hitachi CP-X440 Sensor Replacement
ID: 149282
Description: Use this guide to replace the remote sensor in...
Steps:
- Use a Phillips #1 screwdriver to remove the six 2 cm screws from the bottom of the case.
- Flip the projector back upright and place the back of projector towards you. Unscrew the 3 screws circled in the back with your Phillips #1 Screwdriver. Each screw is 1 cm in length.
- Then unscrew the two silver, 1 cm screws on the light switch panel with a Phillips #1 Screwdriver
- You will now be able to pop the top of the projector off.
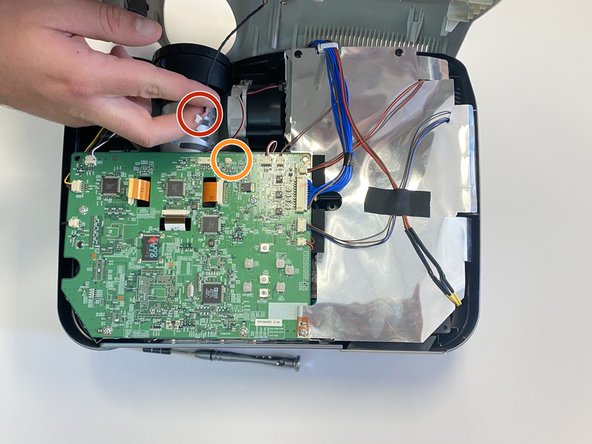
- To uncollapse the projector top fully from the projector, you can pull the black cord from the white holder near the lens, circled in red and orange.
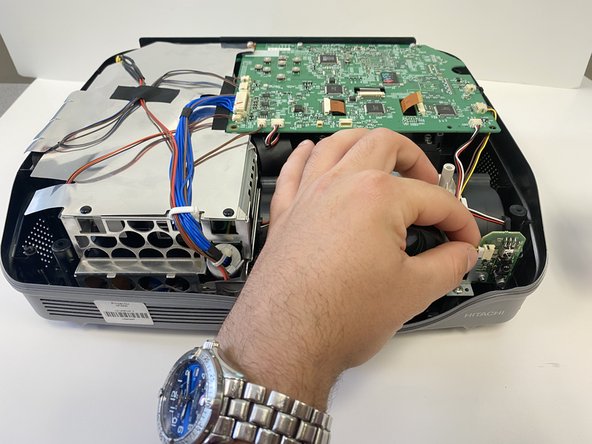
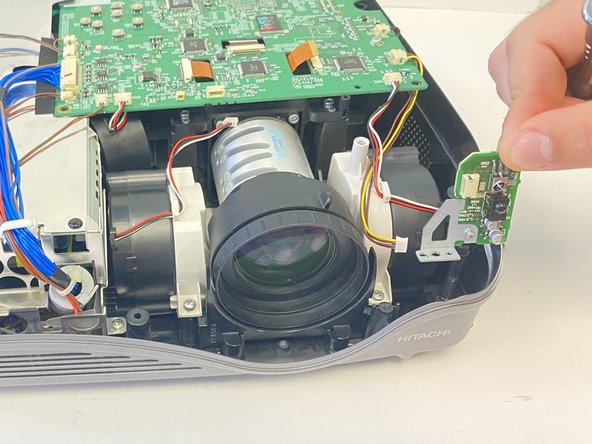
- With front of projector now facing you, the sensor can be found on the left of the lens.
- The sensor will be held into the projector by a silver screw on the lower left side of lens. This single 2 mm screw will need to be unscrewed and removed. This will allow you to remove the sensor piece completely out of the projector.
- You now will remove the sensor piece completely.
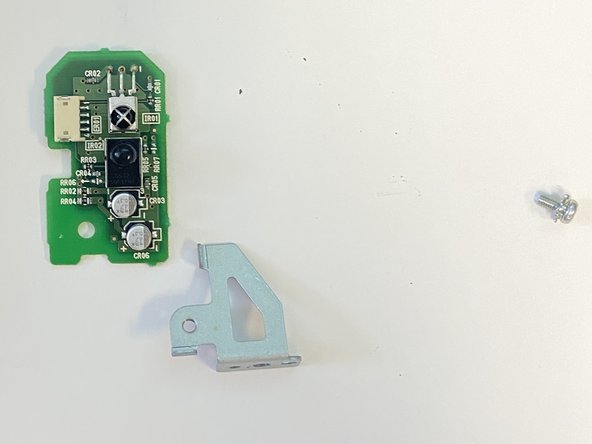
- To get the sensor piece alone, you will unscrew the single 3 mm silver screw.
- Once this screw in the sensor piece is removed, the sensor piece will be alone and can be replaced with your new one.