HP Pavilion x360 14m-cd0003dx Hinges Replacement
ID: 149383
Description: This guide helps you with removal and replacing...
Steps:
- Turn off the computer.
- Disconnect the power cord and any external devices connected to the computer.
- Make sure the device is completely turned off or else you may risk injury through electric shock.
- Use a plastic opening tool to carefully separate the screen from the plastic frame.
- Work along the top first, and then down the left and right sides.
- The screen can then be separated from the frame and laid flat on top of the keyboard.
- Do not pull and try to remove yet, as the screen is still connected by several cables.
- The next few steps involve disconnecting the screen from the laptop in several places.
- The first place is connected to the left side of the thin blue board at the top.
- Peel back the clear adhesive and remove the pin header from the port on the blue board.
- The next place is underneath the gray adhesive. Peel back this adhesive to expose the connection underneath.
- Disconnect the gold pin header from its port.
- Repeat Step 4 for the connection on the right side.
- Peel the clear adhesive and remove connection.
- Peel the thin gray adhesive strips.
- Pull out the thin black cable underneath these strips. It is the same black cable that was disconnected in the previous steps.
- After the cable has been disconnected, the screen can be removed.
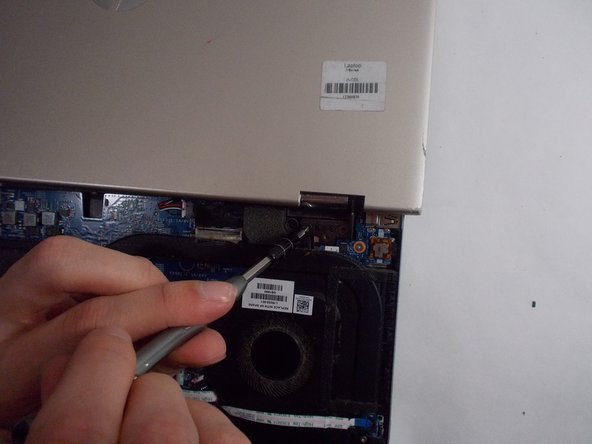
- Remove the three Phillip Head screws (5 mm)that hold in the bracket on each side.
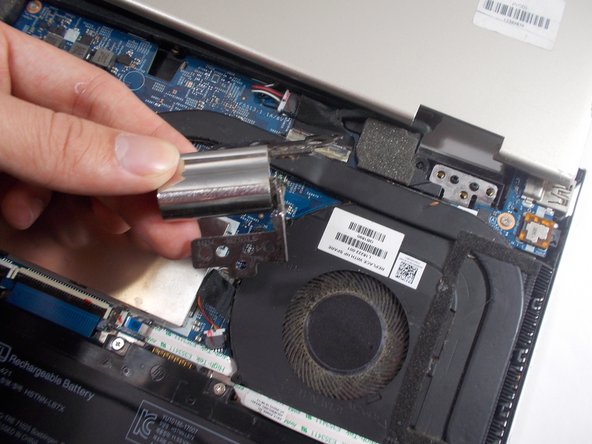
- Slide the frame down past the brackets on each side.
- Lay the laptop flat on your working surface.
- Flip it over to get access to the back panel.
- Remove the back panel screws and take off the back cover.
- Use a Phillips #00 screwdriver to remove the 5 mm screws from the hinges on each side inside the laptop.
- Remove the hinges from both sides of the laptop.