Acer Spin 7 SP714-51 Wi-Fi Card Replacement
ID: 149425
Description: In this guide you will learn how to replace the...
Steps:
- Turn the laptop so that the back cover is visible and facing you. Make sure it is on a flat surface, such as a table.
- Using a standard PH0 Phillips-head screwdriver, work your way around the edge removing the 6mm screws along the way.
- Once all the screws are removed, you should easily be able to remove the back cover. This can be done by hand or by using a Spudger as seen in the tools list.
- Once the back cover is removed, make sure you disconnect the battery cable.
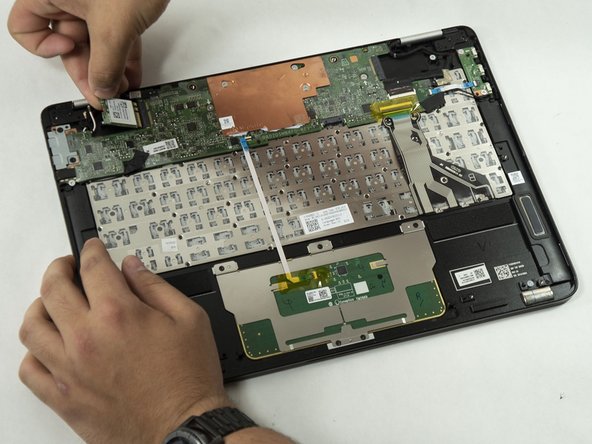
- Disconnect the white and black antennae from the Wi-Fi card.
- The Wi-Fi card is located on the left side of the laptop when it is flipped to see the bottom of the laptop.
- The antennae should snap off upwards easily with a pry tool so the antennae and Wi-Fi card no longer connect.
- Use a Phillips #0 screwdriver to remove the 6 mm retaining screw from the Wi-Fi card, and carefully pull the card free to remove it from the laptop.