LG CineBeam Lens Replacement
ID: 149447
Description: The LG Cinebeam's (Model# PH150B) lens projects...
Steps:
- Remove three 6 mm screws on the bottom plate with a Phillips #00 screwdriver.
- Using an iFixit opening tool, pry the bottom plate off of the device and remove it fully.
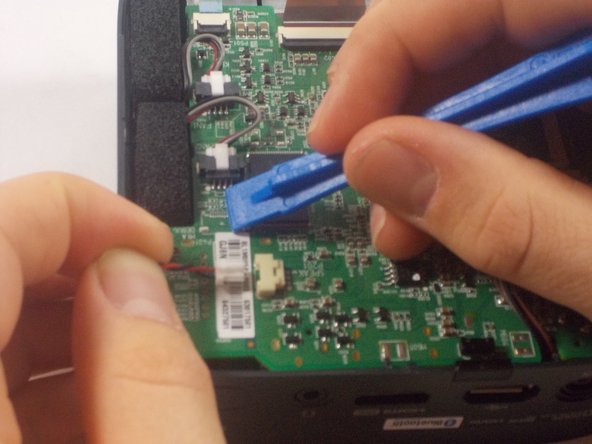
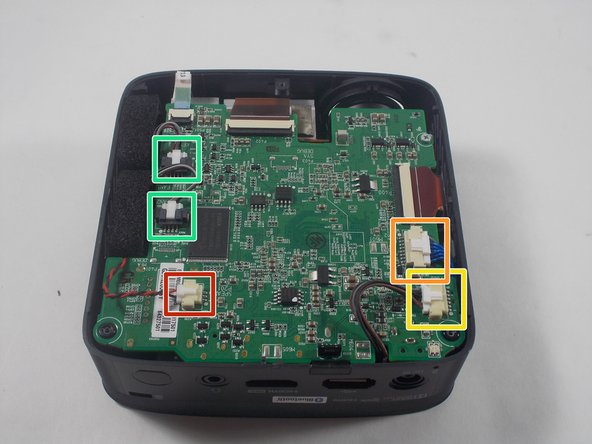
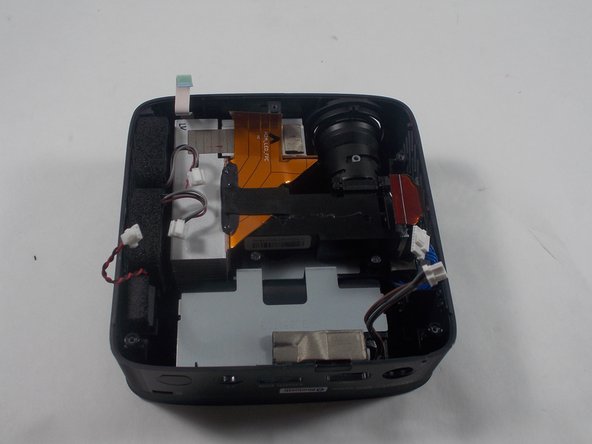
- Using an iFixit opening tool, press down the lever on the top of the minilock connector for the speaker and pull the plug out gently.
- Repeat this process to remove the WiFi/Bluetooth card connector.
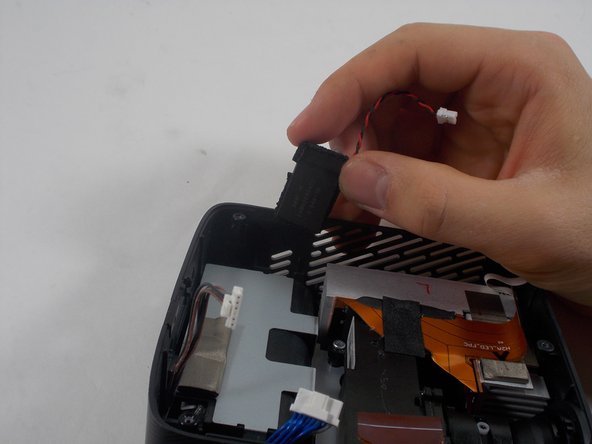
- Remove the battery connector.
- Remove the fan connectors.
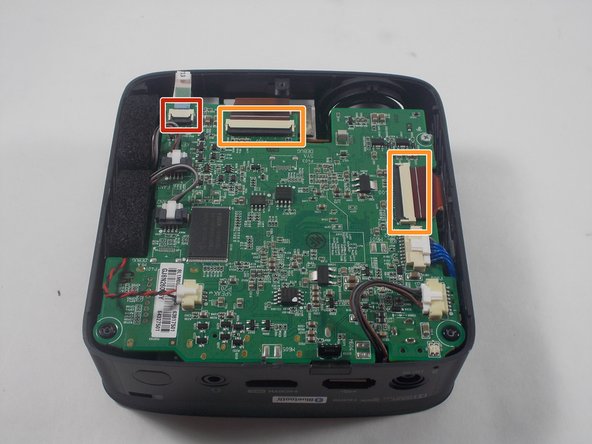
- Using an iFixit opening tool, pry up the black plastic tabs on the back of the power button/joystick board cable.
- Gently pull the ribbon cable out of the socket.
- Repeat this process for the two display cables.
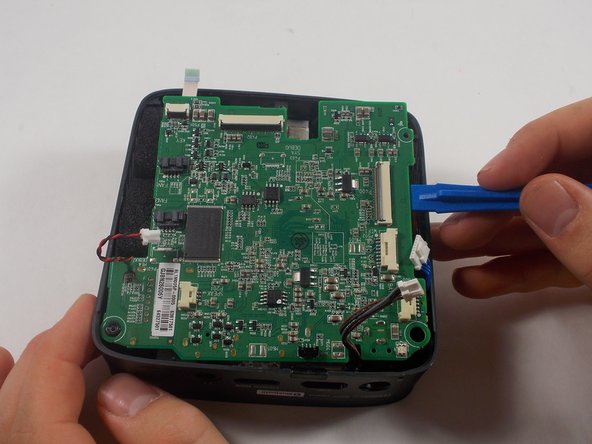
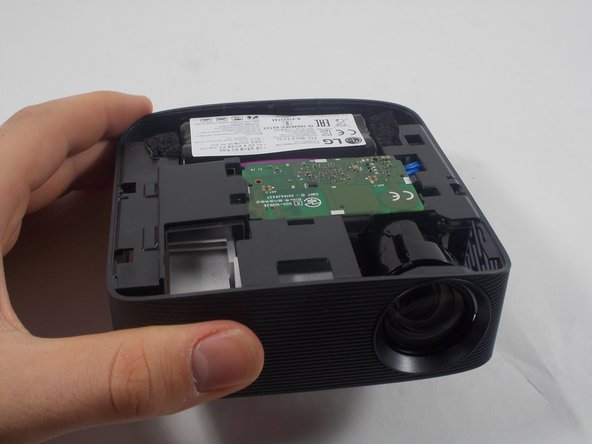
- Lift the motherboard out of the casing.
- Use your fingers to lift the speaker from the casing.
- Turn the device over so the power button is facing up.
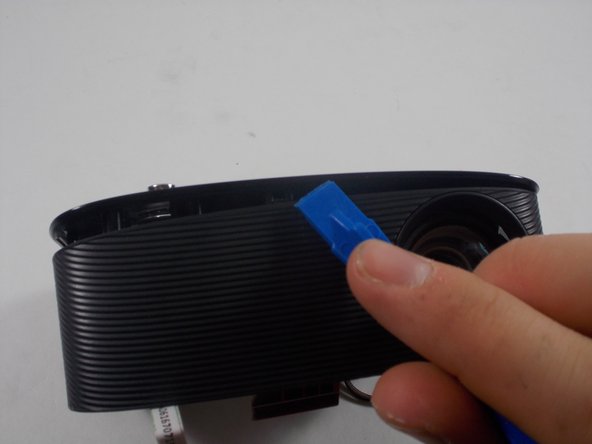
- Using an iFixit opening tool, pry open the top of the plastic casing and remove it completely.
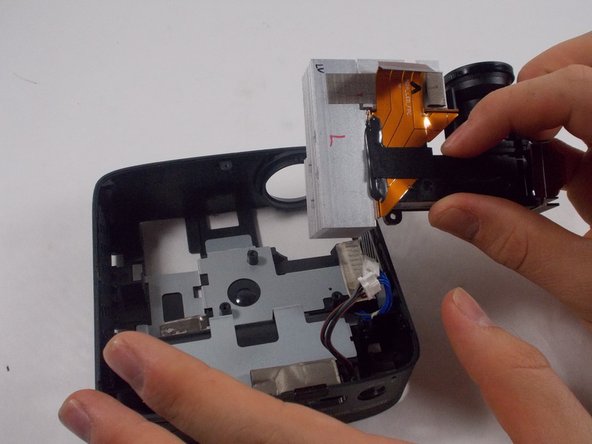
- Remove the three 6 mm screws holding the lens and LCoS assembly in place using a Phillips #00 screwdriver.
- Remove the lens and LCoS assembly from the casing.
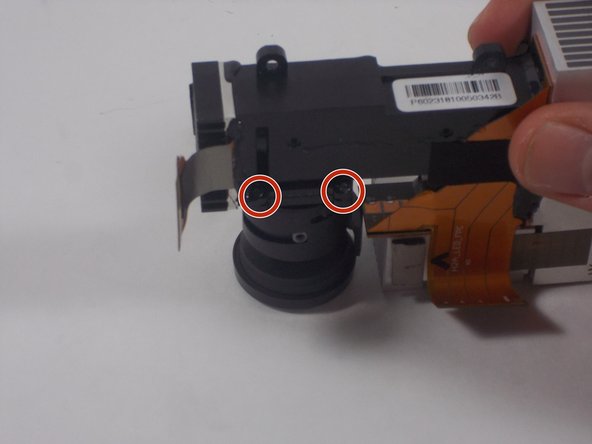
- Remove the 4 mm screws using a Phillips #00 screwdriver.
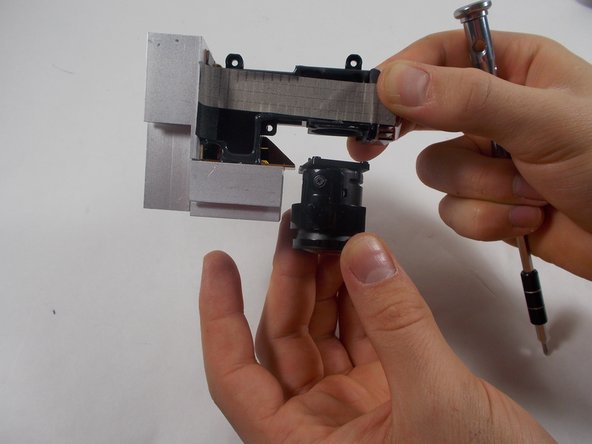
- Pull the lens assembly off of the display assembly.
- When putting in a new lens assembly, make sure the focus knob is on the correct side.