ASUS TUF Gaming FX505DY Hard Drive Replacement
ID: 149562
Description: This guide is for replacing the hard drive of...
Steps:
- Turn off the laptop.
- Disconnect the charging cable.
- Failure to disconnect the charging cable and power down the computer could result in personal or property damage.
- Flip the laptop so the back is facing up.
- Use a Phillips #1 screwdriver to remove the five 6 mm screws that secure the back panel.
- Use the same screwdriver to remove the six 13 mm screws securing the back panel.
- Insert the plastic opening tool at a corner and pry up along the edges, leaving the back side with the hinges for last.
- Do not insert the opening tool too far into the laptop to avoid damaging internal components.
- Gently lift up the back panel to release any remaining clips on the side with the hinges and remove the panel.
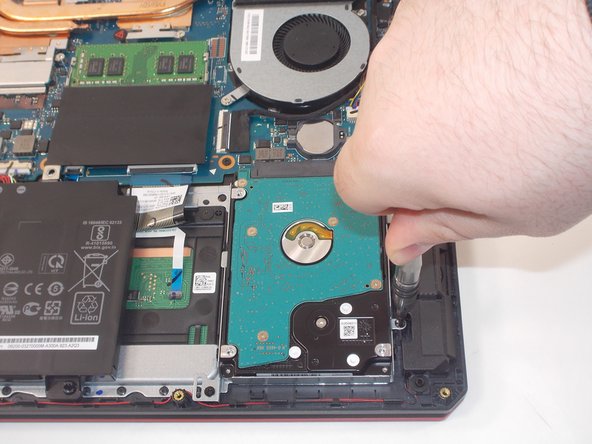
- Remove the two 6 mm screws holding the hard drive enclosure in place using a Phillips #1 screwdriver.
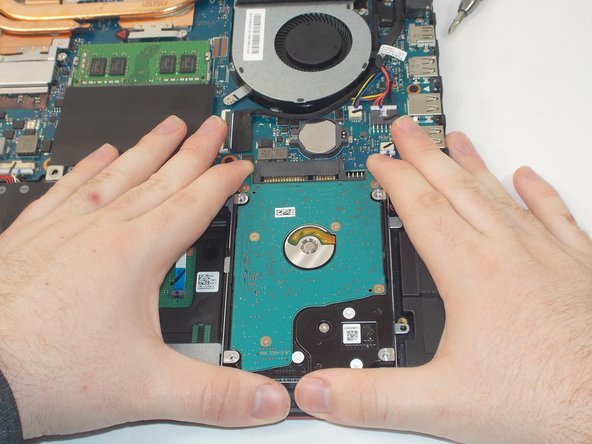
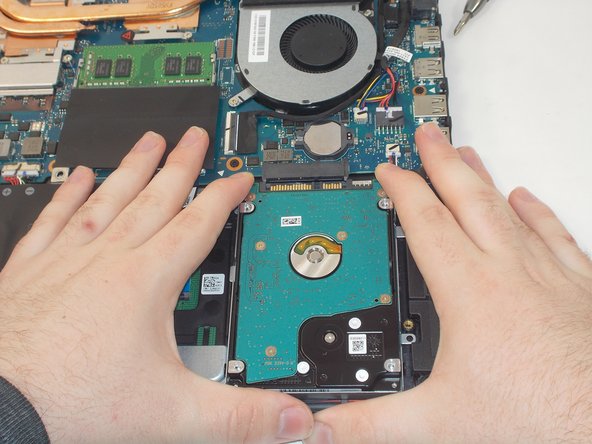
- Slide the enclosure away from the motherboard slot to unplug the hard drive, then remove the drive and enclosure from the device.
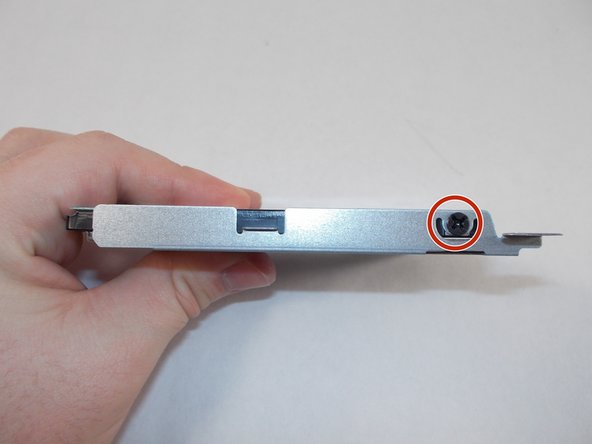
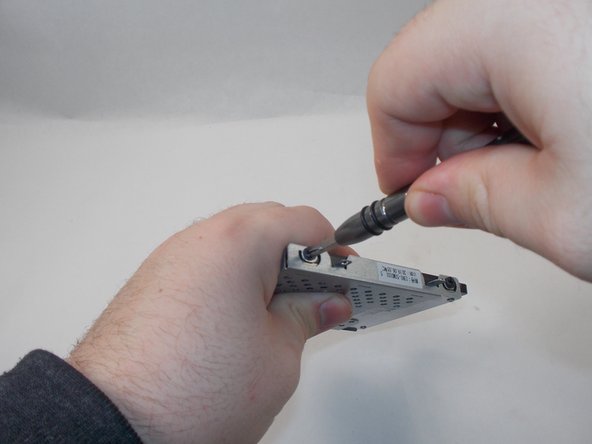
- Remove the three screws holding the hard drive in the enclosure. The screws in the images are 4 mm Phillips #2, although screw size may vary.
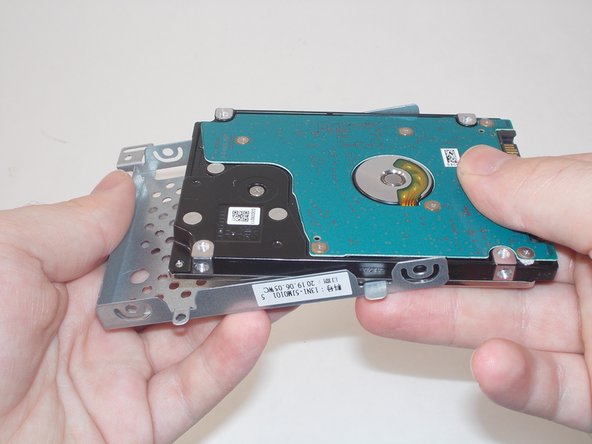
- The hard drive should move in the enclosure and can be freely removed.