Dell Latitude E5540 Disassembly
ID: 149579
Description:
Steps:
- Turn the laptop upside down
- Slide the two switches to the outside until an orange marker appears.
- Remove the battery by sliding it out
- Remove the four M2x5 and 2 M2x8 screws with a Phillips PH0 screwdriver
- Remove the bottom plate by gently lifting it from the empty battery space
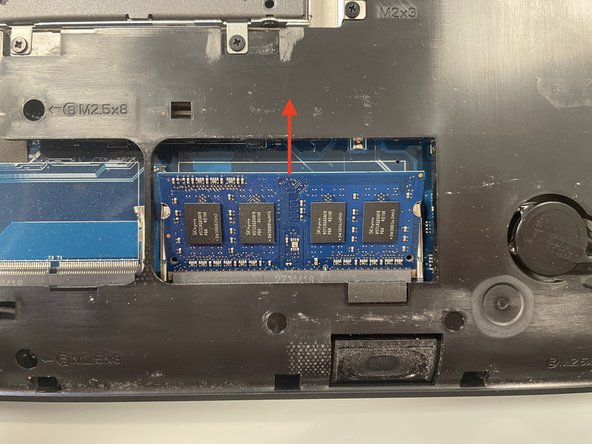
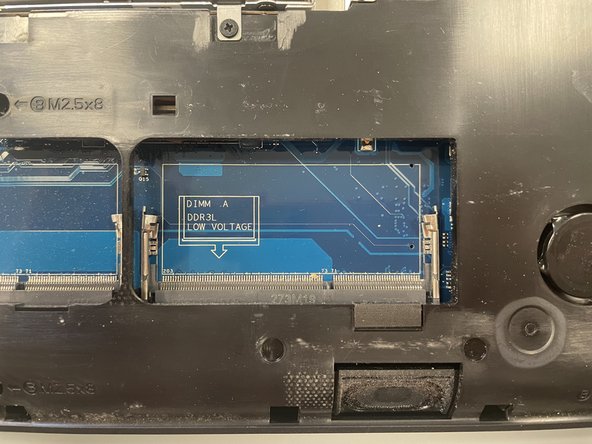
- Remove the RAM by pushing the metal parts slightly outward
- The RAM will pop up and you can carefully slide it out
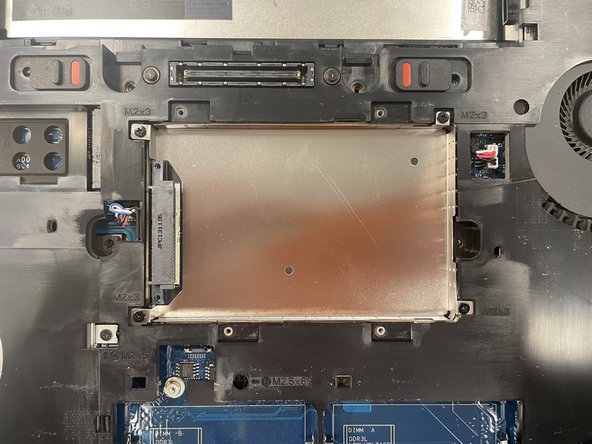
- Remove the four M2x3 screws with a Phillips PH0 screwdriver
- Slide the hard drive cradle out by pulling the plastic tab
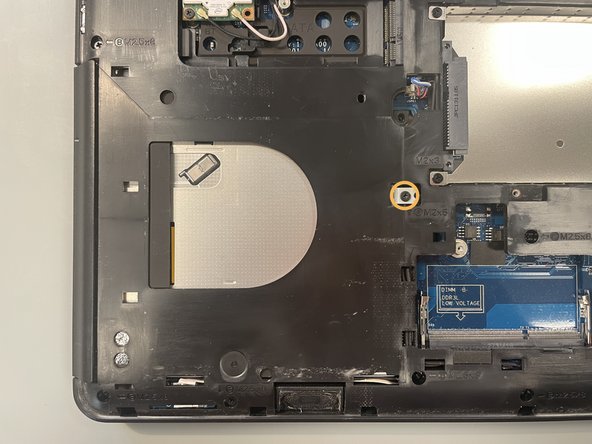
- Remove one M2x5 screw with a Phillips PH0 screwdriver
- Use a blackstick to push out the optical drive and pull it further out by hand
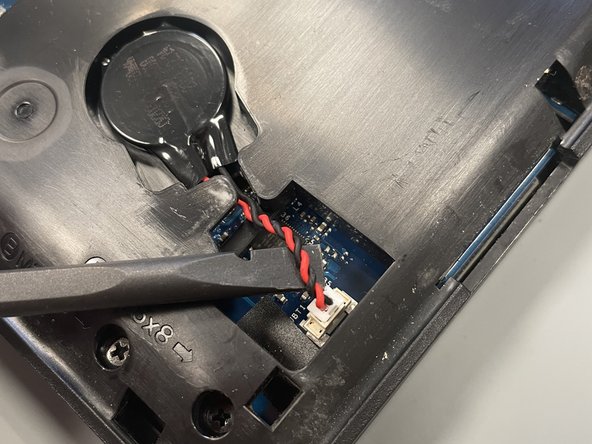
- Use a blackstick to carefully disconnect the battery connector
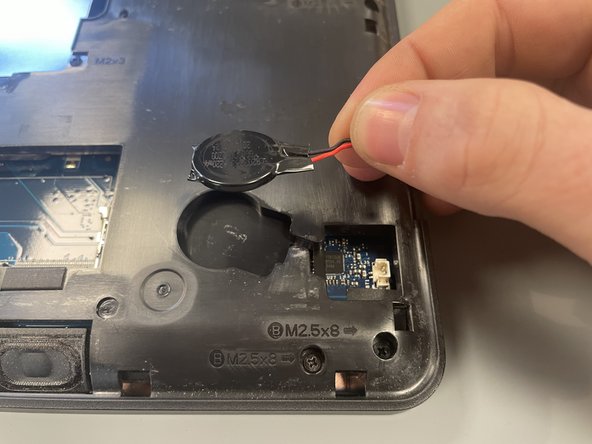
- Gently guide the cable through the narrowed part and remove the battery that is held in place with double sided tape
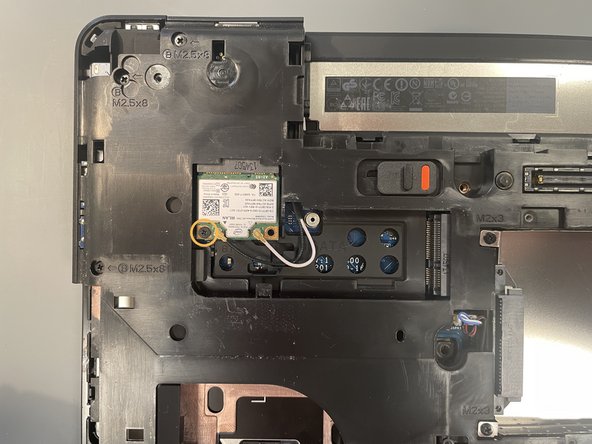
- Gently disconnect the white and black cable from the module with a blackstick
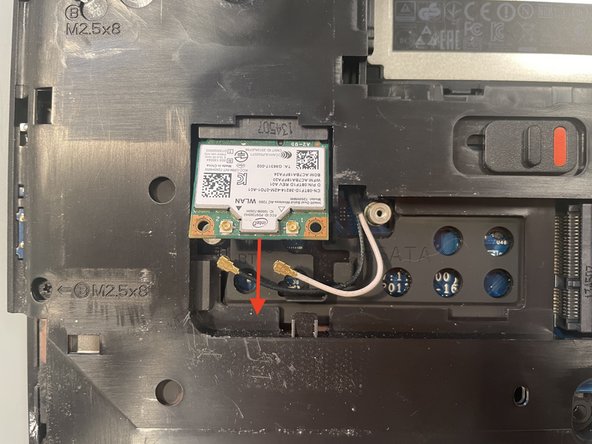
- Remove one M2x3 screw with a Phillips PH0 screwdriver. The module will push up
- Remove the module by sliding it out
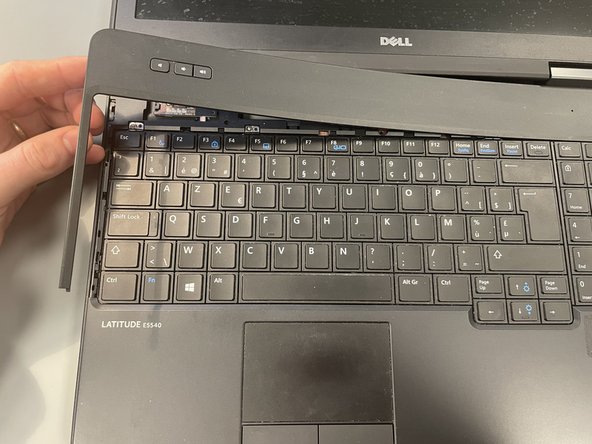
- Turn the laptop over and open the screen, carefully place the spudger under the top panel near the bottom left Ctrl key and push up
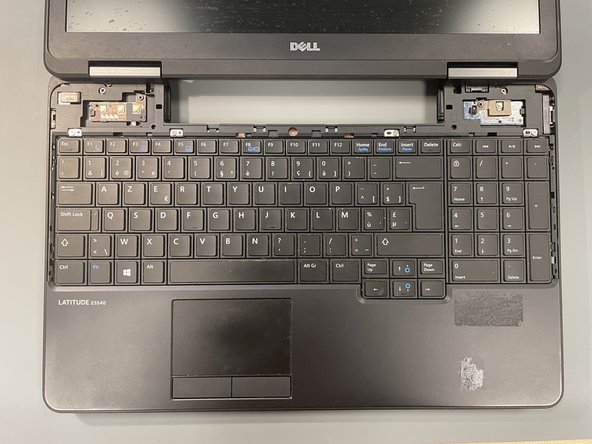
- Gently remove the rest of the panel
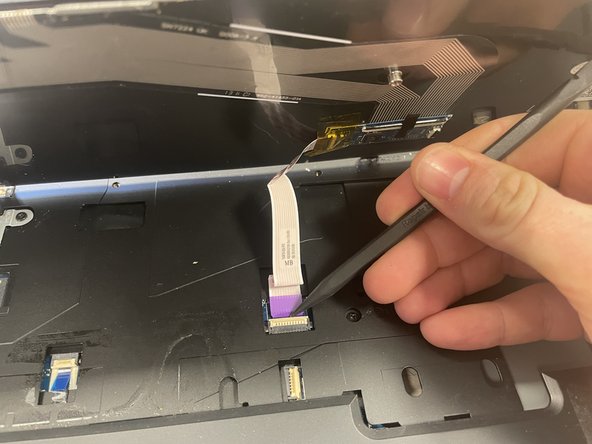
- Remove four silver screws with a Phillips PH0 screwdriver, slide the keyboard up a couple of millimetres then lift it up away from you to expose the ribbon cable
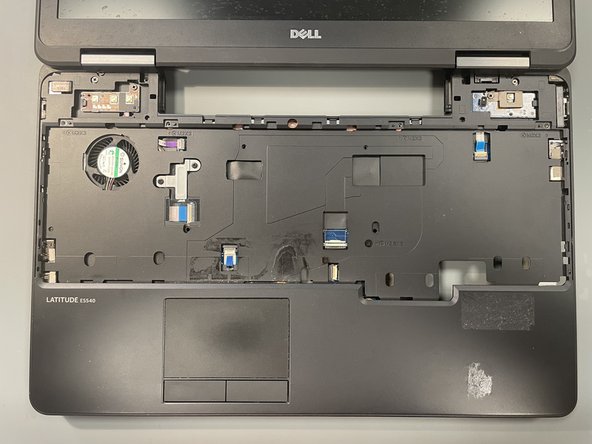
- Disconnect the ribbon cable with the help of a spudger and remove the keyboard
- Remove the M2x3 screw from the rear of the cowling using a Phillips #0 screwdriver
- Remove the M2x8 screw from the inside of the cowling using a Phillips #0 screwdriver. Gently remove the cowling minding the catch on the bottom
- Repeat the same steps on the opposite side to remove the second cowling


