Samsung NP540U3C-A02UB Speaker Replacement
ID: 149630
Description: This guide covers how to replace the speakers...
Steps:
- Turn off the laptop before beginning disassembly and unplug it from the power cord.
- Place the laptop flat with its bottom facing up.
- Remove one 4 mm Phillips #00 screw labeled "HDD Memory".
- Gently release the 3 clips holding the HDD cover with the plastic opening tool.
- Remove the HDD cover from the device.
- Remove the four 6 mm Phillips #00 screws attaching the hard drive to the case.
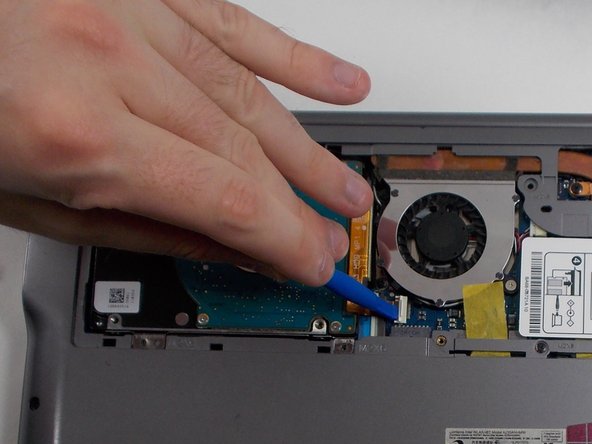
- Using the plastic opening tool, push the hard drive connector clip upwards in order to release the cable.
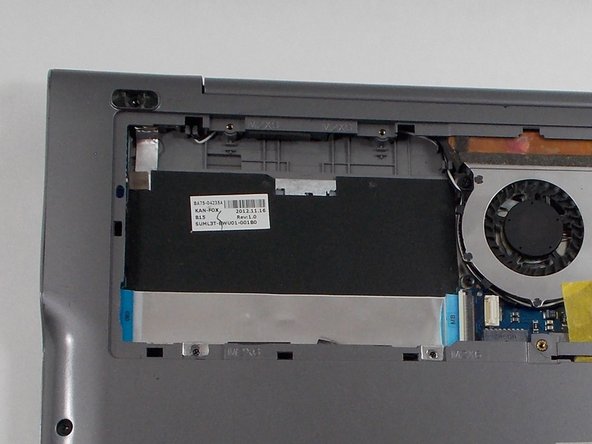
- Remove the hard drive from the case.
- Remove the following screws holding the case together:
- 6x 4mm Phillips #00 screws.
- 3x 6mm Phillips #00 screws.
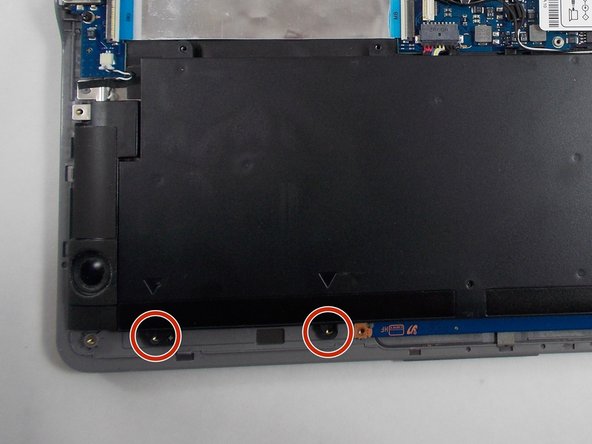
- Using the opening tool, remove the two rubber pads just above the hard drive cover.
- Remove the 2x 4mm Phillips #00 screws formerly concealed by the pads.
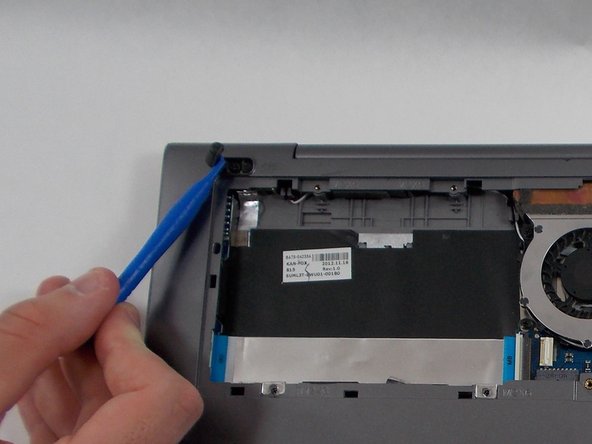
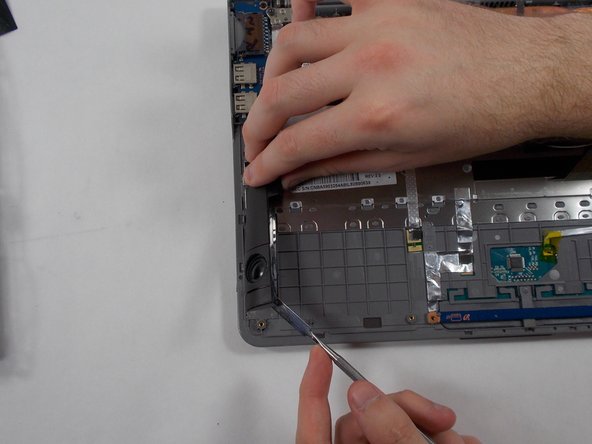
- Using the plastic opening tool, gently lift and remove the back cover.
- There are clips along the edges of the back cover that hold it in place. Be careful not to break these.
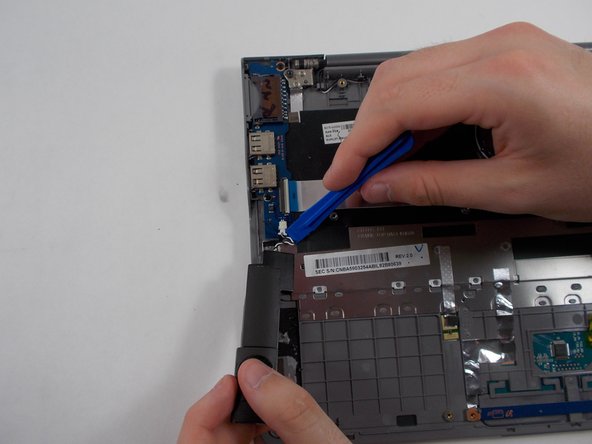
- Using your hands or the plastic opening tool, gently remove the tape holding the wires in place.
- Remove the 4x 4mm Phillips #00 screws securing the battery to the chassis.
- Using the plastic opening tool, gently pull the battery connector towards the battery to disconnect it.
- Remove the battery from the laptop.
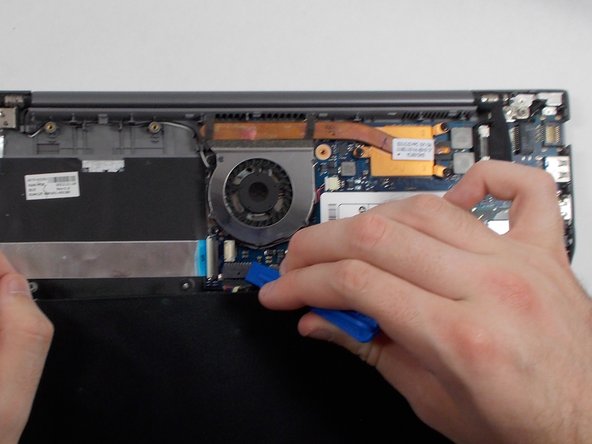
- Using the plastic opening tool, gently release the connector for the speaker(s) you are replacing.
- These will be found on opposite sides of where the battery was attached.
- Using the metal spudger, scrape away the adhesive underneath the speaker that binds it to the laptop casing.
- Remove the speaker from the case.