Xerox B201 Toner Roller Replacement
ID: 151591
Description: One of the most common reasons a printer's...
Steps:
- Start by pressing the rectangular button on the top-front side of your printer.
- A door will open, exposing two parts on top of each other, the toner cartridge on top and the toner drum on the bottom.
- Use the handle of toner cartridge to slide it out towards you.
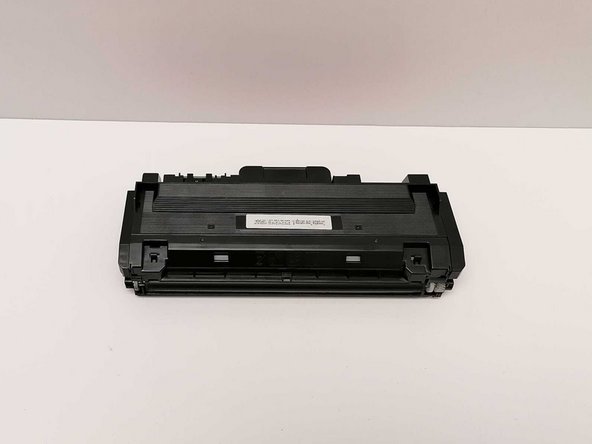
- You will be working on this particular part.
- Rotate the toner cartridge so that the handle is facing away from you and the ink roller is facing you.
- Use the Phillips #0 screwdriver to remove the two 6.5 mm screws on each side of the toner cartridge.
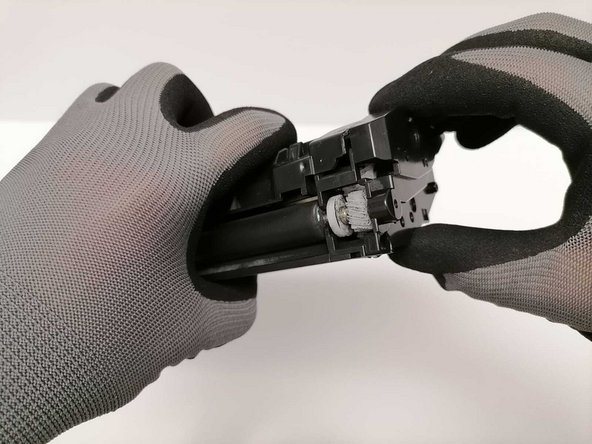
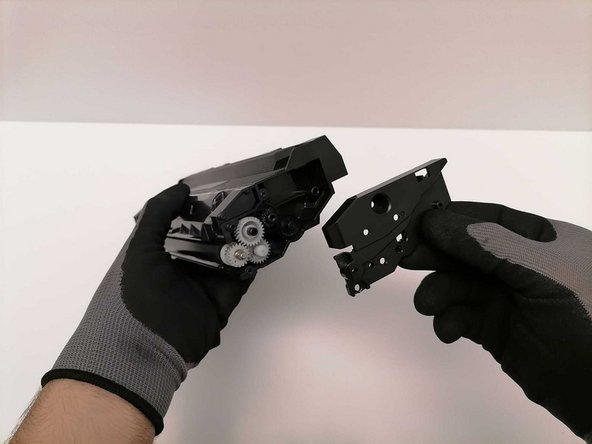
- On the right side, hold the toner cartridge firmly with one hand, and use your fingers to remove the plastic casing which covers the gearbox.
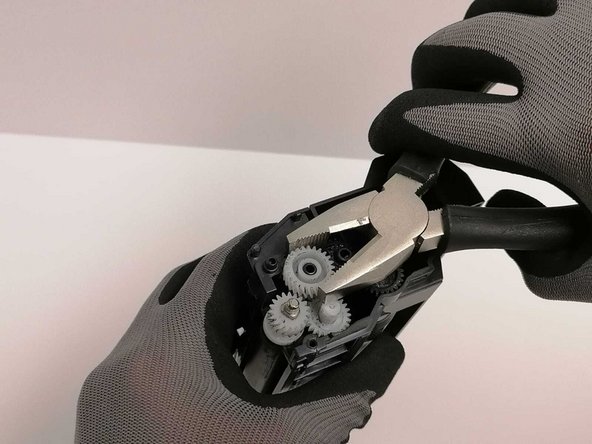
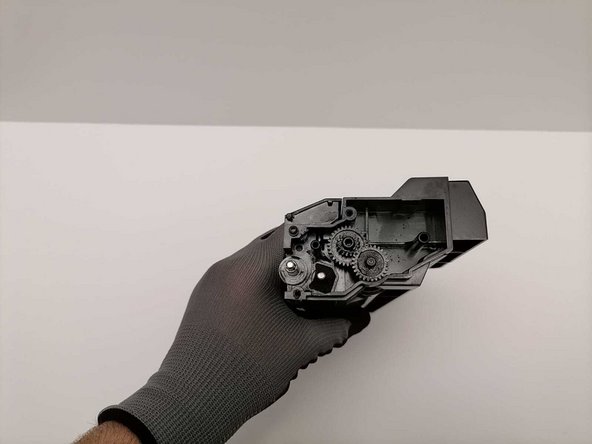
- Use a small plier to remove the three white gears from the toner cartridge.
- Don't remove the two black gears.
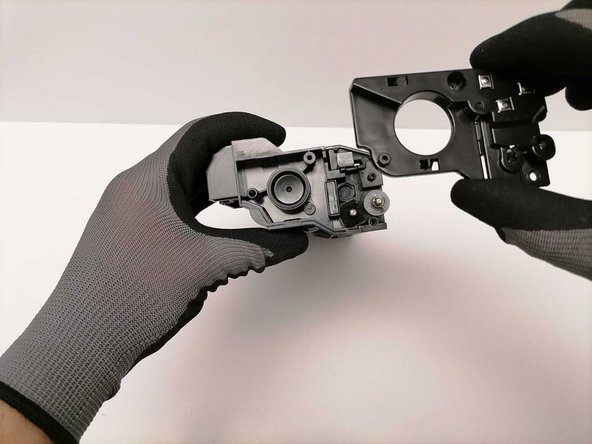
- Remove the plastic casing on the other side of the toner cartridge.
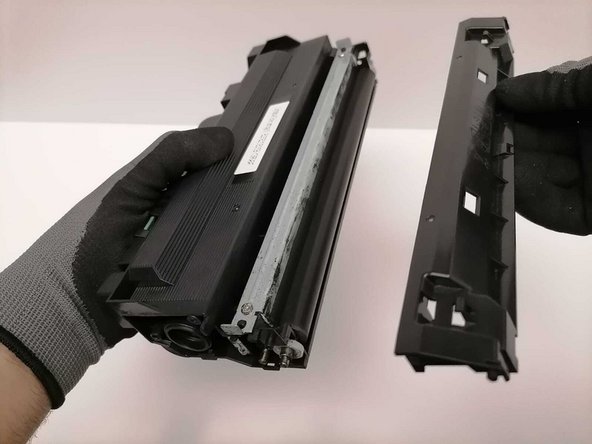
- Remove the rectangular plastic case, (that protects the toner roller), in the center of the toner cartridge.
- Rotate the toner cartridge so that the metal line is facing you.
- The black cylinder is the toner roller.
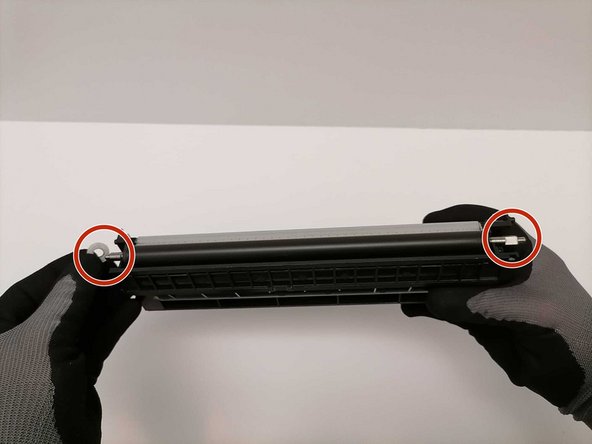
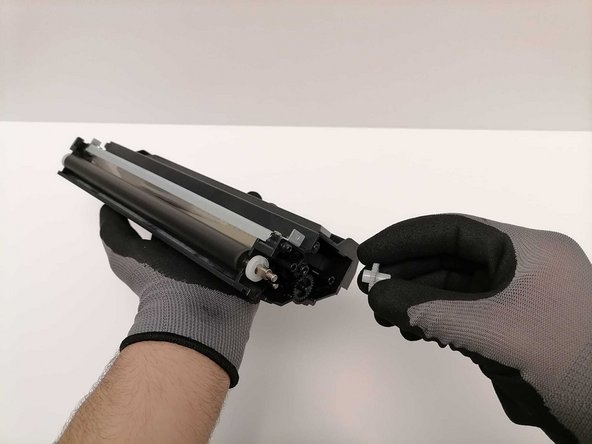
- Remove the two white circular spacers on both sides of the toner cartridge.
- Use pliers to remove them if they are difficult to remove by hand.
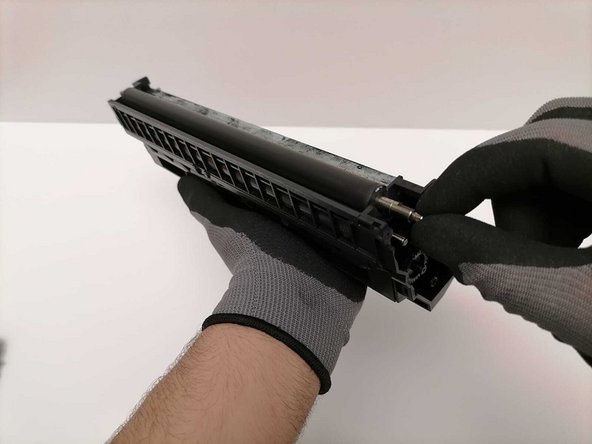
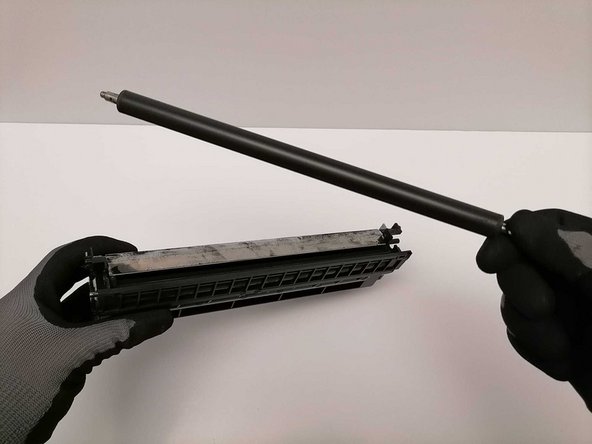
- Hold the end of the right side of the toner roller by the metal rod.
- Hold the toner cartridge firmly with your other hand and remove the toner roller.
- Use a clean and dry, lint-free cloth to remove any spilled ink on the outsides of the hopper.
- Do NOT touch the inside of the toner cartridge with your hand or cloth.
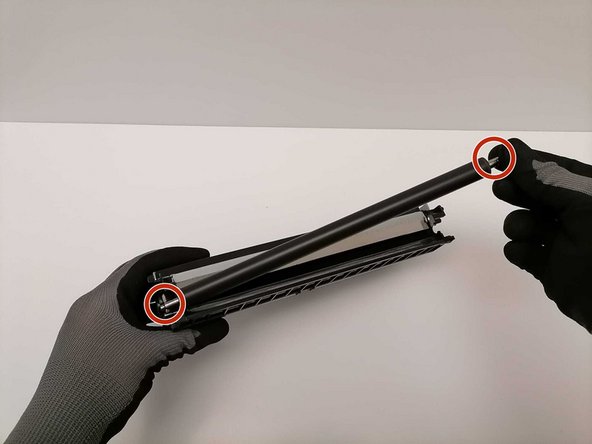
- Hold the metal ends of the new toner roller and carefully put it back in place.
- Do NOT touch the toner roller with your hands or a cloth. Use the metal ends on each side of the toner roller.
- Place the two white circular spacers back on both sides of the toner roller.
- Place the three white gears back on the right side of the toner roller.
- Make sure the three white gears are in place, and that they all rotate synchronously.
- Place the plastic case back on the toner cartridge.
- Use a Phillips #0 screwdriver to put the four 6.5 mm Phillips #0 screws back in place.
- Place the toner cartridge back in your printer. You are done!