How to Replace KBD67 Lite R3 Keyboard Switch Spring
ID: 151638
Description: Even though keyboard switches are made to last...
Steps:
- Align the keycap puller to the keycap.
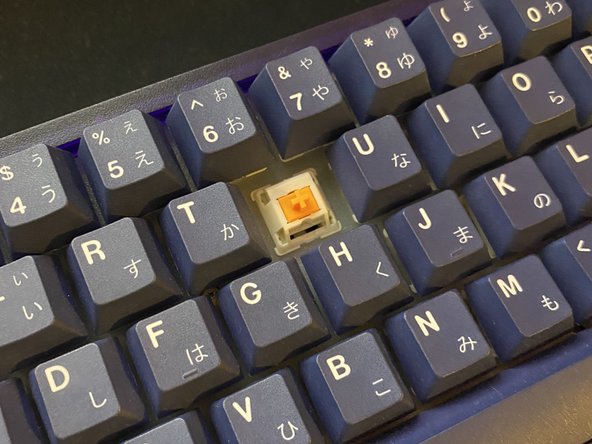
- Gently pull vertically on the keycap to remove it, exposing the key switch.
- Align the key switch puller with the key switch that you're removing.
- Pull the key switch out of the keyboard.
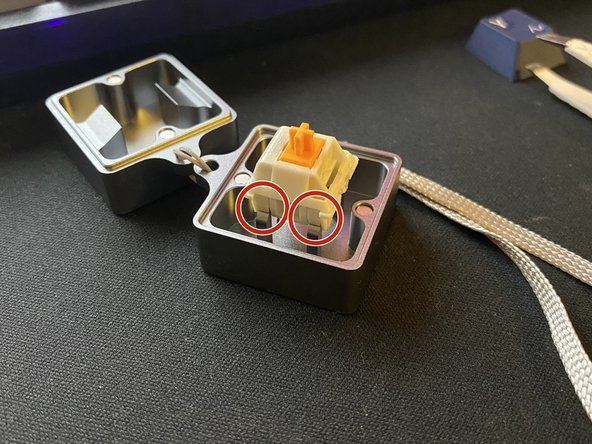
- Locate the side of the switch that has latches.
- Place the side of the switch with latches on top of the key switch opener legs.
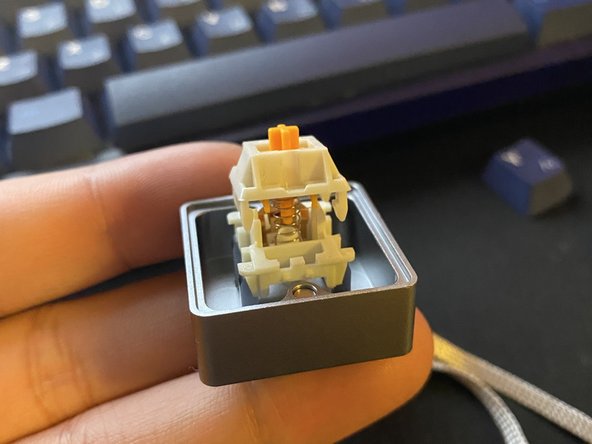
- Apply gentle force pushing the switch down on the switch opener to open up the switch.
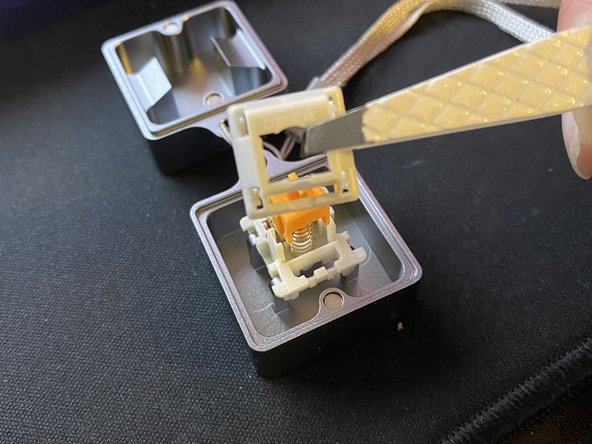
- Remove the top housing and stem to reveal the switch spring.
- Remove the switch spring and proceed to replace it with another spring of your choice.
- Locate the side of the switch that has legs, then place the switch on top of the spring. with the legs facing the metal plate.
- Push the top and bottom housing together to assemble the switch.
- Do not do this on the switch opener. The switch opener was used for photography purposes.
- Locate the switch pin holes on your keyboard.
- Locate the pins on your key switch and line it up with the keyboard pin holes.
- Apply gentle force pushing down until it clicks onto place.
- Put the key cap back onto the switch.
- Test the keyboard input and ensure that everything is functioning correctly.