Acer Nitro 5 AN515-55-56GN HDD Replacement
ID: 151654
Description: This guide will show you how to replace or...
Steps:
- Turn off the laptop and unplug it from the charging cord.
- Flip the laptop over so the backside is facing up.
- Use a Phillips #0 screwdriver to remove ten 9 mm screws.
- Use your fingers or an opening tool to remove the back case by separating it at the seam.
- Work your way gently around the perimeter to undo the clips.
- Remove the back case.
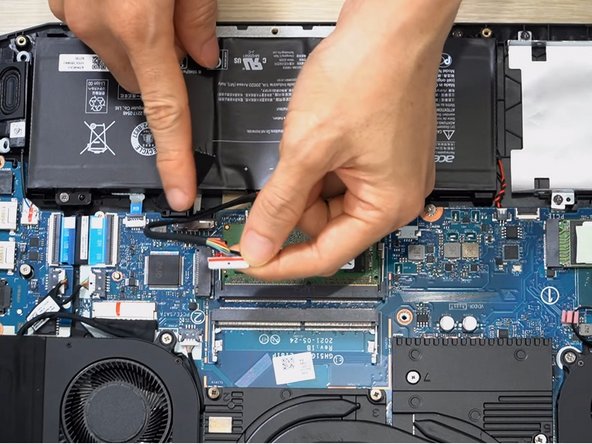
- Unplug the battery cable from the connector attaching the battery to the motherboard.
- Make sure that the laptop battery is unplugged or remove the battery before installing the HDD.
- Use the Phillips #0 screwdriver to remove four 3 mm screws from the hard drive bracket.
- Remove the bracket from the device.
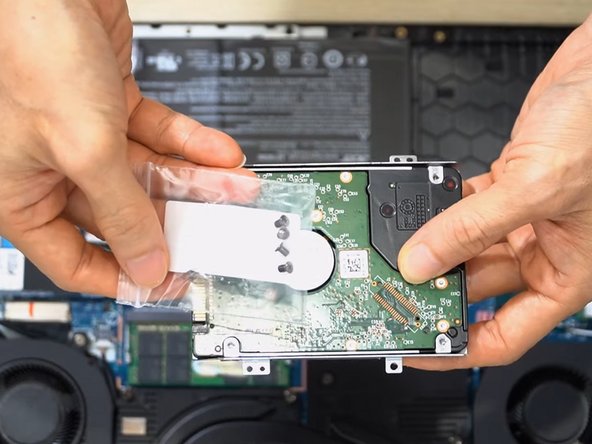
- Place the HDD 1TB in the bracket.
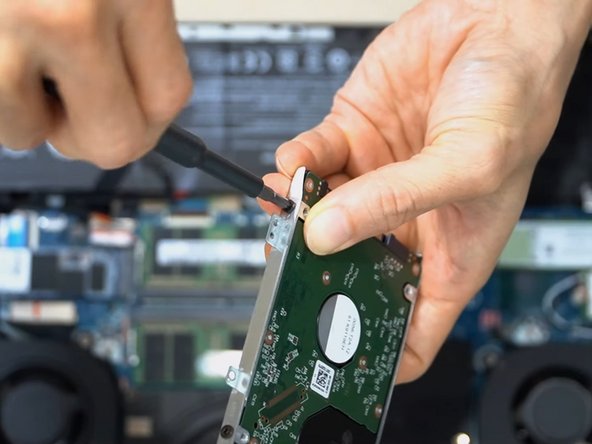
- Use the Phillips #0 screwdriver to secure the 2 mm screws that hold the HDD in the bracket.
- The 2 mm screws are included with the new HDD.
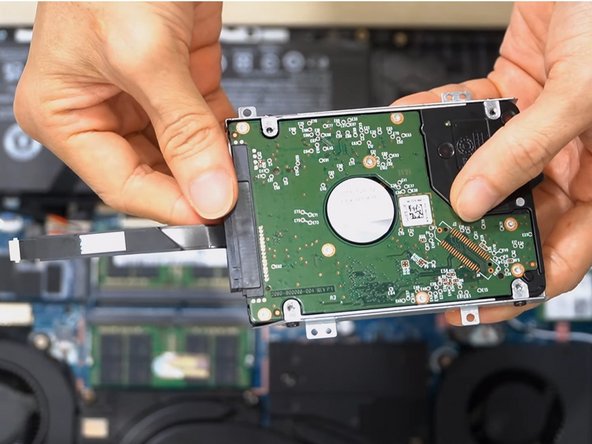
- Attach the SATA connector to the HDD.
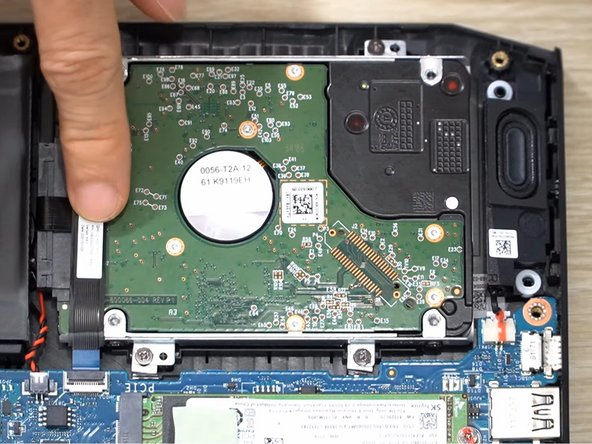
- Slide the HDD into the socket on the motherboard.
- Replace the four 3 mm screws using the Phillips #0 screwdriver.
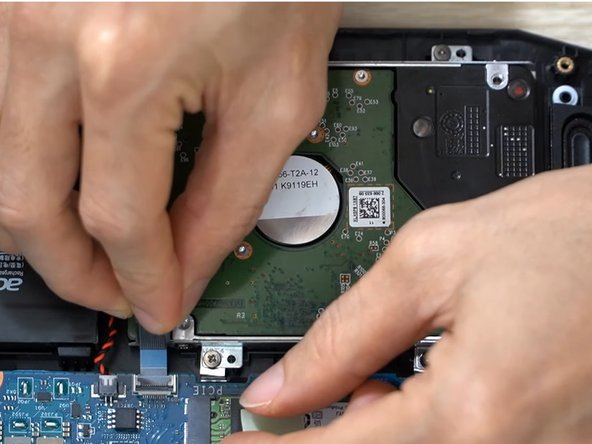
- Slide the hard drive cable into the connector on the motherboard.
- Flip the black lock down to secure the cable.