Sony MP-F75W Teardown
ID: 151675
Description:
Steps:
- Get your tools and a grounding mat and strap ready.
- Push the trigger arm inwards to get the disk tray in the "injected mode".
- Be careful not to pinch your fingers.
- Tipp: If you're planning to store the drive long term, you might consider lowering the disk tray beforehand .
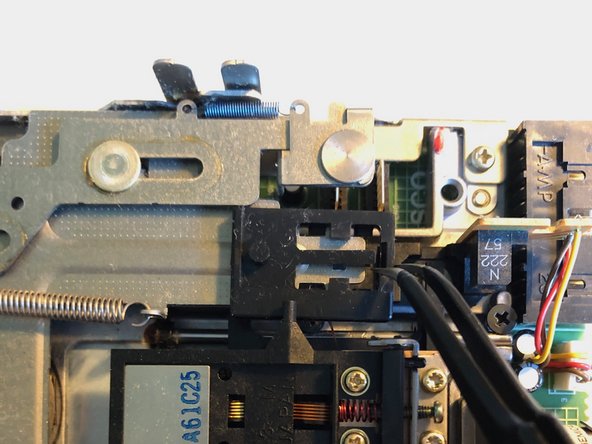
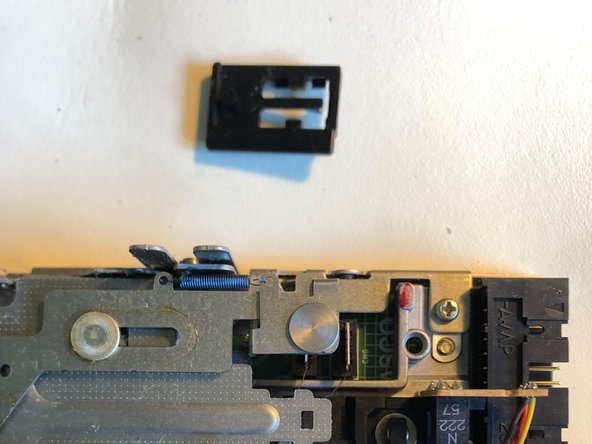
- Gently lift the retaining clip.
- Then move the head stop to the rear of the drive to remove it.
- Make sure, the disk tray is lowered, before attempting this step!
- Do not bend the head assembly!
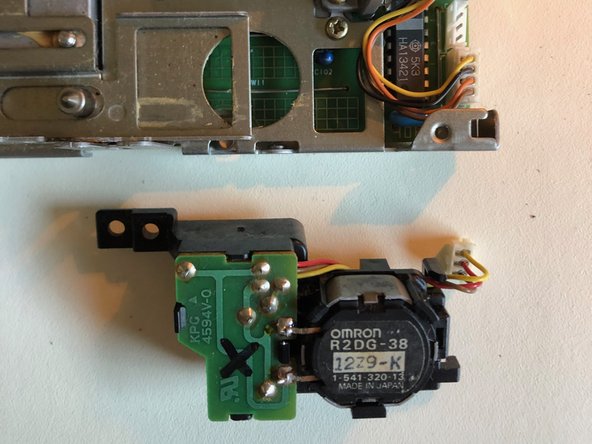
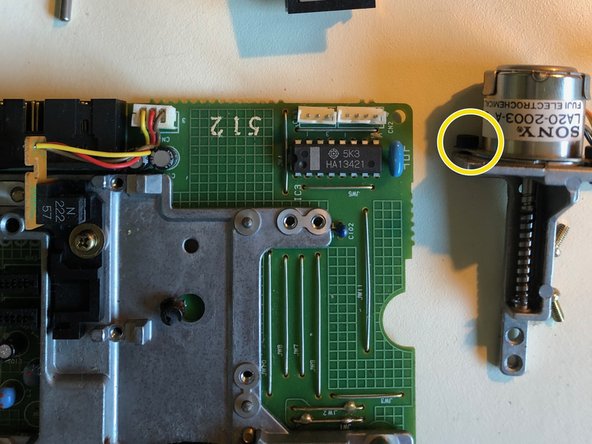
- Unscrew the Eject Motor Assembly.
- Gently unplug it's connector.
- Lift the Motor Assembly up and remove it.
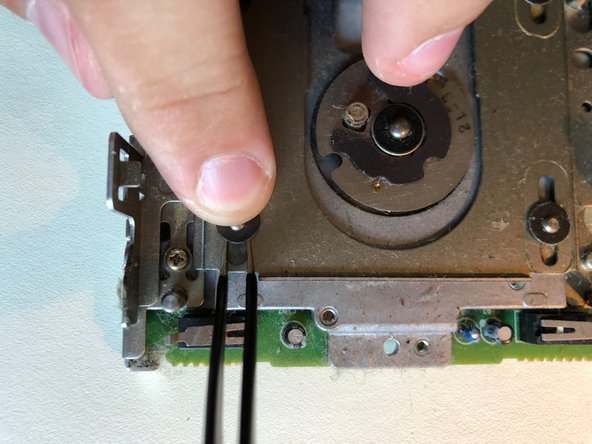
- Remove the retaining washers (be careful not to loose them!)
- Be careful not to loose these washers. They're pretty much unobtainium.
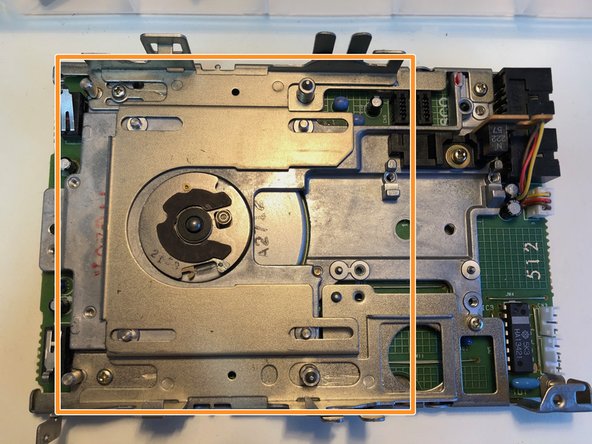
- Lift the Slide Plate up and remove it entirely.
- Remove the two brass screws.
- Gently unplug the Stepper Motor Assembly and remove it.
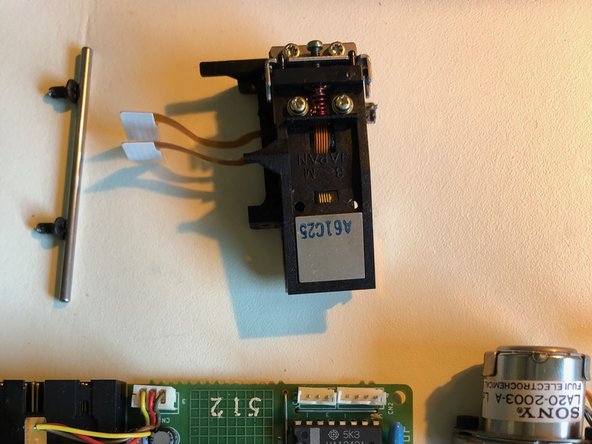
- You should never ever unscrew the bolts for the head alignment, undless there's something wrong with it.
- Gently unplug the Head Assembly.
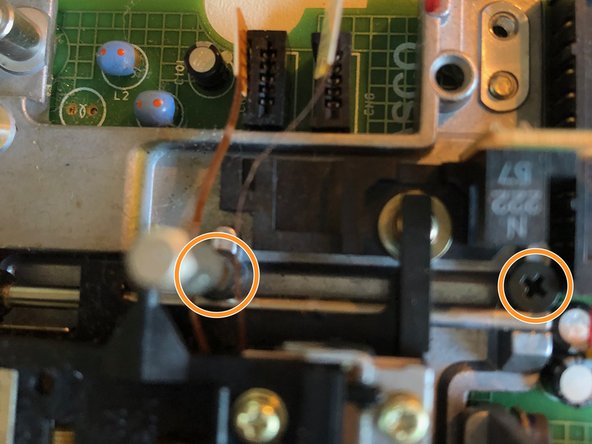
- Unscrew the black screws to remove the Slide-guide shaft.
- Remove the Head Assembly with utmost care.
- Do not open the head assembly too far. Doing so might damage ist completely.
- Unscrew and remove the Lateral Brackets.
- Unscrew …
- … and remove the Switch PCB.
- Desolder …
- … unclip …
- … remove PCB carefully, not to break the delicate switch.
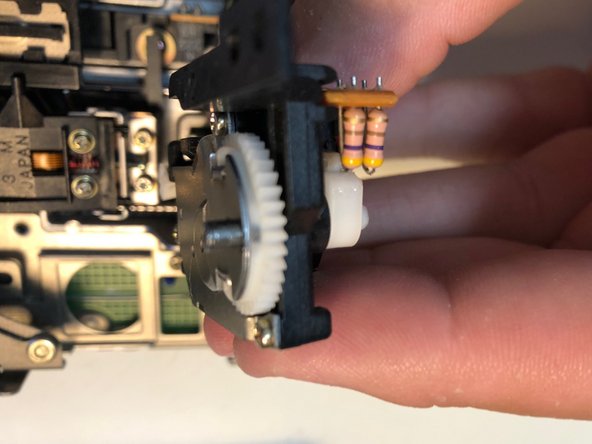
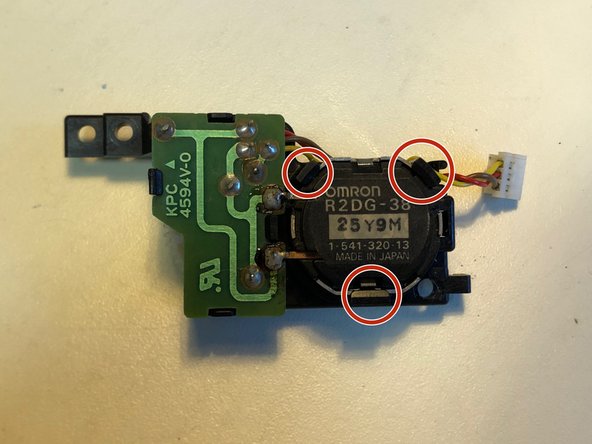
- Carefully unclip the (desoldered) motor.
- Pay attention to the cable routing!
- Open the eject motor.
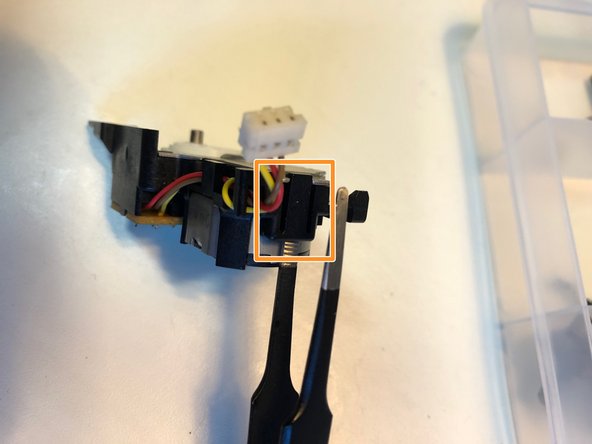
- If your motor is of the old design and held together using clips, bend one clip using tweezers or a long flat blade scredriver.
- Handle all clips with utmost care! You will break them if you push too hard.
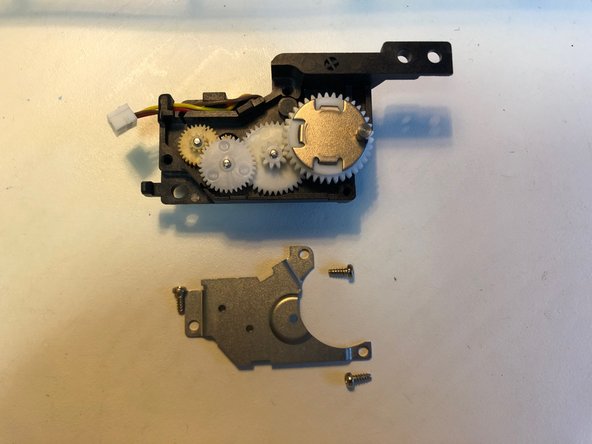
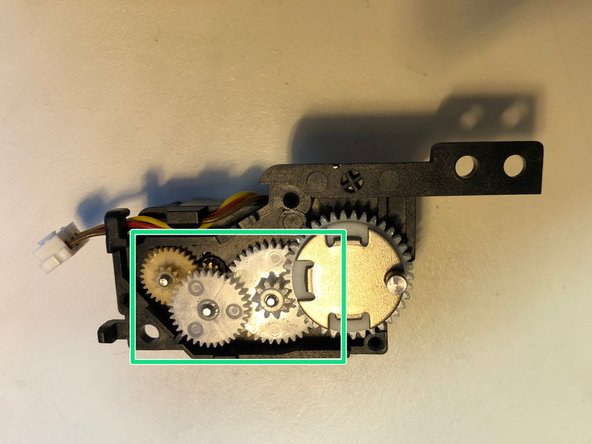
- Remove the big eject wheel by pinching the clip and pushing through the connecting rod.
- Remove the other gears.
- Be especially careful when opening clips.
- The small yellow gear is the infamous "cheese gear." It will deteriorate and crumble eventually, thus resulting in a no longer working eject mechanism.
- You have sucessfully disassembled the complete drive.