Acer Aspire 5 A515-54 Hard Drive Replacement
ID: 151709
Description: This guide will show you how to replace or...
Steps:
- Turn off and unplug your Acer Aspire 5 A515-54.
- Flip it over so the backside is facing up.
- Use the Phillips #0 screwdriver to remove eleven 9 mm screws securing the back cover.
- Use a prying tool to gently open the back cover of the laptop.
- Be sure to ground yourself or wear an antistatic bracelet to avoid static discharge and damage to the motherboard.
- Disconnect the battery by gently pulling out the connector.
- Notice there is a mounting tray with a cable for the additional HDD. Remove the four 3 mm screws with a Phillips #0 screwdriver.
- Take out the mounting tray and connector to prepare for the hard drive installation in the next step.
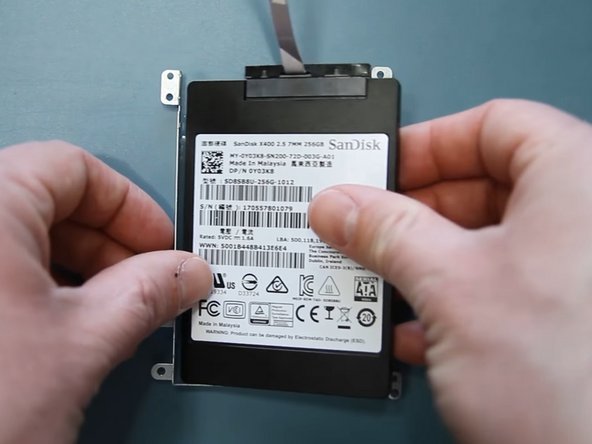
- Take the connector from previous step and connect it to the new hard drive.
- Insert the drive into the mounting tray.
- There are 2 mm screws that come with the laptop box.
- Use the Phillips #0 screwdriver to secure the 2 mm screws to the mounting tray, which holds the HDD .
- Slide the mounting bracket with the hard drive into the socket (with the cable facing towards the battery).
- Use the Phillips #0 screwdriver to replace the 3 mm screws and hold the bracket in place.
- Use the Phillips #0 screwdriver to remove the single screw attaching the wireless card to the motherboard.
- Gently slide the wireless card out of the socket and set it aside in order to connect the hard drive to the motherboard.
- Gently insert the hard drive cable into the connector on the motherboard and lock it in place.
- Slide the wireless card back into the socket and using the Phillips #0 screwdriver, secure with the single screw.