Samsung Galaxy S21 Wireless Charging Coil Replacement
ID: 151728
Description: Use this guide to remove or replace the...
Steps:
- Use a Phillips screwdriver to remove the five 4 mm-long screws securing the motherboard bracket to the frame.
- Use a pair of tweezers to gently pull up and unclip the motherboard bracket from the frame.
- Do not completely remove the bracket yet, as it's still attached to the wireless charging coil.
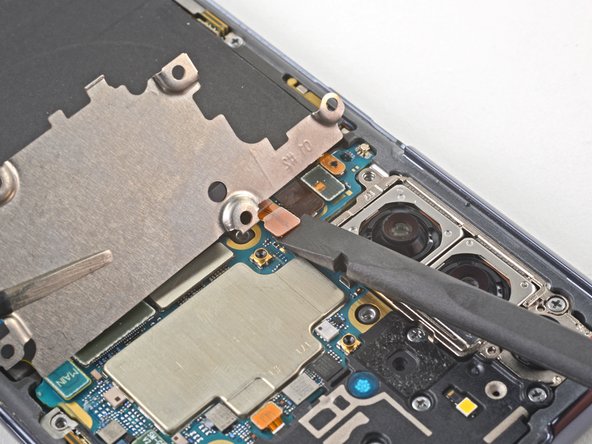
- While using tweezers, or your fingers, to hold the motherboard bracket out of the way, use a spudger to pry up the battery press connector.
- Take care to pry only under the edge of the connector to prevent damaging the socket itself and surrounding components.
- To re-attach press connectors like this one, carefully align and press down on one side until it clicks into place, then repeat on the other side. Do not press down on the middle. If the connector is misaligned, the pins can bend, causing permanent damage.
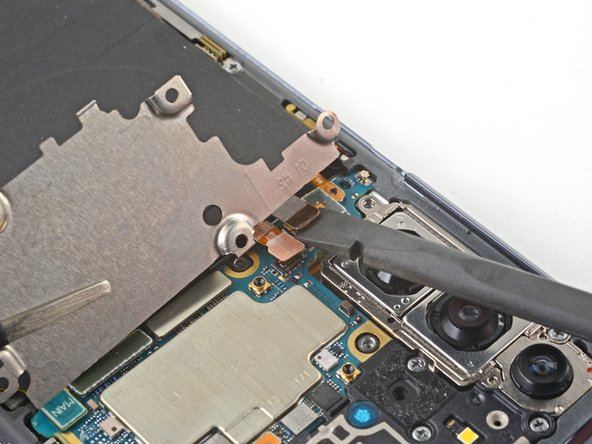
- While holding the motherboard bracket out of the way, use a spudger to pry up and disconnect the wireless charging coil's press connector.
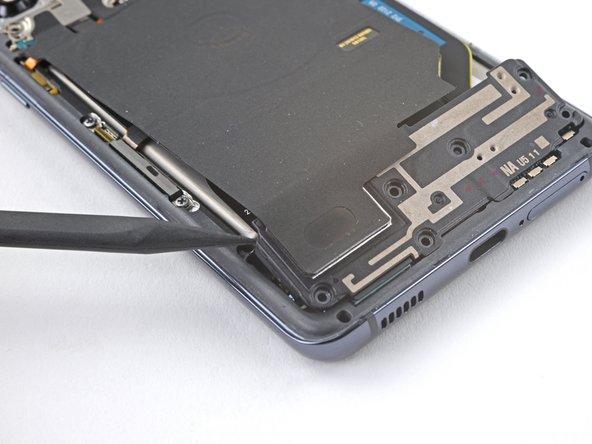
- Use a Phillips screwdriver to remove the six 4 mm-long screws securing the loudspeaker to the frame.
- Insert the point of a spudger into the notch in the top-left corner of the loudspeaker and pry up to release the clips holding it in place.
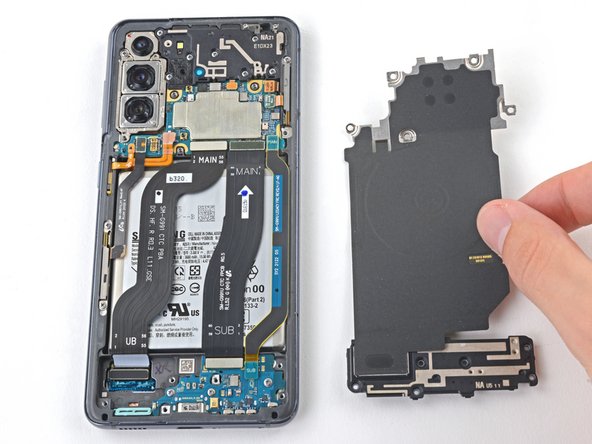
- Remove the wireless charging coil.