Samsung Galaxy S20 Plus Wireless Charging Coil Replacement
ID: 151736
Description: Use this guide to replace the wireless charging...
Steps:
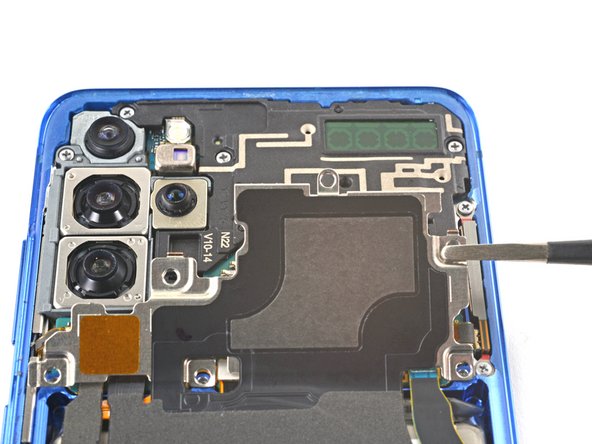
- Use a Phillips #00 screwdriver to remove the six 4 mm-long screws securing the motherboard bracket.
- Throughout this repair, keep track of each screw and make sure it goes back exactly where it came from.
- Use a pair of tweezers to gently pull up and unclip the motherboard bracket from the plastic midframe.
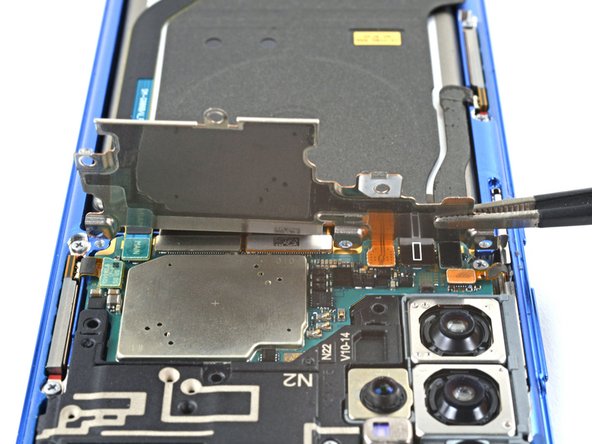
- Do not completely remove the bracket yet, as its still attached to the wireless charging coil.
- Gently tilt up the motherboard bracket so the orange battery connector is accessible.
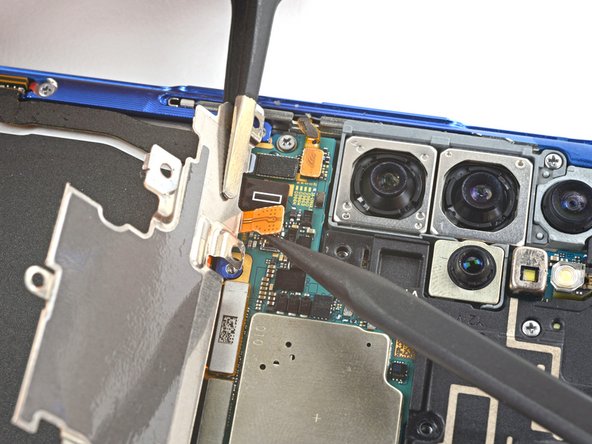
- Use a spudger to pry up and disconnect the battery connector.
- When you disconnect connectors like these, be careful not to dislodge the small surface-mounted components surrounding the socket.
- Use a spudger to pry up and disconnect the wireless charging coil connector.
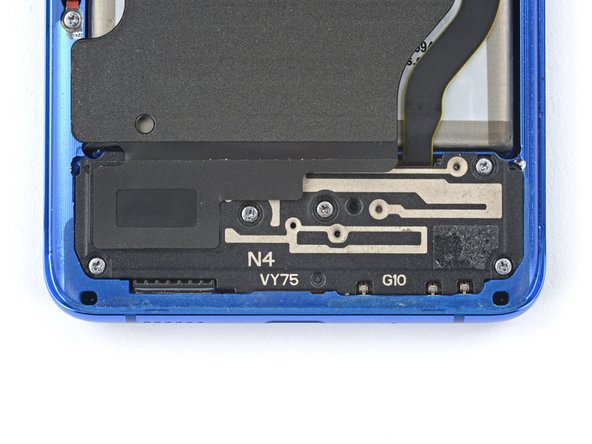
- Use a Phillips #00 screwdriver to remove the five 4 mm-long screws securing the loudspeaker and lower midframe.
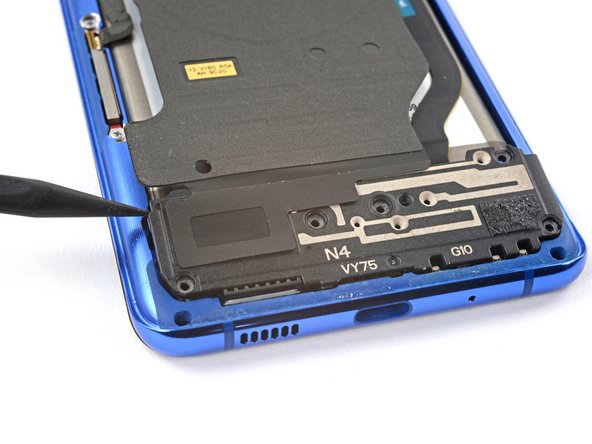
- Insert the point of a spudger into the notch in the top left corner of the midframe and pry up to release the clips holding it in place.
- Remove the loudspeaker and lower midframe.
- Use a pair of blunt-nose tweezers to gently peel the wireless charging coil away from the device.
- Remove the wireless charging coil.
- During reassembly, first reconnect the charging coil and battery connectors and refasten the motherboard bracket screws to properly align everything into place, then firmly press the coil pad down to adhere it.