Galaxy S20 Wireless Charging Coil Replacement
ID: 151743
Description: This is a prerequisite-only guide! This guide...
Steps:
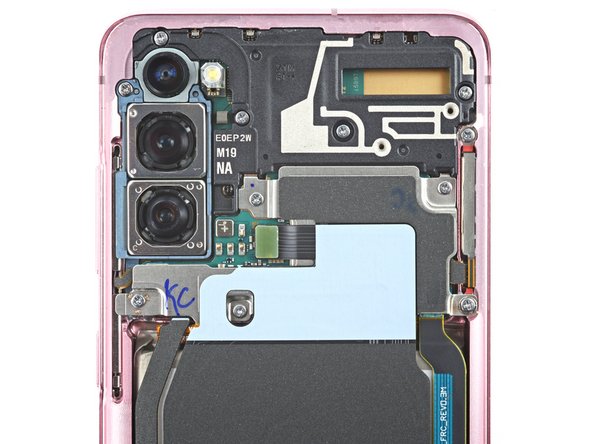
- Use a spudger to pry up and disconnect the wireless charging coil's press connector on the motherboard.
- Use a Phillips #00 screwdriver to remove the five 4 mm-long screws securing the motherboard bracket.
- Throughout this repair, keep track of each screw and make sure it goes back exactly where it came from.
- Use a pair of blunt-nose tweezers to gently pull up and unclip the motherboard bracket from the plastic midframe.
- Do not completely remove the bracket yet, as its still attached to the wireless charging coil.
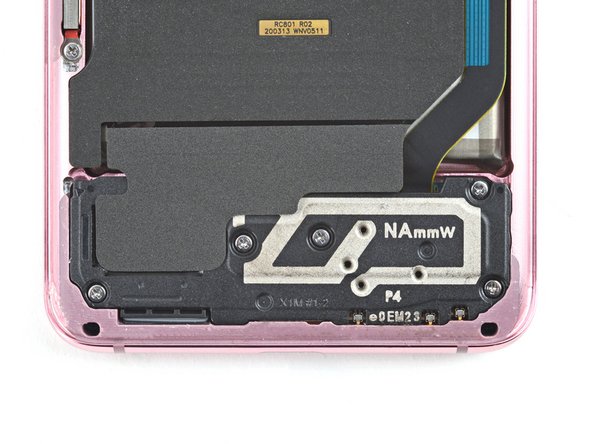
- Use a Phillips #00 screwdriver to remove the five 4 mm-long screws securing the loudspeaker and lower midframe.
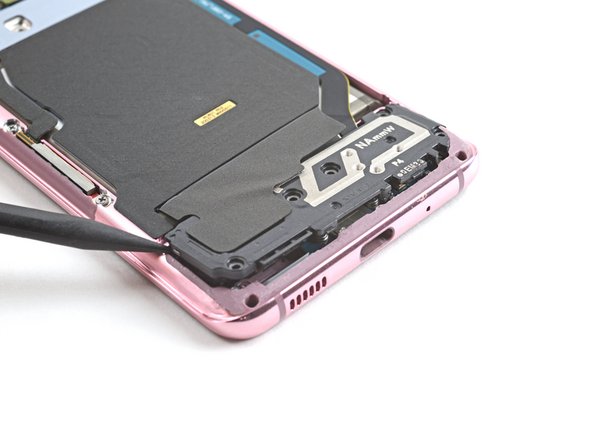
- Insert the point of a spudger into the notch in the top left corner of the midframe and pry up to release the clips holding it in place.
- Insert the point of a spudger into the notch in the top left corner of the midframe and pry up to release the clips holding it in place.
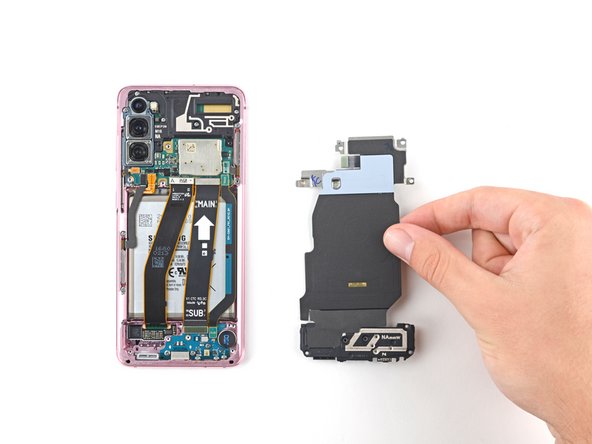
- Remove the wireless charging coil.