How to Fix/Prevent Joystick Drift on a DualShock 3
ID: 151813
Description: The purpose of this guide is to fix/prevent...
Steps:
- Use a Phillips #1 screwdriver to remove the five 7.2 mm Phillips screws which hold the back shell to the controller.
- Remove the back shell from the controller by pulling the front and back shells apart at the same time.
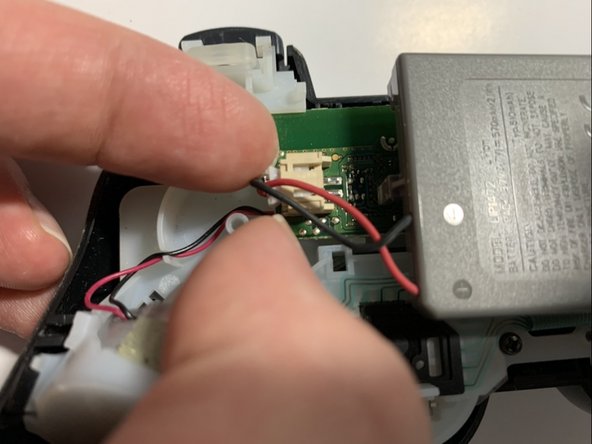
- Disconnect the battery from the controller by pressing the two sides of the connector and pulling it out.
- Do not pull on the red and black wires to avoid damaging the connection.
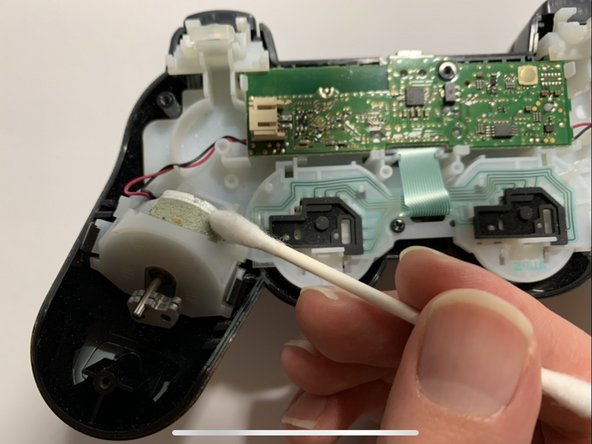
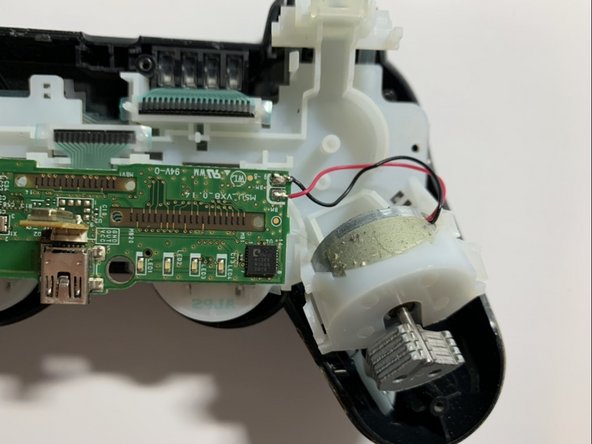
- Use a toothpick to remove any sticky dirt like substances from the rumble motors.
- Use the cotton swab to remove any dust particles or hairs from the rumble motors.
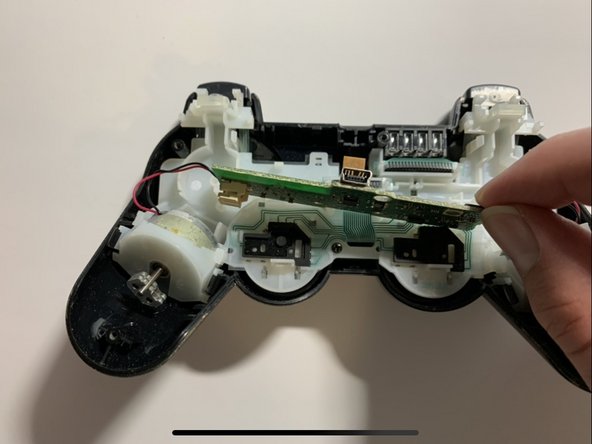
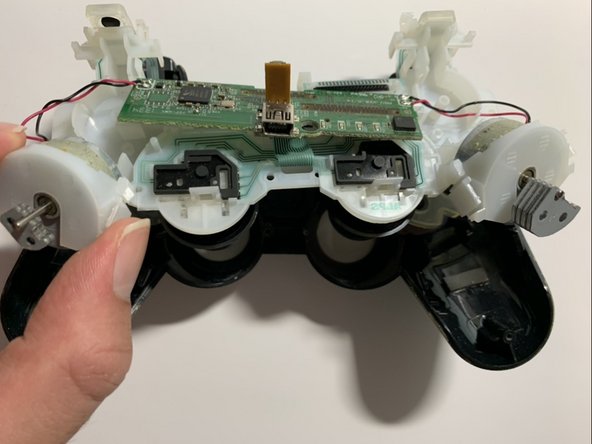
- Remove the motherboard by pushing the two white hooks on both the left and right side of the motherboard backwards.
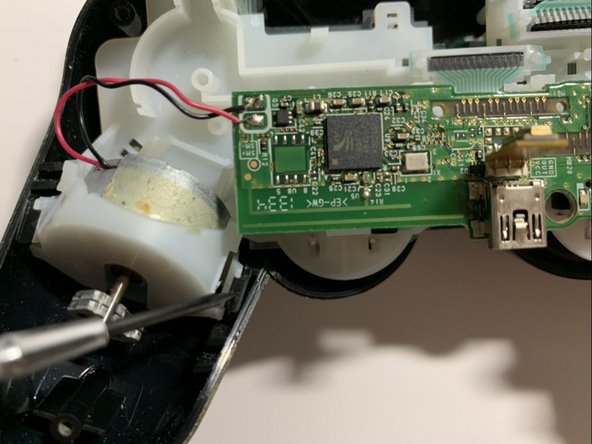
- Use a Phillips #1 screwdriver to remove the single 7.2 mm screw, which secures the white body piece inside the controller.
- To remove the white body piece, start by using your fingers to unhook the small black hooks securing the left and right rumble motors.
- Remove the white body piece from the controller by pushing the unhooked left and right rumble motors in an upward direction.
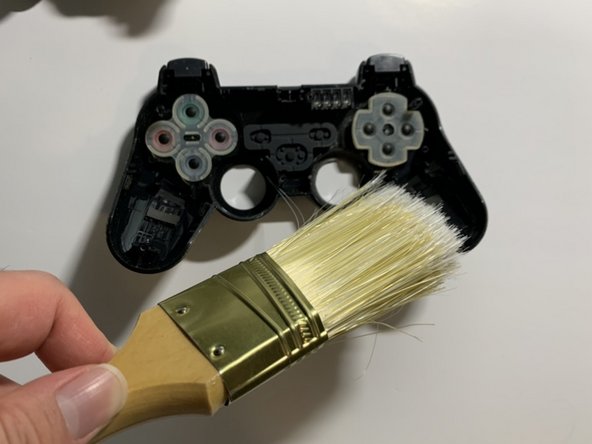
- Use the brush to remove dust/dirt particles from the inside of the front shell.
- Use a cotton swab to remove any dust/dirt particles in smaller crevices.
- Reattach the white body piece to the inside of the front shell by pushing the rumble motors back in place.
- The rumble motors are properly secured when you can see that the small black hooks are holding them firmly in place.
- Place the battery back onto the motherboard.
- Reconnect the battery by plugging the white connector piece back into the beige colored socket.
- Use the Phillips #1 screwdriver to screw the single 7.2 mm Phillips screw to secure the white body piece inside the controller.
- Snap the front and back shell together.
- Screw the five 7.2 mm Phillips screws on the back shell screw holders, using the Phillips #1 screwdriver.