How to Calibrate an Optical Fingerprint Sensor
ID: 152018
Description: Follow this guide to calibrate the in-screen...
Steps:
- Download the Self Repair Assistant app from ApkMirror (2.0.44)
- You may be prompted with a "File might be harmful" warning. If so, select "Download anyway."
- Open the "My Files" app.
- Navigate to the "Installation files" tab on the left side of the screen.
- Select the app on the right side of the screen.
- If the app doesn't show up on this panel, skip to the next step.
- Select "Install" to confirm the app's installation.
- Skip the next two steps.
- If your app didn't show up on the "Installation files" tab, follow the next two steps to rename the file.
- Navigate to the "Downloads" tab on the left side of the screen.
- Long press the download file until an orange checkmark appears to the left of it.
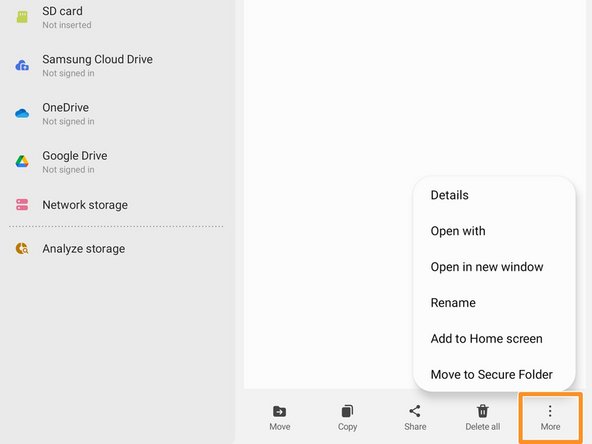
- Navigate to the bottom of the screen and select the "More" option.
- Select the "Rename" option.
- Delete the .jar at the end of the app's name.
- Your file should now appear in the "Installation files" tab.
- Open the Self Repair Assistant app.
- Select "Agree" to accept the Terms and Conditions.
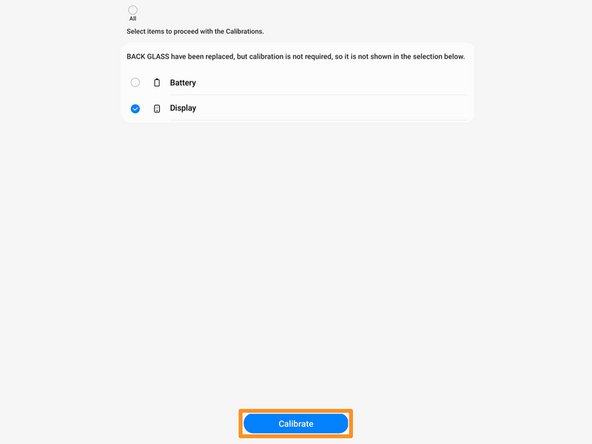
- Select the "Display" icon.
- Select "Continue" at the bottom of the screen.
- If you want to perform a battery cycle reset instead, follow this guide.
- Select "Start" to begin the fingerprint sensor calibration.
- Select "Start" to begin the fingerprint sensor calibration.
- Once the screen turns black, select "Start" again.
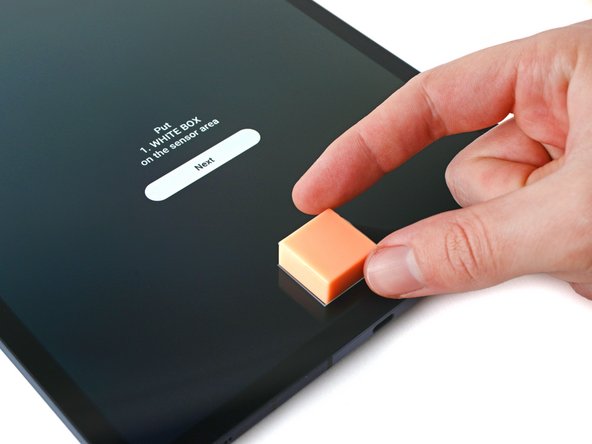
- Place the white box over the outline near the bottom of the screen.
- Cover the outline with the side on the box that matches the pattern.
- Make sure the white box completely covers the outline. Deviations could result in a "Fail" result or an inaccurate calibration.
- Use your finger to press down on the white box.
- While pressing down, use your other hand to select the "Next" icon near the top of the screen.
- Continue pressing until the "Calibrating" disappears.
- Place the black box over the outline near the bottom of the screen.
- Cover the outline with the side on the box that matches the pattern.
- Make sure the black box completely covers the outline. Deviations could result in a "Fail" result or an inaccurate calibration.
- Use your finger to press down on the black box.
- While pressing down, use your other hand to select the "Next" icon near the top of the screen.
- Continue pressing until the "Calibrating" disappears.
- Place the side of the small white box with the grooves over the inner portion of the outline near the bottom of the screen.
- Make sure the grooves on the box are vertical when placing it on the screen.
- Make sure the white box completely covers the inner outline. Deviations could result in a "Fail" result or an inaccurate calibration.
- Use your finger to press down on the small white box.
- While pressing down, use your other hand to select the "Next" icon near the top of the screen.
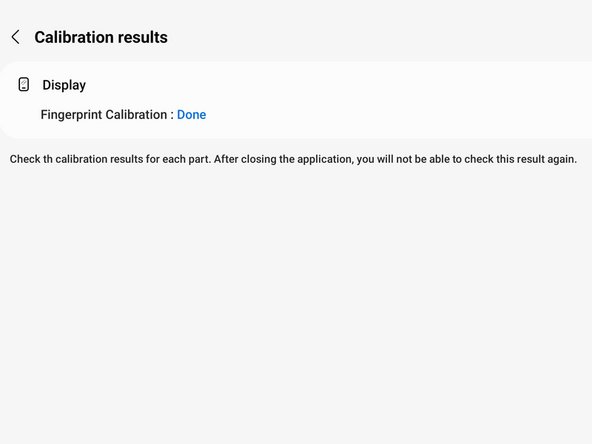
- Continue pressing until "Done" appears at the top of the screen.
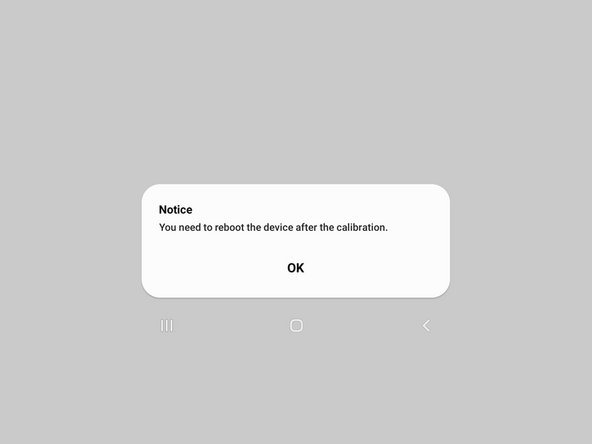
- You may need to reset your device for the calibration to apply.