Ender 3 / CR20/PRO Y axis Linear rail kit install
ID: 152460
Description:
Steps:
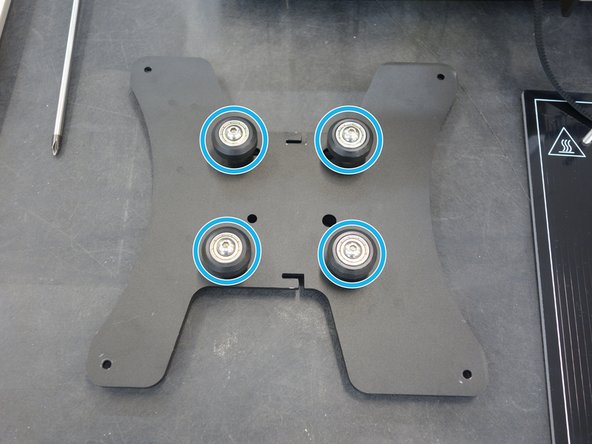
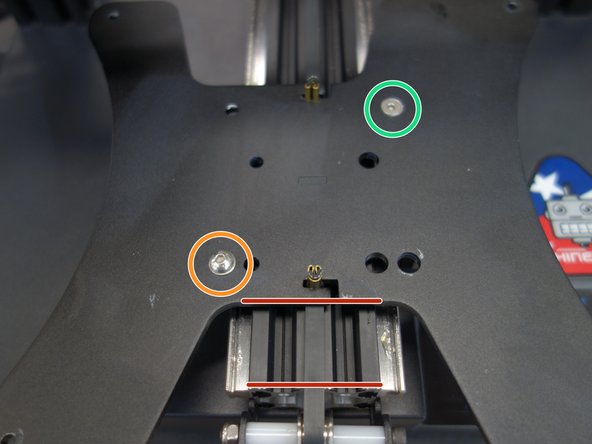
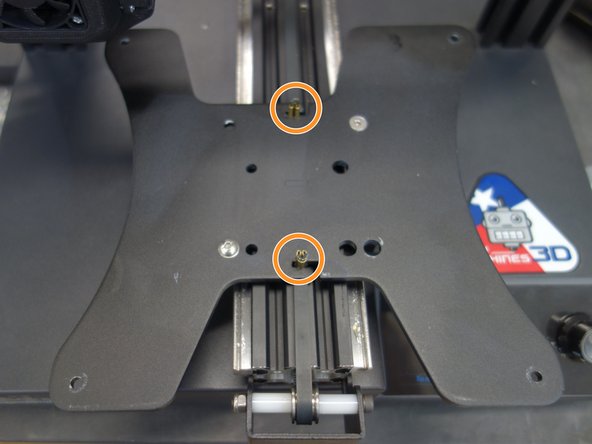
- Remove all 4 bed leveling screws for the Bed heater.
- Lift the bed heater and set it behind or to the left of the printer
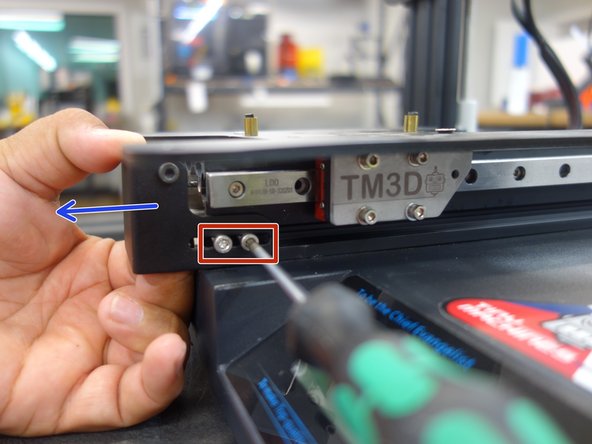
- Remove all 4 idler pulley bracket screws
- Lift pulley bracket to remove tension on the belt
- Remove Y belt
- Remove idler pulley bracket and set aside all parts
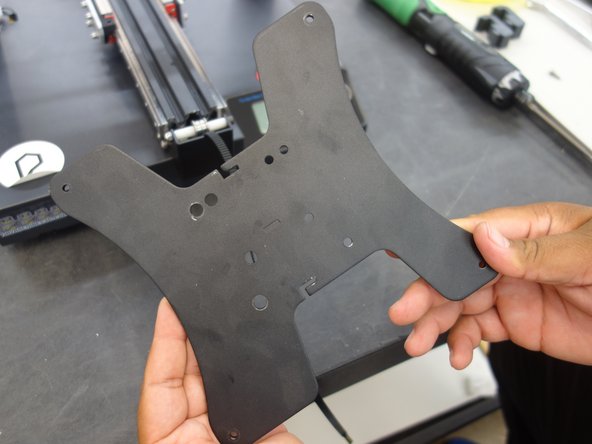
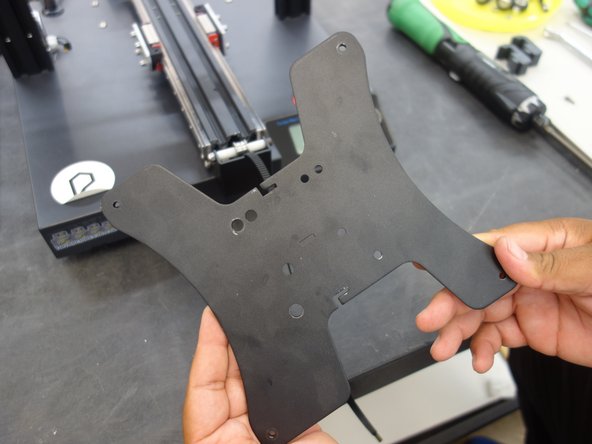
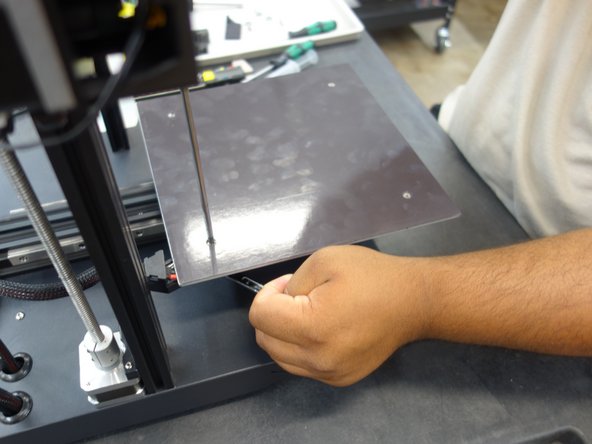
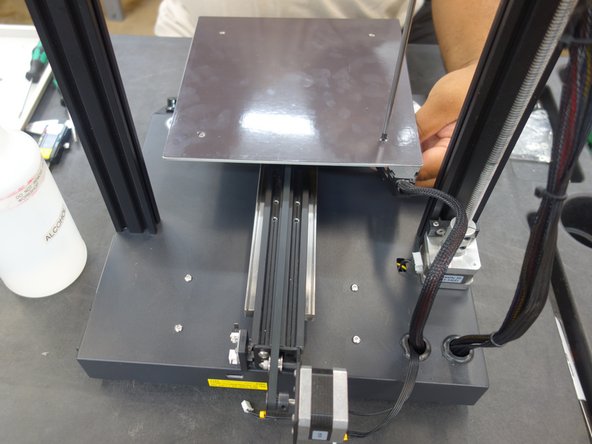
- Slide off Y carriage of the front of the Y axis extrusion
- Remove V-Slots wheels
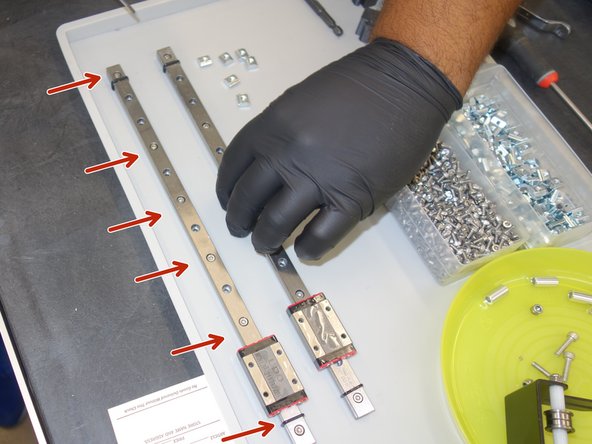
- Remove Linear Rails for packaging and Wipe off excess oil with a lint free cloth
- Preinstall M3x8 SHCS and Sliding Tnuts
- Take Note to skip 2 holes between each fastener, and ensure to mirror this process from each end of the rail until you overlap in the middle
- Note Sliding in the Linear rails do not allow rail block to slide off the end of the rails.
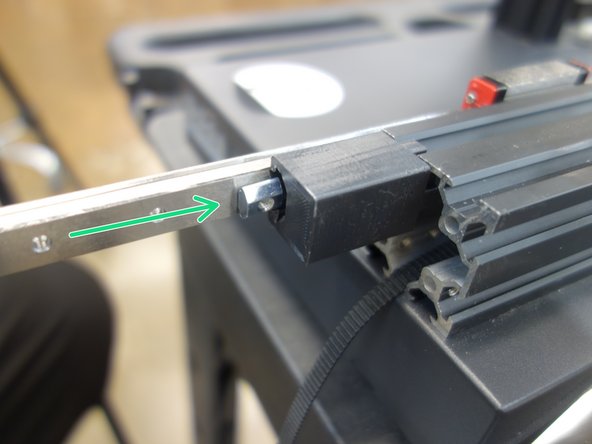
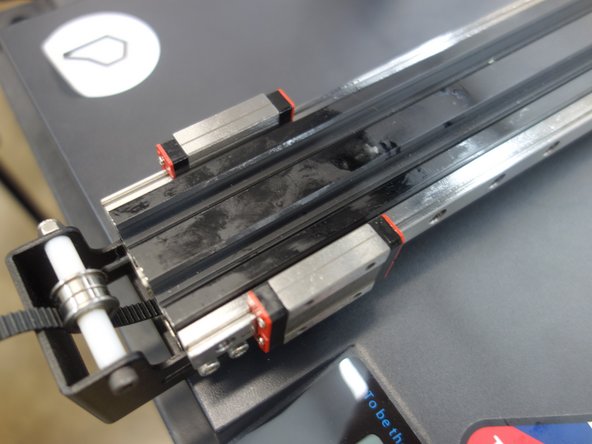
- Insert Printed T-nut guide to help with sliding the rail into the top slot on the Y axis extrusion
- Slide the rails into the top T-slot
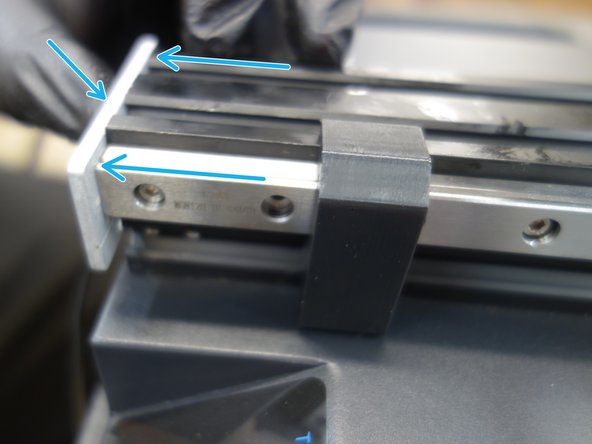
- Aline rails with the end of the extrusion using one of the included stiffener plates as a stop
- Note when sliding on Rail alignment Jigs do not allow Linear rail block to slide off the end of the rails.
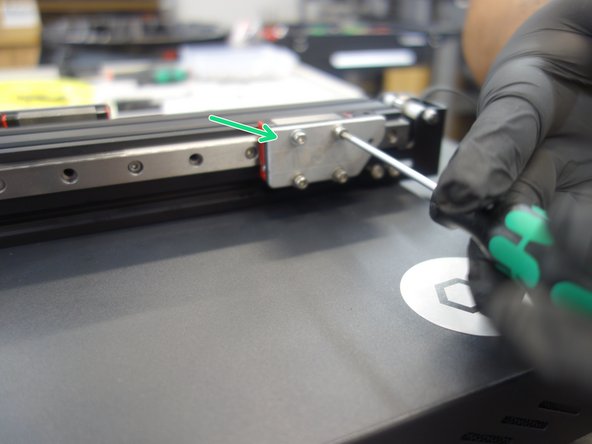
- Tighten the M3 mounting bolts to the front of the rail to the back on both sides
- Linear rail Block mounting hardware Per rail block mounting hole
- M3x12 SHCS
- M3 Flat Washer Per hole
- Split lock washer
- Stiffener plate 5th hole Screw (M3x10 SHCS with M3 washer)
- M3 Hex nut
- Right side
- Left side
- M4x10 FHCS
- M4x12 BHCS
- M4 washer
- M4 washer large OD
- M4 FHCS screw first. Then attach the M4x14S BHCS screw with the washer Stack.
- Slide the Y Carriage forward and check that Y Carriage is parallel to that front of the Y extrusion. Then tight the screws fully.
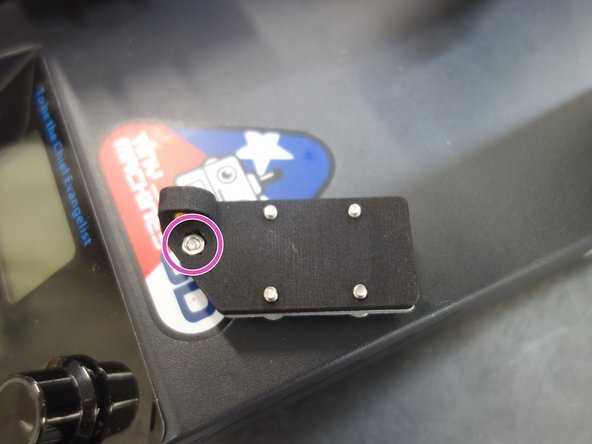
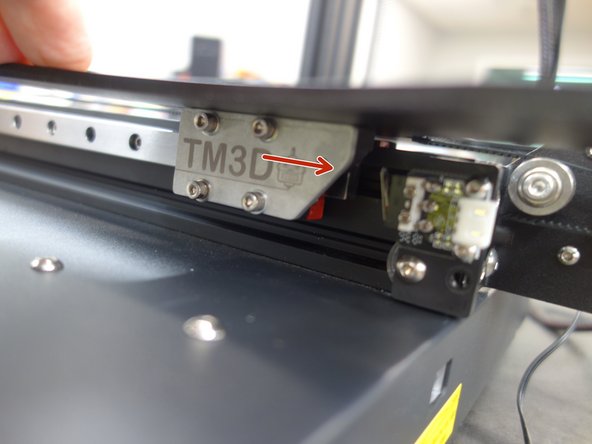
- Install this spacer between the Endstop bracket extrusion
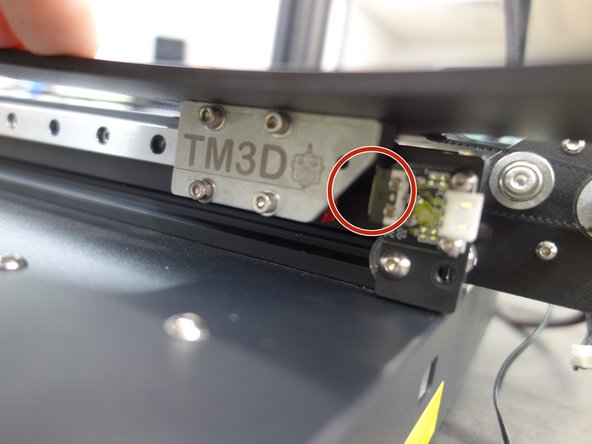
- Check that the y endstop is triggered by the Adaptor plate
- Re-install idler pulley bracket
- Re-install Belt back into the tab slots
- Pulley idler pulley bracket forward to tighten the belt.
- Then tighten mounting screws on both sides
- CR20 Pro
- Reinstall: bed heater plate, Solid bed mounts, Nylock nuts or bed leveling knobs
- Ender 3 and CR20
- Reinstall: bed heater plate, bed leveling springs and bed leveling knobs