iPhone 12 Teardown
ID: 152903
Description:
Steps:
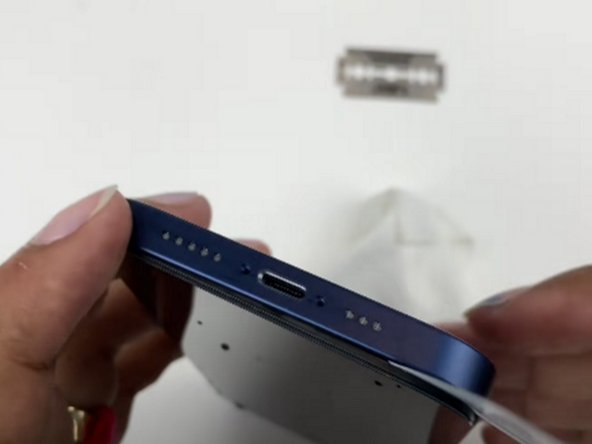
- Remove the SIM Card tray using a SIM Card eject tool
- Turn off the device
- Unscrew the two 6.9 mm long Pentalobe screws.
- Apply a heated iOpener all around the edge of the screen to loosen the adhesive under the display.
- Lift the display with a suction cup and insert a thin object to separate the screen from the frame.
- Slide the fine object along the entire edge to cut the adhesive.
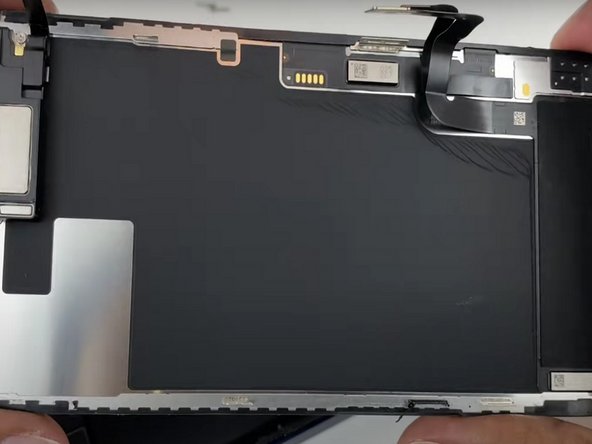
- Raise the display.
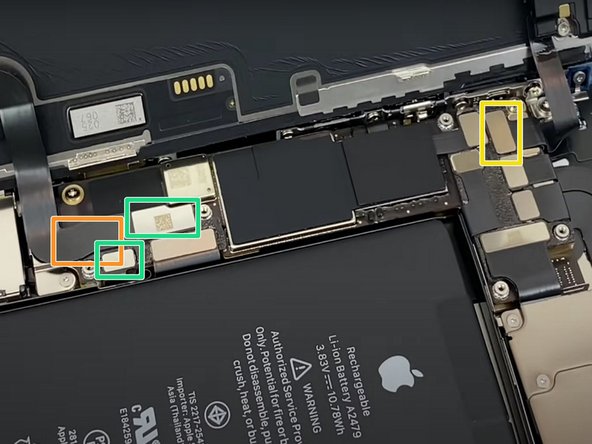
- Remove the 6 Phillips # 00 screws.
- With a spudger or with your fingernails, lift the two connectors.
- Lift the connector underneath.
- Disconnect the display connector.
- Raise the display.
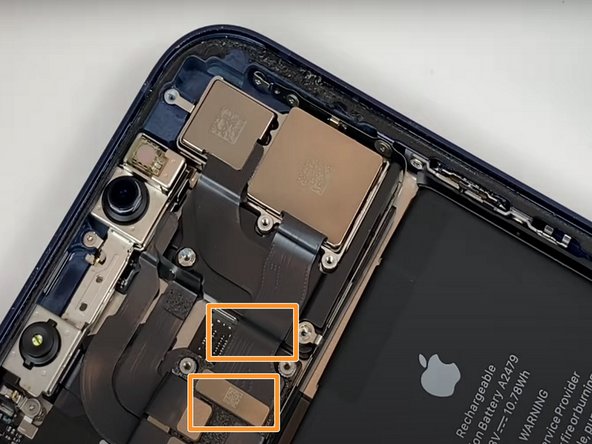
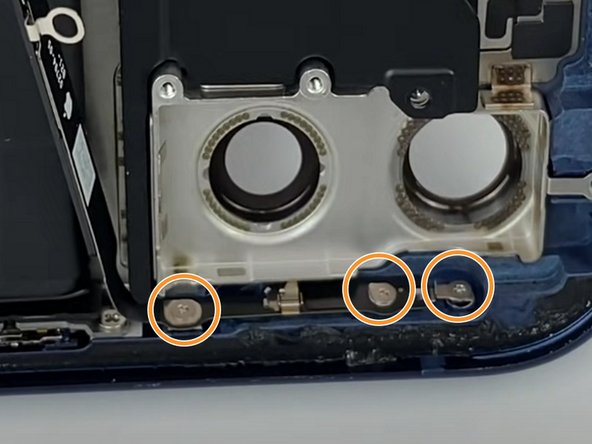
- Unscrew the 4 Phillips # 00 screws.
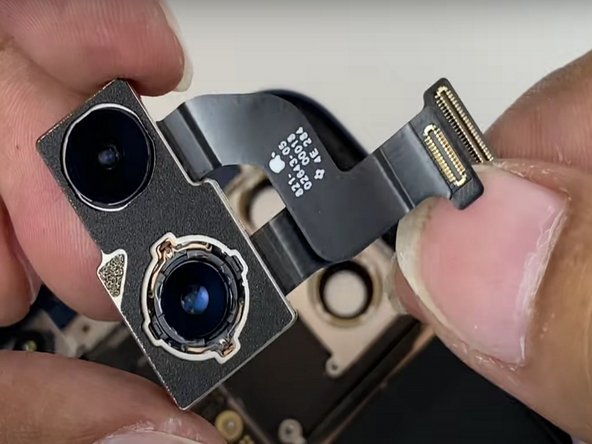
- With a spudger or fingernails disconnect the two rear camera connectors.
- Remove the rear camera.
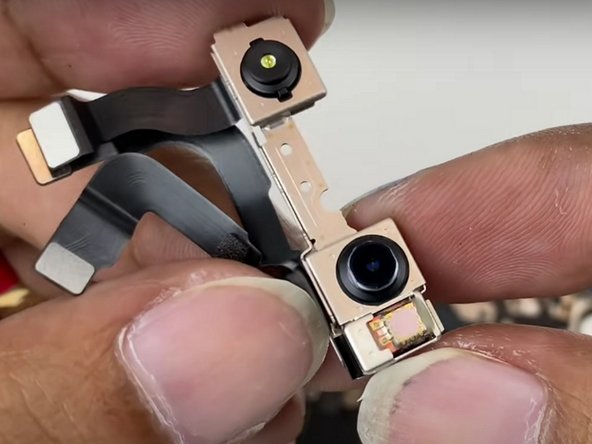
- With a spudger or fingernails to disconnect the three connectors that connect the front camera.
- Remove the front camera.
- With a spudger or fingernails disconnect the battery holder connector.
- Unscrew the 3 Phillips # 00 screws.
- Remove the battery holder.
- With a spudger or fingernails disconnect the rear camera flash connector.
- Unscrew the 3 Phillips # 00 screws.
- Unscrew the 2 Phillips # 00 screws.
- Remove the rear camera flash.
- Unscrew the 4 Phillips # 00 screws.
- Unscrew the 2 screw holders with the suitable screwdriver.
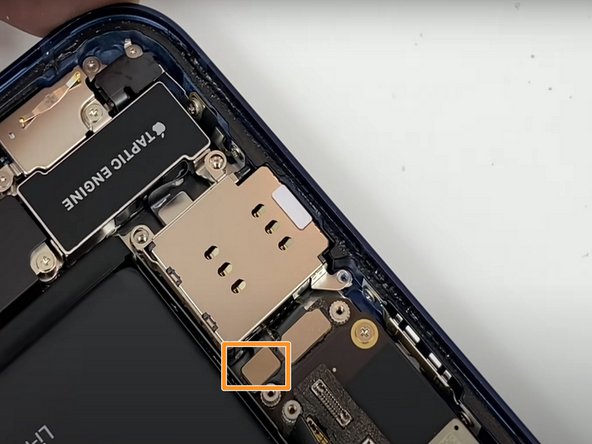
- With a spudger or fingernails to disconnect the SIM card holder connector.
- Remove the SIM card holder.
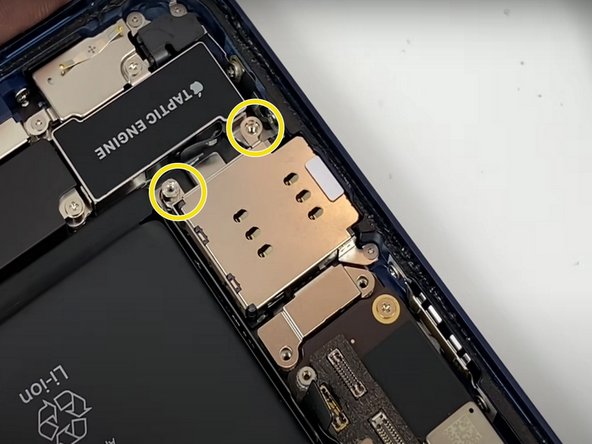
- Remove the 2 Phillips # 00 screws.
- With a spudger or fingernails disconnect the 3 battery connectors.
- Unscrew the screw holder with a standoff screwdriver for iphone.
- Remove the film with a spudger.
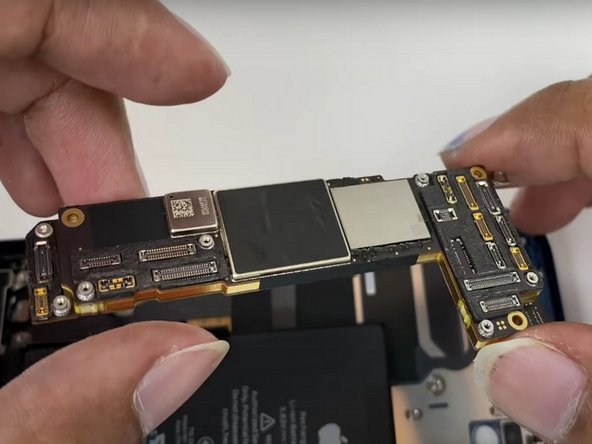
- Attention this last step is necessary to remove the logic board.
- Remove the logic board.
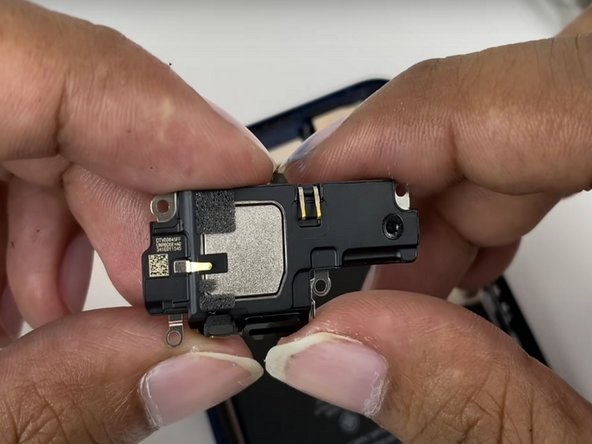
- Unscrew the 5 Phillips # 00 screws.
- Remove the speaker.
- Remove the 2 screw holders with a standoff screwdriver for iphone
- Unscrew the 3 Phillips # 00 screws.
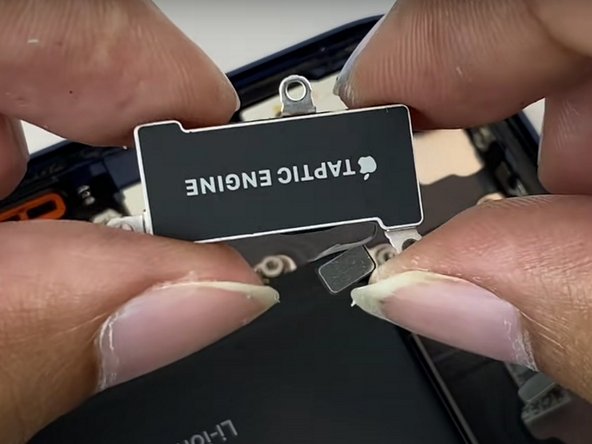
- Remove the taptic engine connector with a spudger or fingernail.
- Remove the taptic engine.
- Remove the adhesive under the battery.
- To remove the adhesive under the battery, remove the stickers marked in red in the first photo.
- Remove the battery.
- Unscrew 6 Phillips # 00 screws.
- Remove the 4 screw holders with an iPhone standoff screwdriver.
- Remove the film with a spudger.
- Attention, the previous step is essential to remove the charging port.
- Remove the charging port.
- Be careful not to make too strong, this could damage some components.
- And here are all the components that make up the new iPhone 12.