Fairphone 4 Front Camera Replacement
ID: 152939
Description: Use this guide to replace the front camera in...
Steps:
- Be sure to power off your phone before you begin.
- Insert your thumbnail, or a prying tool like a spudger, into the notch at the bottom right of the back cover.
- Pry the back cover up to start separating its plastic clips.
- Using your thumbnail or an opening pick, slide along the right side of the phone to loosen the plastic clips.
- Slide along the bottom of the phone to loosen the plastic clips.
- Slide along the left side of the phone to loosen the plastic clips.
- Lift the back cover to release the rest of the plastic clips and remove it.
- To reinstall the back cover press it firmly into place until you hear a snap from the plastic clips.
- Use a fingernail or a prying tool at the marked notch to lever the battery out of its recess.
- Lift the battery out of its recess and remove it.
- Remove the battery.
- Remove the 4.8 mm-long Phillips screw.
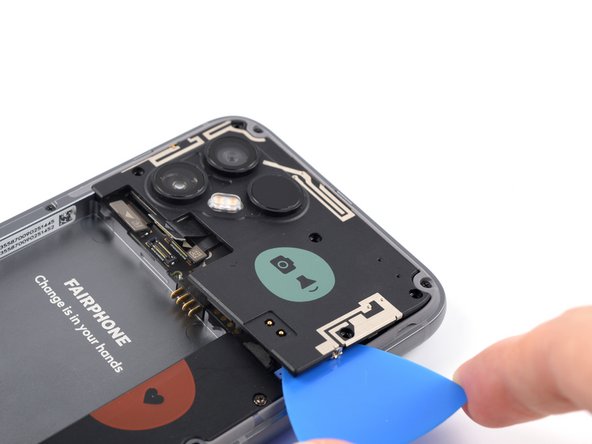
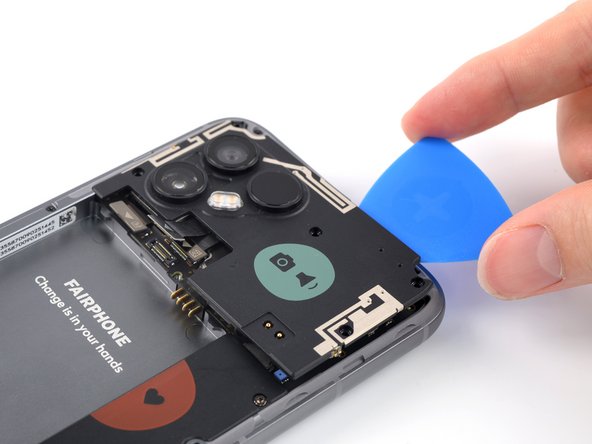
- Insert an opening pick beneath the cover near the triangular mark.
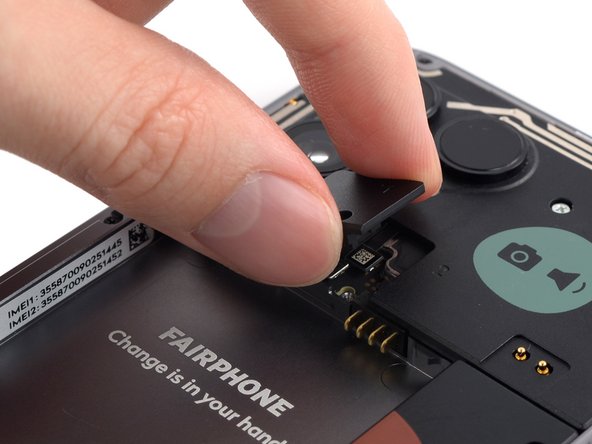
- Twist the opening pick to pry the cover up.
- Remove the cover.
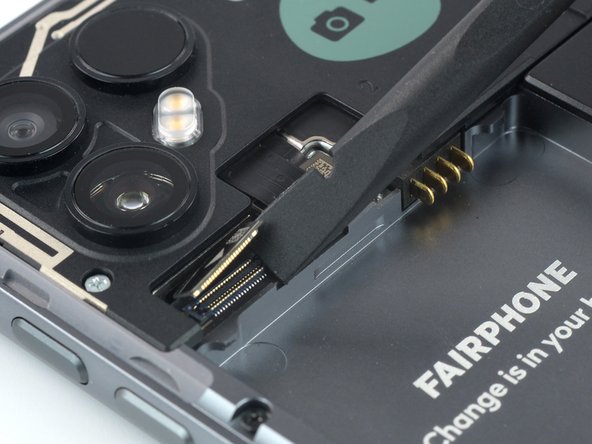
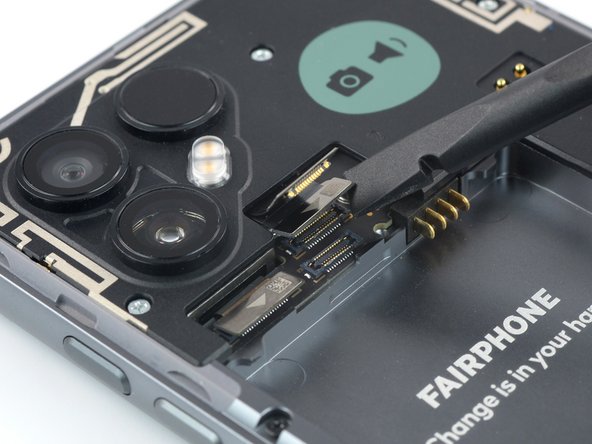
- Use a spudger or an opening pick to pry up and disconnect the two camera connection cables.
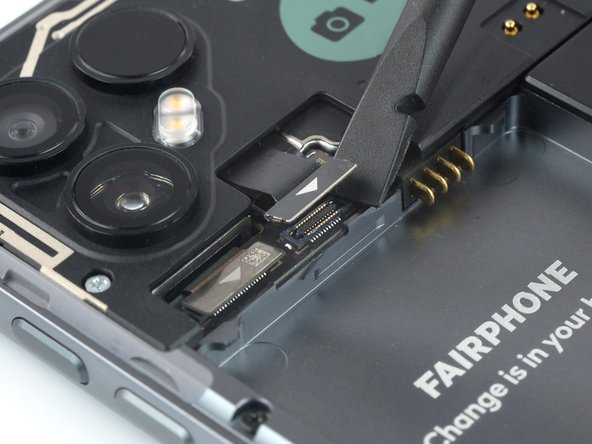
- Lift up the right connector to reveal the additional connector beneath it.
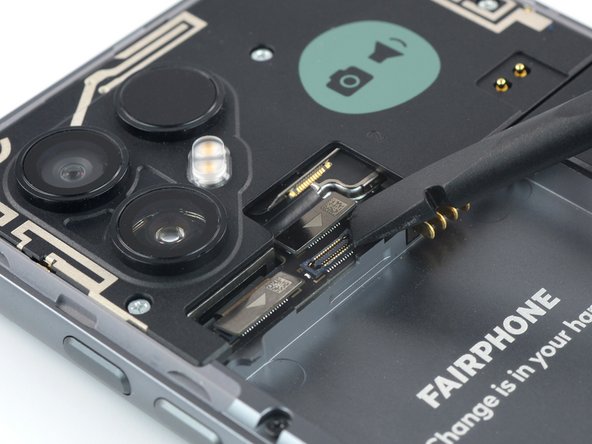
- Use a spudger or an opening pick to pry up and disconnect the third camera connection cable.
- Remove the five 4.8 mm-long Phillips screws.
- Use an opening pick to slide underneath the rear camera module.
- Slide the opening pick along the rear camera module to release the clips that hold it in place.
- Lift the rear camera module and remove it.
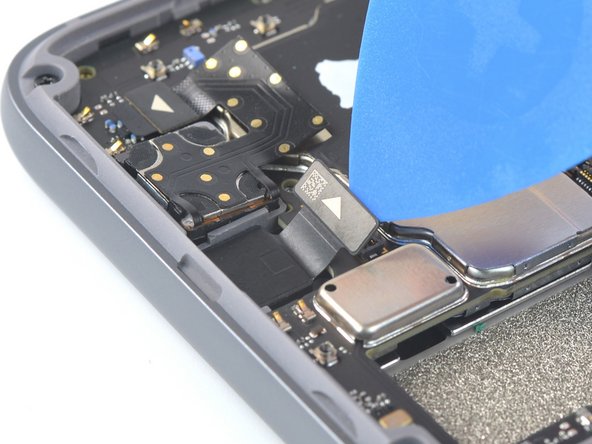
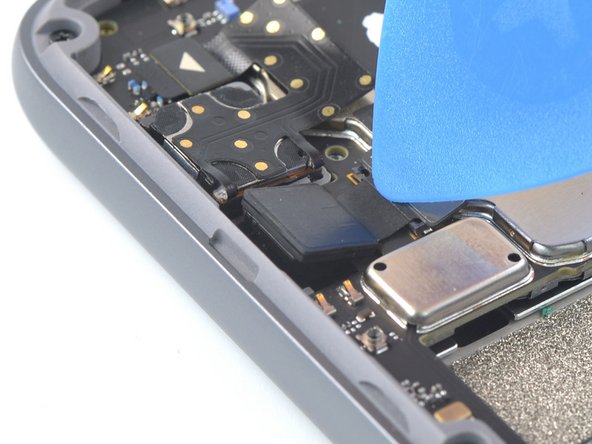
- Use an opening pick to pry up and disconnect the front camera cable.
- Use an opening pick to lift out the front camera by carefully pulling it away from the frame so it pops out of its recess.
- Alternatively you can turn the phone over to let gravity to do its part.
- Grab the front camera and remove it.


