Fairphone 4 Screen Replacement
ID: 152942
Description: Use this guide to replace a broken or defective...
Steps:
- Be sure to power off your phone before you begin.
- Insert your thumbnail, or a prying tool like a spudger, into the notch at the bottom right of the back cover.
- Pry the back cover up to start separating its plastic clips.
- Using your thumbnail or an opening pick, slide along the right side of the phone to loosen the plastic clips.
- Slide along the bottom of the phone to loosen the plastic clips.
- Slide along the left side of the phone to loosen the plastic clips.
- Lift the back cover to release the rest of the plastic clips and remove it.
- To reinstall the back cover press it firmly into place until you hear a snap from the plastic clips.
- Use a fingernail or a prying tool at the marked notch to lever the battery out of its recess.
- Lift the battery out of its recess and remove it.
- Remove the battery.
- Remove the eight 4.8 mm-long Phillips screws.
- Flip the phone over so the screen faces up
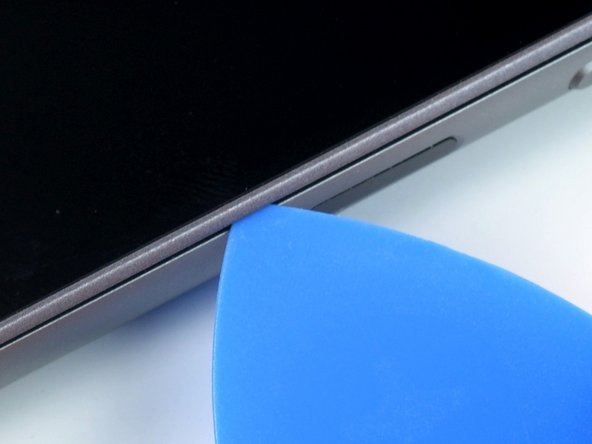
- Insert an opening pick between the screen and the frame.
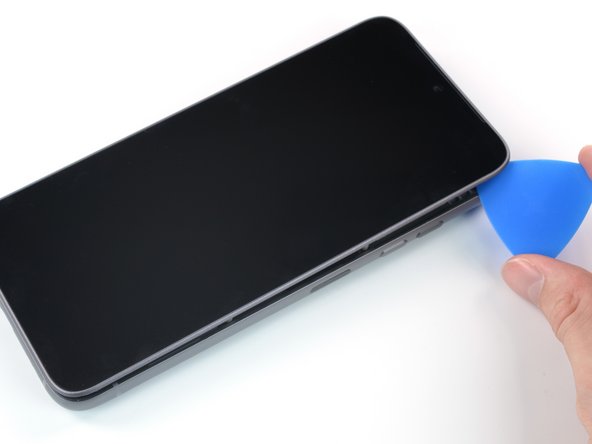
- Slide the opening pick along the edge to the top right corner.
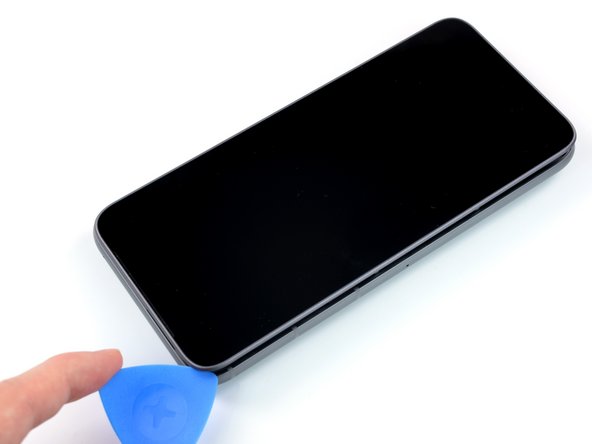
- Continue to slide the opening pick along the top of the phone.
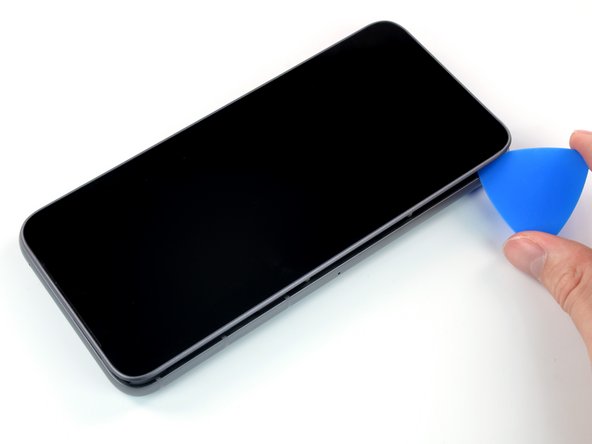
- Slide the opening pick along the left side to the bottom left corner.
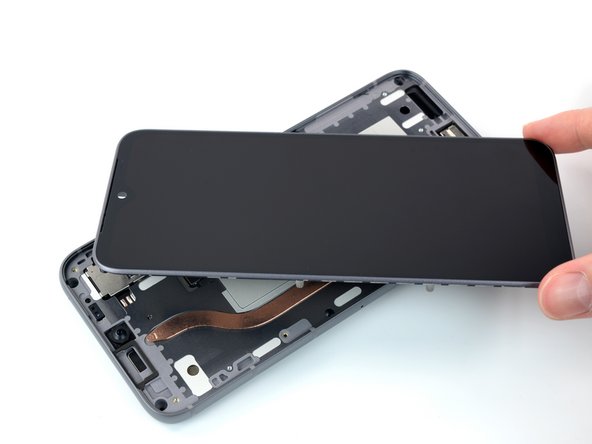
- Do not remove the screen yet. It's still connected to the phone with a connection cable.
- Grab the screen and lift it straight up just enough to clear its pegs from the frame.
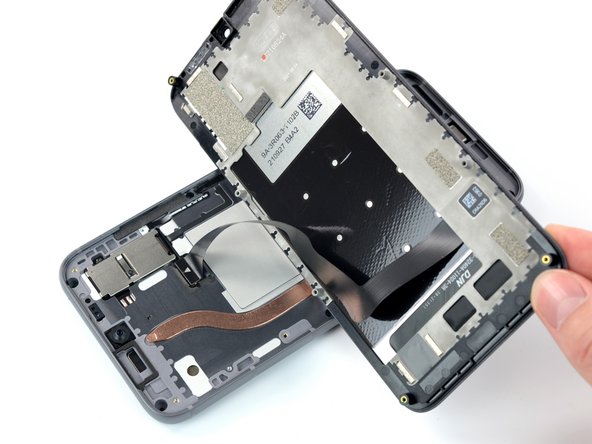
- Rotate the display carefully clock-wise and flip it over to get access to the connector.
- Place the display on the device with the screen facing downwards.
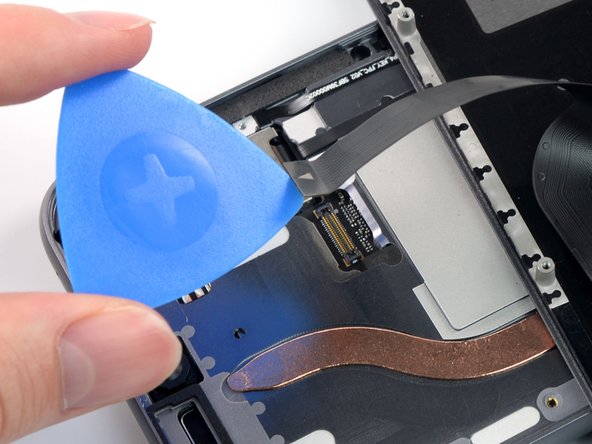
- Use an opening pick to pry up and disconnect the display connection cable.
- Remove the screen.
- Compare your new replacement screen to the original part—you may need to remove a front camera dust cover before you install it.