Google Pixel 3 Charging Assembly Replacement
ID: 153014
Description: This repair guide was authored by the iFixit...
Steps:
- Remove the two 1.9 mm Phillips screws securing the charging assembly to the bottom edge of the phone.
- Apply a heated iOpener to the bottom edge of the phone for a minute to loosen the adhesive holding the charging assembly in place.
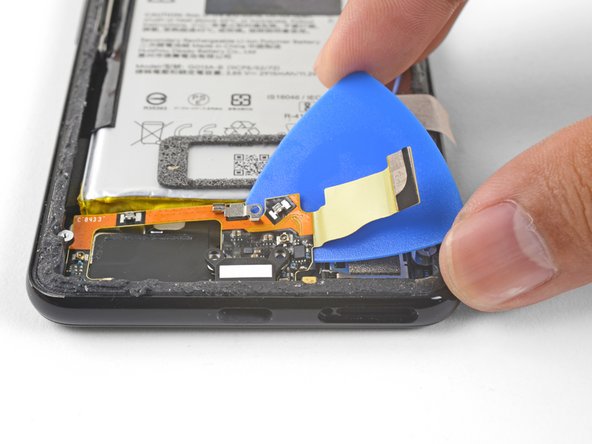
- Insert an opening pick underneath the charging assembly's flex cable.
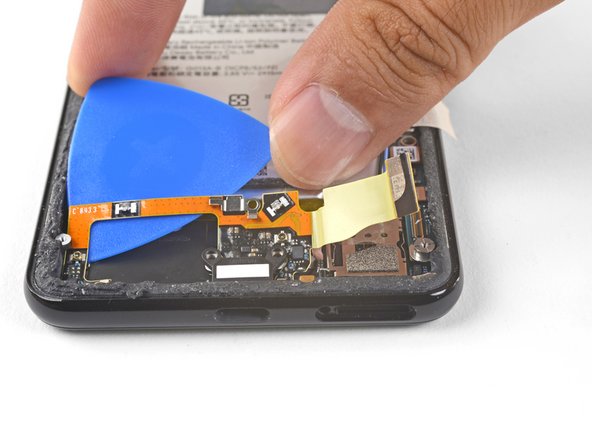
- Slide the opening pick below the charging assembly to loosen it from the phone.
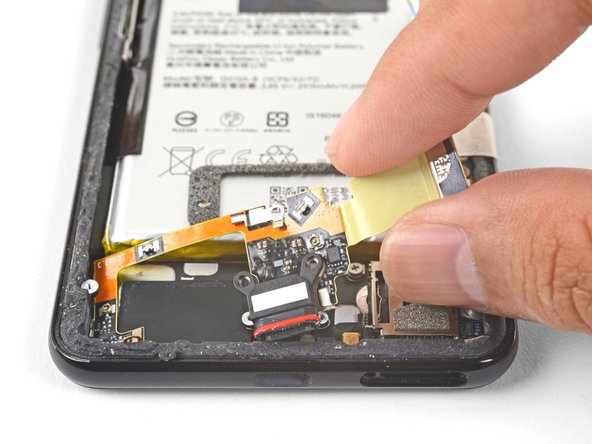
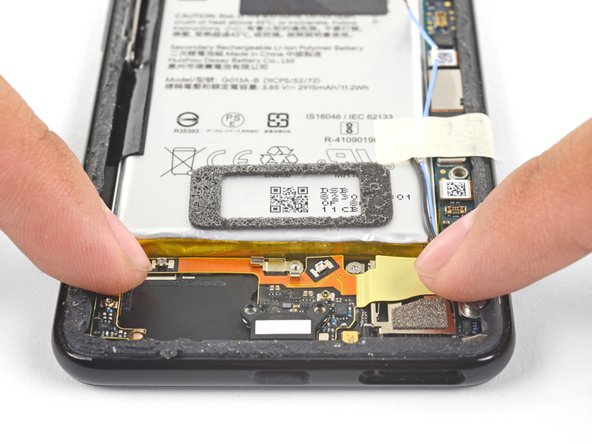
- Use a pair of tweezers or your fingers to remove the charging assembly.
- When you are installing a replacement assembly:
- Be sure to remove all plastic liners from the assembly to expose the adhesive.
- Line up the assembly's bottom left corner into place.
- Carefully lay the rest of the assembly in place, making sure that the USB-C port is correctly seated in its respective cutout.
- Use your fingers to press the assembly onto the frame.