Titan Airless Sprayer IMPACT 410 Pressure Adjustment Assembly Replacement
ID: 153216
Description: Use this guide to replace the pressure...
Steps:
- Before you begin, make sure to follow the pressure relief procedure documented in the user manual before powering down the paint sprayer and disconnecting the pump.
- Turn off and unplug the sprayer.
- Use a Phillips driver to remove the four 12 mm-long screws securing the motor controller assembly.
- Don't try to remove the motor controller assembly completely, as it's connected to the body with cables.
- Pull the motor controller assembly out and hold it to the side, exposing the cables.
- Use a pair of needle nose pliers, or your fingers, to disconnect the two spade connectors from to the on/off switch.
- Disconnect the one spade connector on the circuit breaker.
- Note the order of the cables and their connectors to help with reassembly.
- Disconnect the remaining spade connector from the on/off switch
- Disconnect the jumper spade connector from the on/off switch and the circuit breaker.
- The black jumper cable with the dark blue connectors isn't attached to the rest of the assembly.
- Note the order of the cables and their connectors to help with reassembly.
- Use your fingers to unscrew and remove the circuit breaker nut.
- Remove the circuit breaker.
- Use a flathead screwdriver to depress the locking tabs located on both the top and bottom of the on/off switch.
- While depressing the tabs, push the on/off switch out through the cutout.
- Remove the on/off switch.
- Use a Phillips driver to remove the two 17 mm-long screws securing the contact switch.
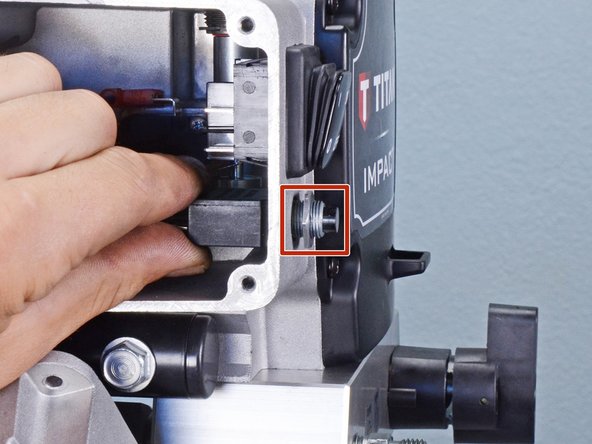
- Pull the contact switch away from the plunger and place it on the floor of the housing.
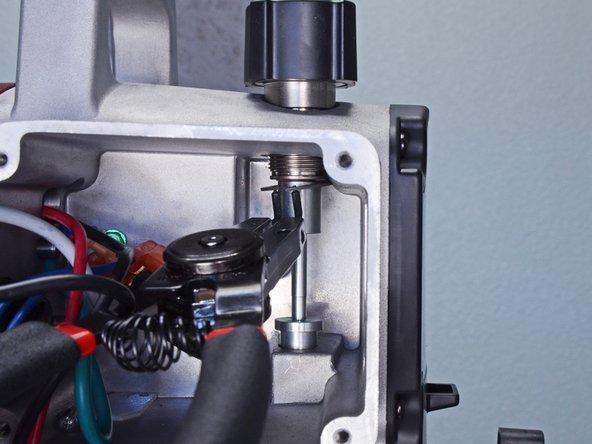
- Use snap ring pliers to remove the retaining ring from the top of the plunger.
- During reassembly, install a new ring with the flat side facing down.
- Loosen the pressure control knob.
- Remove the pressure control knob.
- Remove the pressure adjustment spring.
- Remove the plunger.