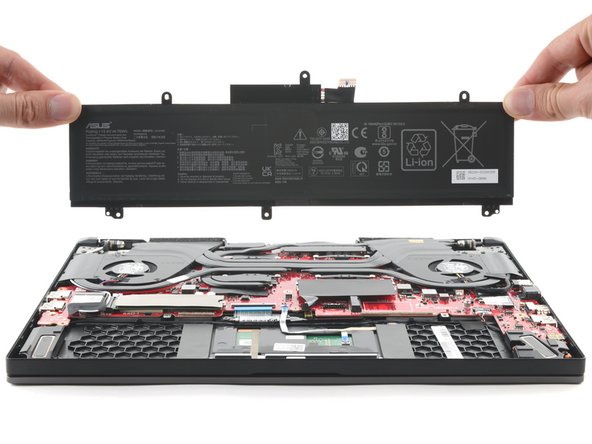
ASUS TUF Dash F15 Battery Replacement
ID: 154761
Description: Use this guide to replace the battery in your...
Steps:
- Remove the 14 Phillips screws securing the lower case:
- Seven 8.8 mm screws
- Seven 10.1 mm screws
- Use a Phillips screwdriver to loosen the captive screw.
- Loosening this captive screw will pop up and separate the bottom-right corner of the back cover from the chassis.
- During reassembly, tighten the captive screw before the rest of the screws.
- Insert an opening pick between the lower case and the chassis on the front right edge near the captive screw.
- Slide the pick along the front edge to release the clips securing the lower case.
- Repeat this process along the perimeter of the lower case to release the remaining clips.
- Lift the lower case from the chassis and remove it.
- During reassembly, this is a good point to power on your laptop and test all functions before sealing it up. Be sure to power your laptop back down before you continue working.
- Use tweezers or your fingers to peel back the tape on the battery connector.
- Use the flat end of a spudger to gently push the locking bar away from the battery connector.
- Make sure the locking bar is not covering the battery connector, or you may damage the battery connector's socket in the next step.
- Insert the pointed end of a spudger under the battery connector.
- Pry under the left edge of the battery connector to disconnect the left side of the connector.
- Repeat this procedure for the right side of the connector.
- Use your Phillips screwdriver to remove the six 5.1 mm-long screws securing the battery.
- Remove the battery from its recess.