Lenovo IdeaPad Gaming 3 15IMH05 Battery Replacement
ID: 154779
Description: Use this guide to replace the battery in your...
Steps:
- Use a Phillips #1 screwdriver to remove the following ten screws securing the back cover to the frame:
- Six 7.6 mm PH1 screws
- Four 5.7 mm PH1 screws
- Insert the rounded edge of an opening pick between the back cover and the frame in the lower right corner.
- Angle the pick to about 45˚.
- Slide the pick along the front edge to release the clips securing the back cover to the frame.
- Insert the rounded edge of an opening pick between the back cover and the frame on the right edge.
- Angle the pick to about 30˚ and slide down the right edge to release the clips.
- Repeat the same procedure on the left edge to release the clips.
- Lift the back cover up and remove it from the chassis.
- During reassembly, this is a good point to power on your laptop and test all functions before sealing it up. Be sure to power your laptop back down before you continue working.
- Use the pointed edge of a spudger to push each side of the battery connector to loosen it.
- Use the flat end of a spudger to push out and disconnect the battery cable.
- Use tweezers, or your fingers, to remove the sticker covering the top right screw hole.
- Use a Phillips #0 screwdriver to remove the four 5.5 mm-long screws securing the battery.
- Insert the flat end of a spudger between the battery and its plastic clip at the middle of the top edge.
- Pry away from the battery to release the clip enough to be able to lift the battery out of its recess.
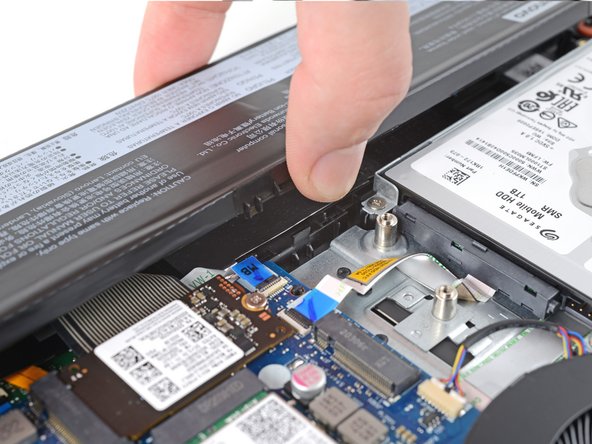
- Lift the battery straight out of its recess and remove it.