Lenovo ThinkPad T15 Gen 2 Battery Replacement
ID: 154789
Description: Use this guide to replace the battery in your...
Steps:
- If your device has a nano‑SIM card tray on the back edge, remove it before starting your repair.
- Use a Phillips #1 screwdriver to loosen the eight captive screws securing the lower case.
- Insert an opening pick between the lower case and the chassis on the front right edge.
- Angle the pick down at about 30 degrees.
- Slide the pick along the front edge to release the clips securing the lower case.
- Insert an opening tool between the lower case and the chassis, just to the right of the USB port on the left edge.
- Pry the opening case up to release the clip next to the USB port.
- It may take significant force and multiple attempts to release the clip. You will hear a popping noise when the clip releases.
- Insert an opening pick on the left edge above the USB port. Slide the pick all the way up to the ethernet port to release the clips.
- Insert an opening pick on the right edge near the corner.
- Slide the pick along the right edge all the way to the HDMI port to release the rest of the clips.
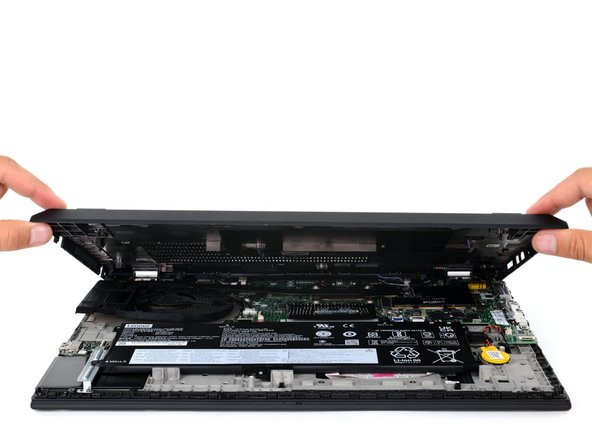
- Lift the lower case from the chassis and remove it.
- During reassembly, this is a good point to power on your laptop and test all functions before sealing it up. Be sure to power your laptop back down before you continue working.
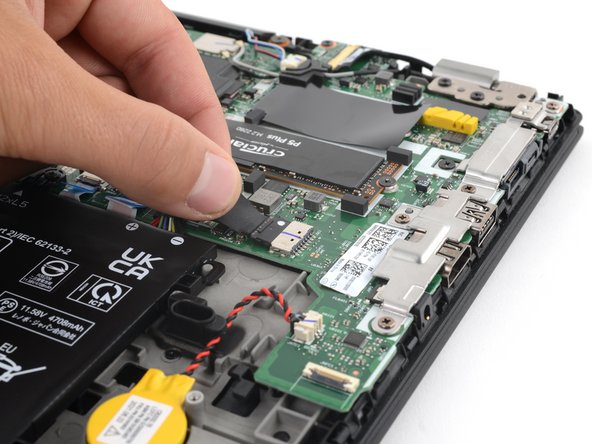
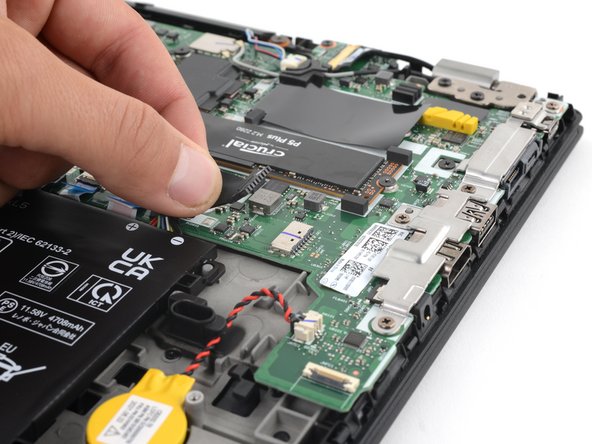
- Grip the pull tab on the battery connector with your fingers and gently pull away from the socket to disconnect it.
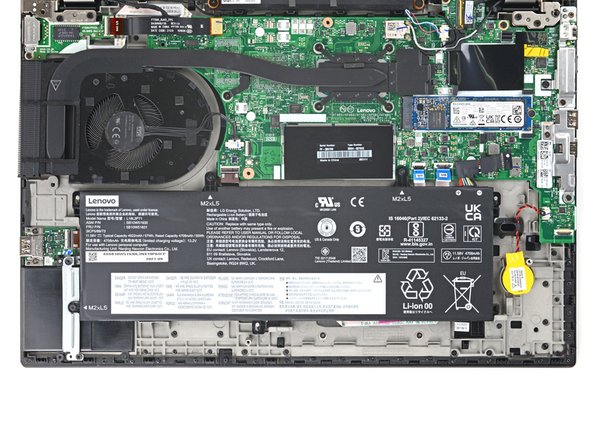
- Use a Phillips #0 screwdriver to remove the three 5.4 mm-long screws securing the battery.
- Push the battery toward the top of the laptop to release its plastic clips.
- Lift the battery straight out of its recess and remove it.