Sony Xperia XA2 Ultra Charging Port Replacement
ID: 154896
Description: If the Sony Xperia XA2 Ultra is not showing any...
Steps:
- Turn off your phone before continuing.
- Remove the SIM card tray on the left side of the phone using a SIM card eject tool.
- Heat the edge of the phone with the heat gun (recommended) for 30 seconds.
- If you don't have a heat gun, a hair dryer can be used.
- Use the hair dryer on the highest setting, constantly going around the phone to heat all of the edges.
- The phone will become hot to the touch. Use gloves or a towel to touch the phone.
- Apply the suction handle near an edge of the phone and pull upwards while trying to get an opening large enough for an iFixit opening pick.
- Pry upwards with the pick to start pulling the rear cover off the adhesive it’s attached to.
- Insert a second pick once there is enough room.
- Take one of the picks and try to slide it down the side of the phone, pulling more of the cover off the adhesive.
- The iFixit opening tool may also be used to gain better leverage.
- The rear cover will pop off.
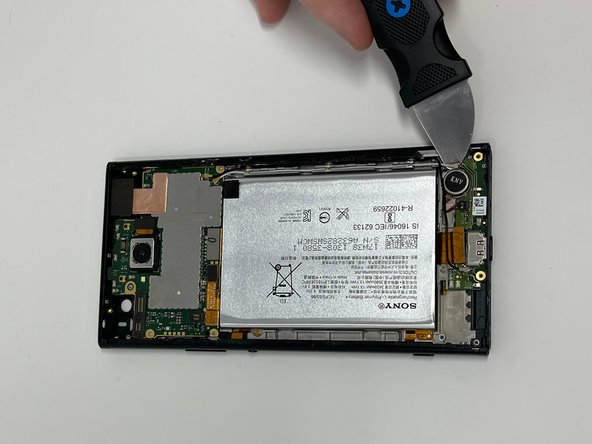
- Once the rear cover is off, use the iFixit opening tool to detach the flex cable.
- Remove the four 3 mm screws using a Phillips #000 screwdriver.
- Using an iFixit opening tool, pry and remove the speaker.
- Using the iFixit opening tool, disconnect the flex cable.
- Remove both the black and white antenna cables using the Jimmy.
- Remove the vibration flex cable with the Jimmy.
- Using the Jimmy and the iFixit opening tool, remove the charging port.