GPU Replacement
ID: 154912
Description: This guide details the replacement of a...
Steps:
- Establish a clean work space.
- Turn the desktop's power supply off.
- Unplug the desktop from all power sources.
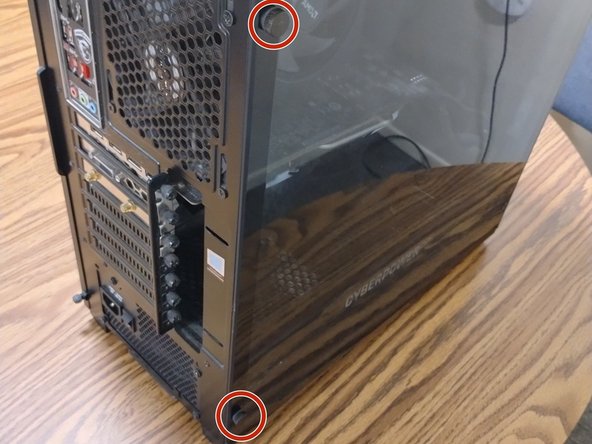
- Remove the screws on the side of the case.
- Screw types may vary by desktop case.
- These screws hold the side panel, which promotes airflow inside the desktop. Do not misplace them.
- Gently remove the side panel by pulling it away from the case.
- Place the desktop horizontally, so the motherboard is facing up.
- Disconnect the 8-pin PCI-E cable from the GPU.
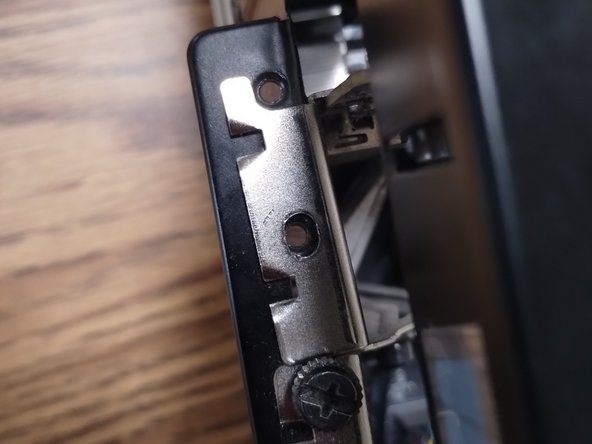
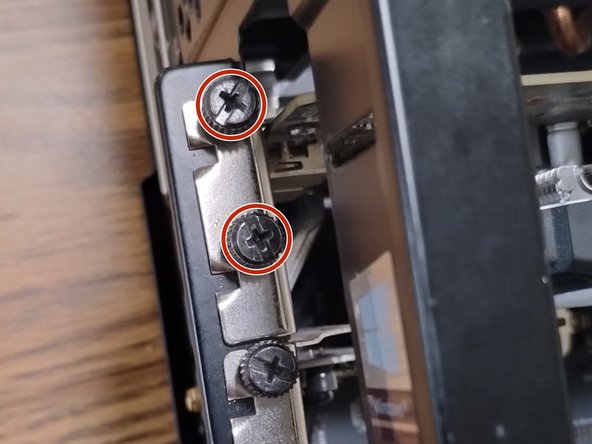
- Remove the UTS 6-32 screws on the side of the desktop using a Phillips #0 or a flathead screwdriver.
- These screws hold the GPU in place. Do not misplace them.
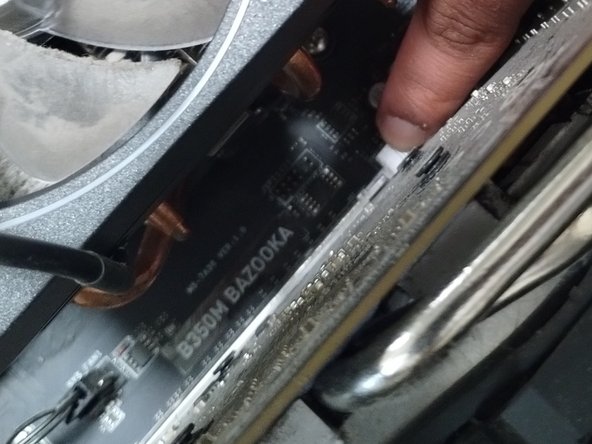
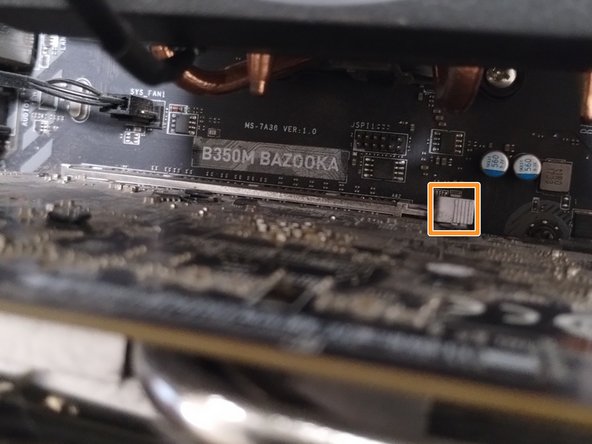
- Gently press down on the right side of the PCI-E tab until there is a click.
- The click signifies the GPU has been released.
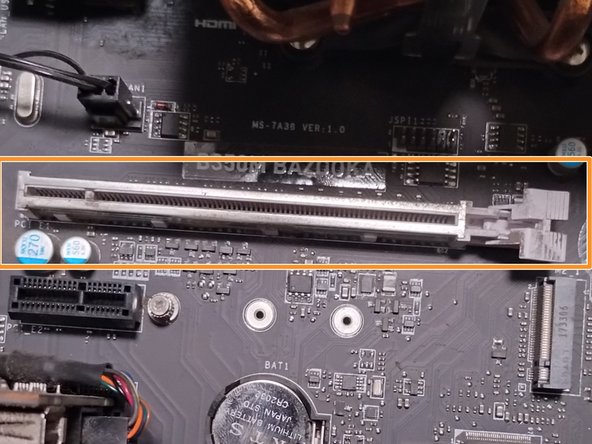
- Gently pull the GPU out of the PCI-E slot.
- Line up the pins of the new GPU with the empty PCI-E slot.
- Gently push the new GPU into the PCI-E slot until the tab clicks.
- Gently connect the 8-pin PCI-E cable from the power supply to the new GPU.
- Screw the UTS 6-32 screws which hold the GPU in place back in using a Phillips #0 screwdriver.
- Gently place the side panel back on the case.
- Screw in the side panel screws.
- Plug the desktop back into a power source.
- Turn the desktop's power supply on.
- If the fans on the bottom of the GPU are not spinning once the desktop is on, retry this process. Or begin troubleshooting for a defective GPU.