How to Replace a RG-6 Coaxial Cable Connector
ID: 154974
Description: This guide will show you how to replace a...
Steps:
- Use a cable cutter to cut your desired length of cable.
- Cut both ends of the cable at 90 degrees, meaning the cutter and the cable should be positioned at 90 degree of one another.
- Use a RG-6 coaxial cable stripper to strip each end of the cable.
- Position the end of cable inside the stripper and rotate it around the cable in a clockwise motion three times. Then, do one full turn counterclockwise.
- Repeat this on the other end of the cable.
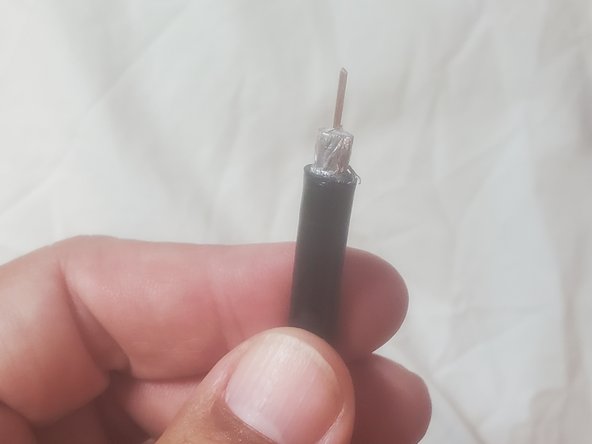
- After stripping the ends, remove the two pieces of shield cable from the cable.
- Using your fingers, fan the internal wires out.
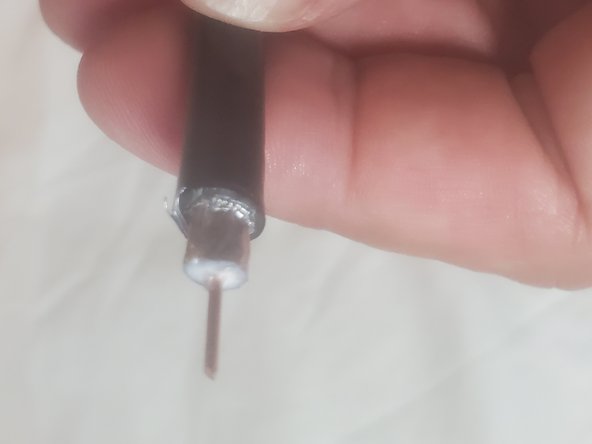
- Mold the braided wires into a flower shape.
- Remove any excess braid from the core side of the cable (the gold color part).
- Insert the cable into the thin part of the RG-6 connector.
- Gently push the cable into the connector. Do not bend or fold the gold portion of the cable.
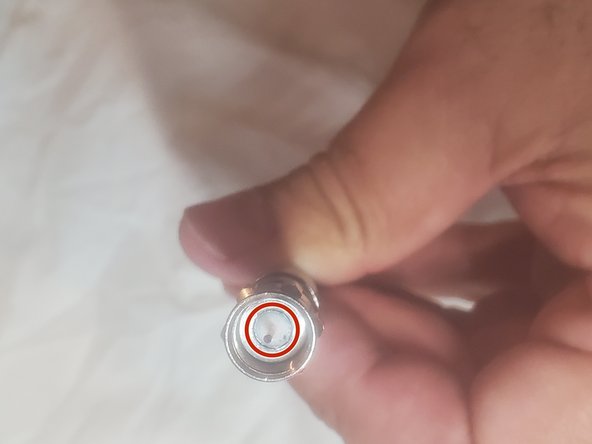
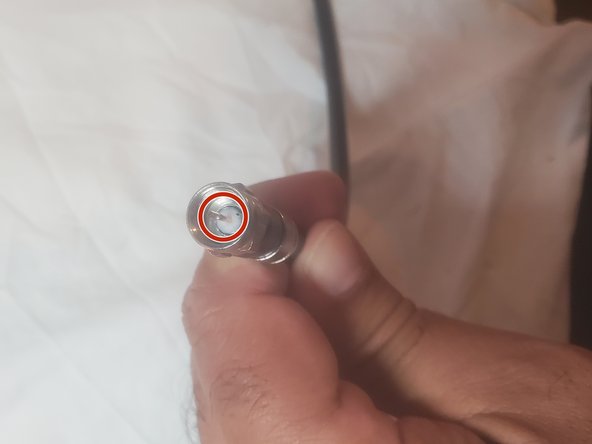
- Make sure that the cable's insulator (white portion) and the inside of the connector are flush.
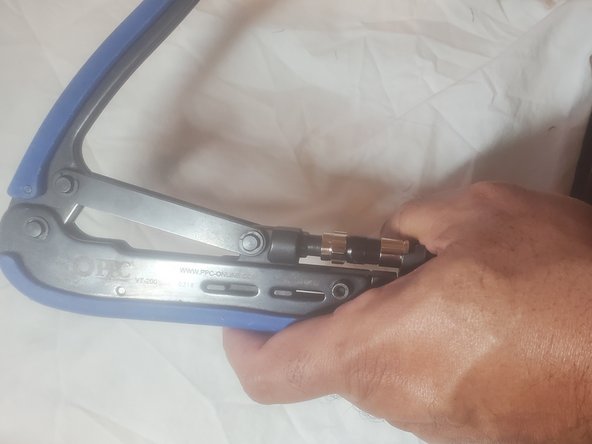
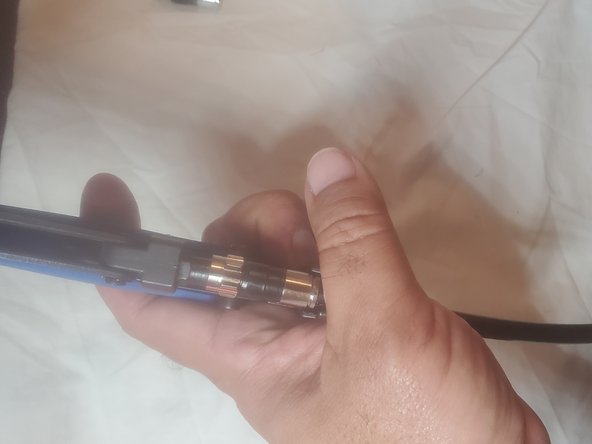
- To crimp the end of the cable, place one end of the cable into the cable slot of the crimper.
- Insert one cable end into the appropriate slot for the connector in the crimper.
- With your thumb, hold down the cable so it will not come out of the cable slot.
- To crimp the connector to the cable, gently pull down the crimper's lever.
- There is no need to do it multiple times.
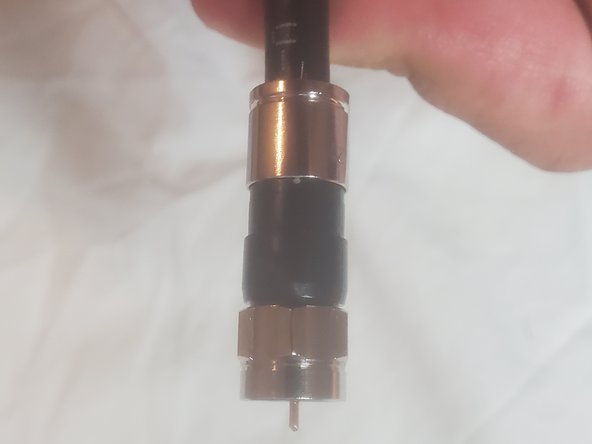
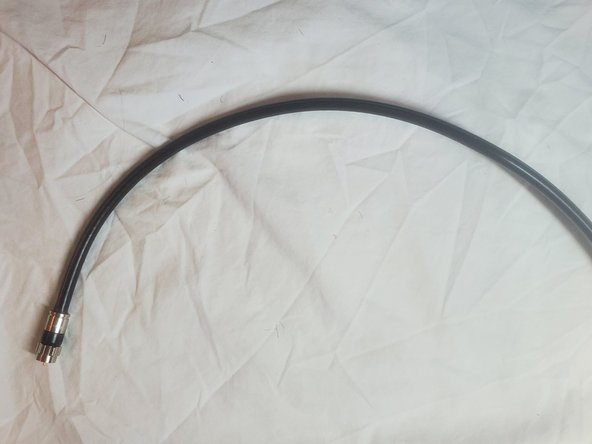
- Secure the connector to both ends of the cable.
- Check that there is no braid hanging outside of the connector.
- Loose braids can cause problems with signals.
- Check that the cables insulation is flush with the connector.
- If there is loose braid, you'll have to start over from Step 1.