Battery Disconnection
ID: 155036
Description: This is a prerequisite guide! This guide is...
Steps:
- Prepare an iOpener and apply it to the back cover for at least two minutes to loosen the adhesive underneath.
- A hair dryer, heat gun, or hot plate may also be used, but be careful not to overheat the phone—the display and internal battery are both susceptible to heat damage.
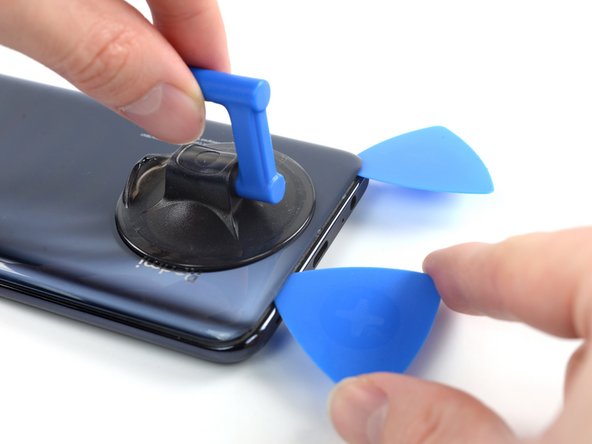
- Secure a suction handle to the bottom edge of the back cover, as close to the edge as possible.
- Lift the back cover with the suction handle to create a small gap between the back cover and the frame.
- If you have trouble creating a gap, apply more heat to further soften the adhesive. Follow the iOpener instructions to avoid overheating.
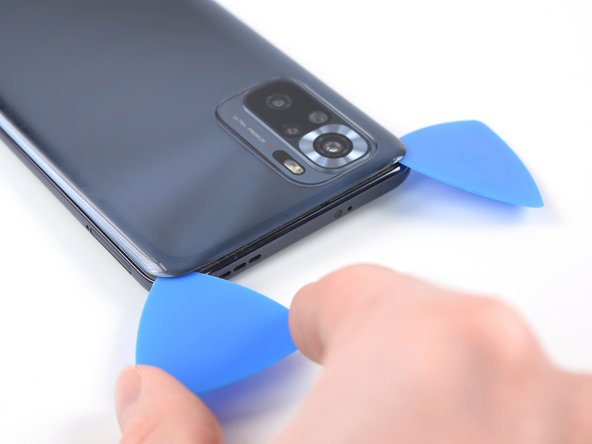
- Insert an opening pick into the gap you created.
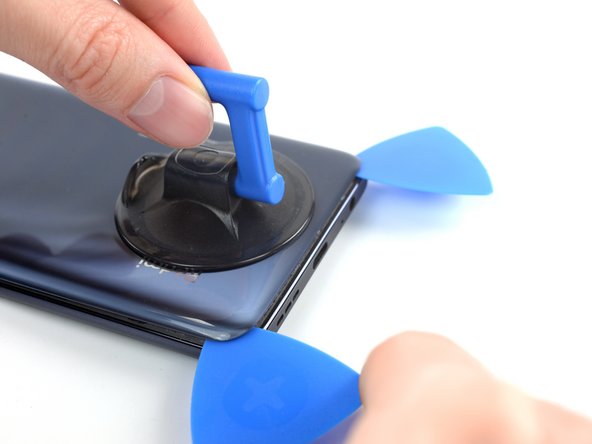
- Slide the opening pick to the bottom right corner to slice the adhesive.
- Leave the opening pick in place to prevent the adhesive from resealing.
- Insert a second opening pick at the bottom edge of your phone.
- Slide the opening pick to the bottom left corner to slice the adhesive.
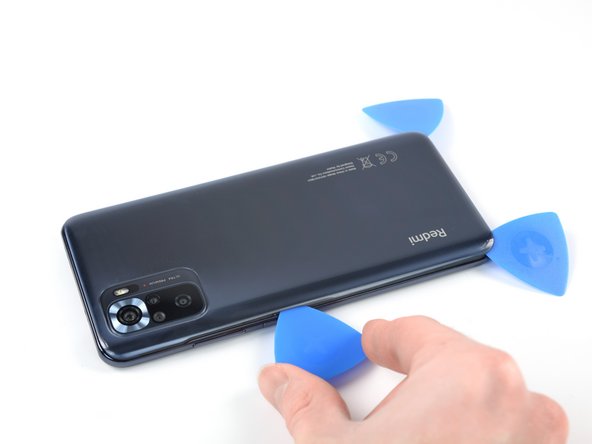
- Leave the opening picks in place to prevent the adhesive from resealing.
- You can remove the suction cup now.
- If the adhesive becomes hard to cut, it has most likely cooled down. Use your iOpener to reheat it.
- Insert a third opening pick at the bottom left corner of your phone.
- Slide the opening pick along the left edge of your phone to slice the adhesive.
- Leave the opening pick in the top left corner to prevent the adhesive from resealing.
- Insert a fourth opening pick underneath the top left corner of your phone.
- Slide the opening pick along the top edge to slice the adhesive.
- Leave the opening pick in the top right corner to prevent the adhesive from resealing.
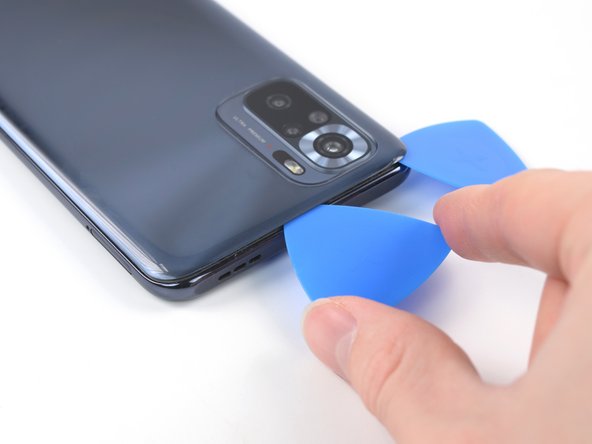
- Insert a fifth opening pick underneath the top right corner.
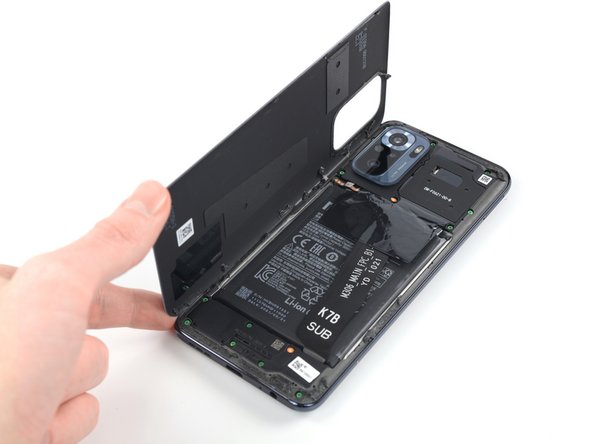
- Slide the opening pick along the right edge of the back cover to slice the remaining adhesive.
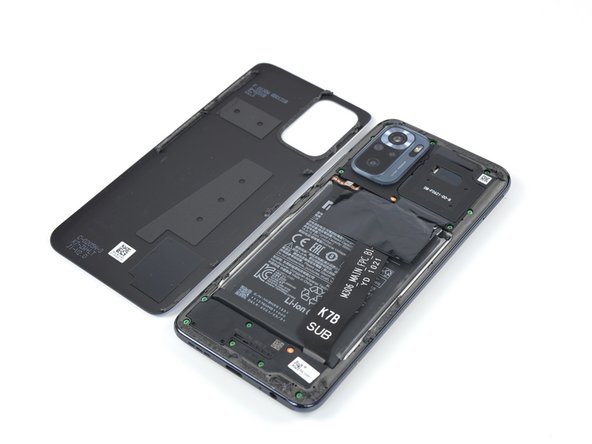
- Remove the back cover.
- Apply new adhesive where necessary after cleaning the relevant areas with isopropyl alcohol (>90%).
- Secure the new back cover with pre-cut adhesive or double-sided adhesive tape. After installing the back cover, apply strong, steady pressure to your phone for several minutes to help the adhesive form a good bond—a stack of heavy books works well.
- Use a Phillips screwdriver to remove the four 3.9 mm-long screws securing the camera cover.
- One of the screws is hidden beneath an orange sticker.
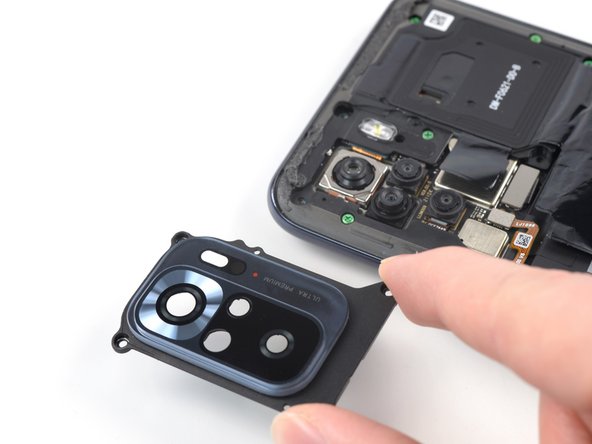
- Insert an opening pick into the gap beneath the bottom edge of the camera cover.
- Pry up the camera cover with your opening pick.
- Use your fingers or a pair of tweezers to remove the camera cover.
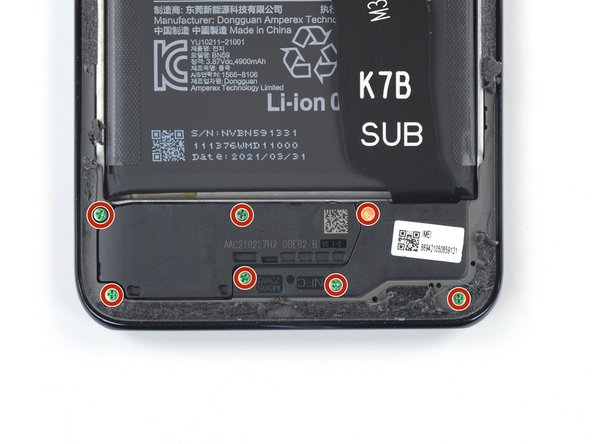
- Use a Phillips screwdriver to remove the twelve 3.9 mm-long screws securing the midframe.
- One of the screws is hidden beneath an orange sticker.
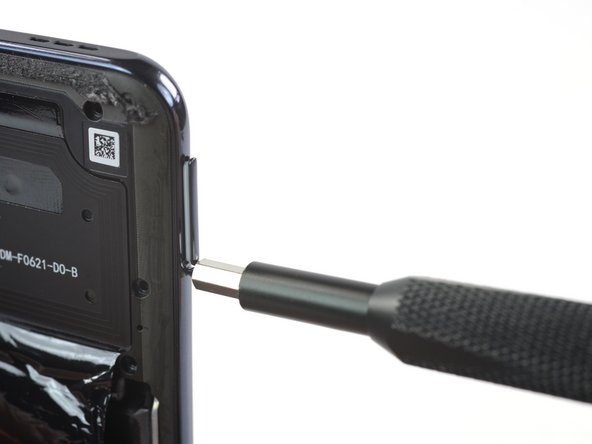
- Insert a SIM card eject tool into the small hole in the SIM card tray, located at the left edge of the phone.
- Press directly into the hole to eject the SIM card tray.
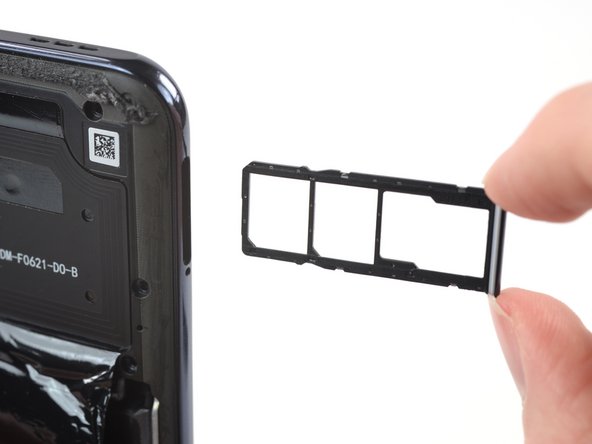
- Remove the SIM card tray.
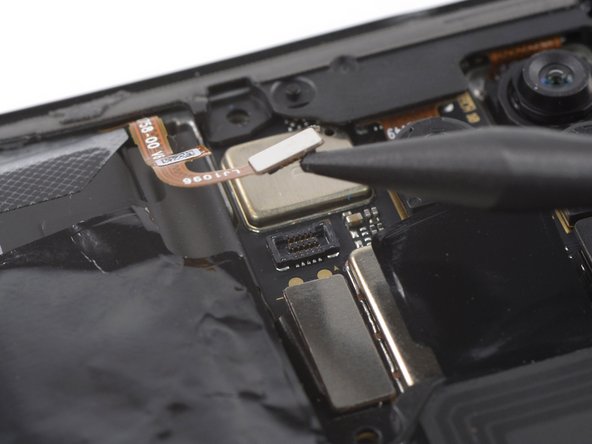
- Use a spudger to disconnect the power and volume button flex cable by prying the connector straight up from its socket.
- The midframe of the Xiaomi Redmi Note 10S is held in place by plastic clips.
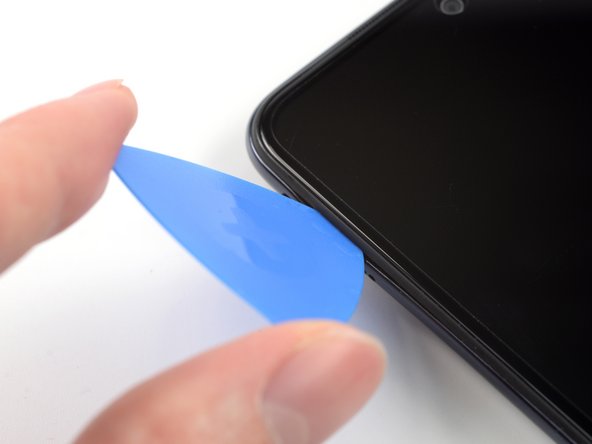
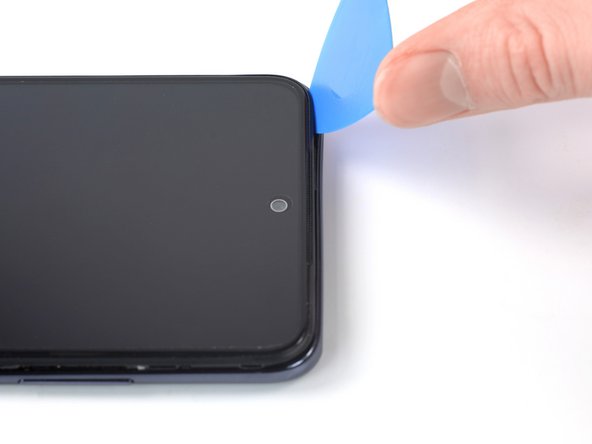
- Insert an opening pick between the midframe and display assembly on the left edge of the phone where the SIM tray slot is located.
- Make sure to insert the opening pick between the midframe and the display frame to avoid separating the screen from the frame.
- The plastic clips of the midframe are sitting in place tightly. Releasing them might require some force.
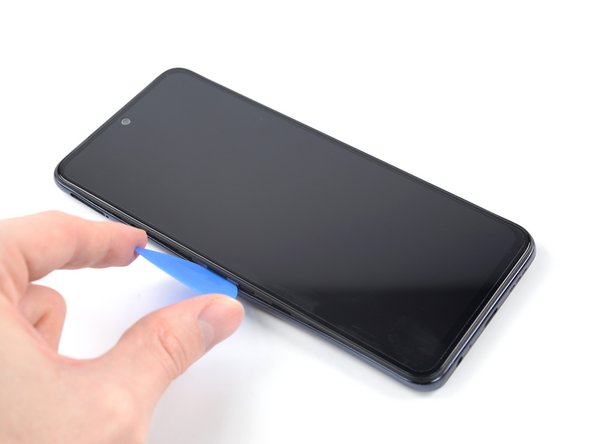
- Slide the opening pick along the left edge of the phone to release the plastic clips.
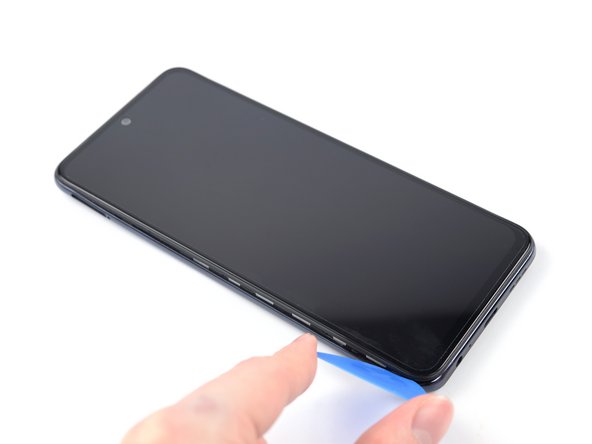
- Slide the opening pick along the bottom edge of the phone to release the plastic clips.
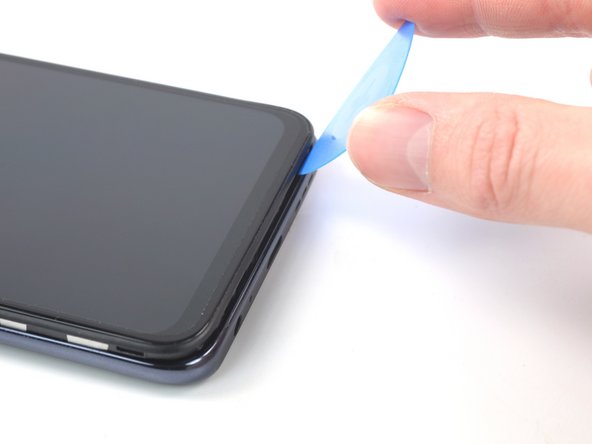
- Slide the opening pick along the right edge of the phone to release the plastic clips.
- Slide the opening pick along the top edge of the phone to release the remaining plastic clips.
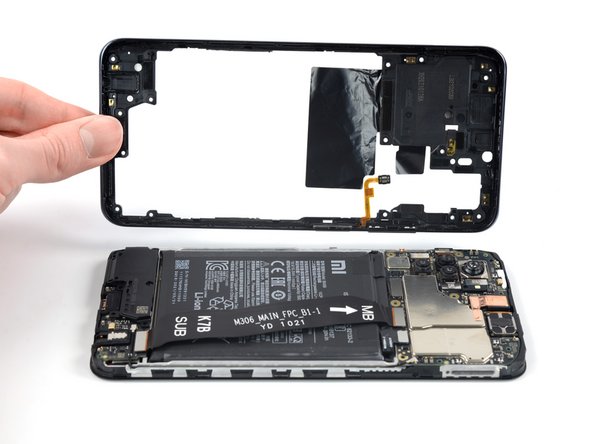
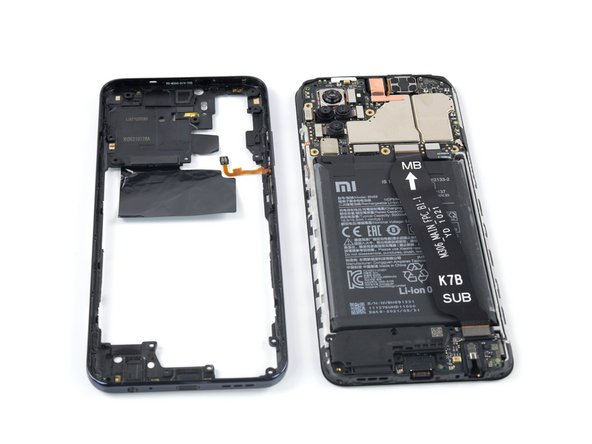
- Before removing the midframe make sure the power and volume button flex cable is freed and not tangled with the motherboard to avoid tearing it.
- Remove the midframe.
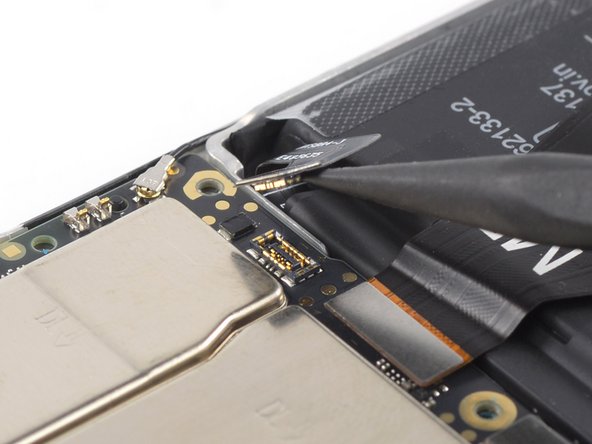
- Use a spudger to disconnect the battery flex cable by prying the connector straight up from its socket.