Jura Z models transformer replacement
ID: 155086
Description: The transformer can break especially when water...
Steps:
- Unplug the machine from the power outlet
- Remove all attachments: water tank, drip tray, aroma lid
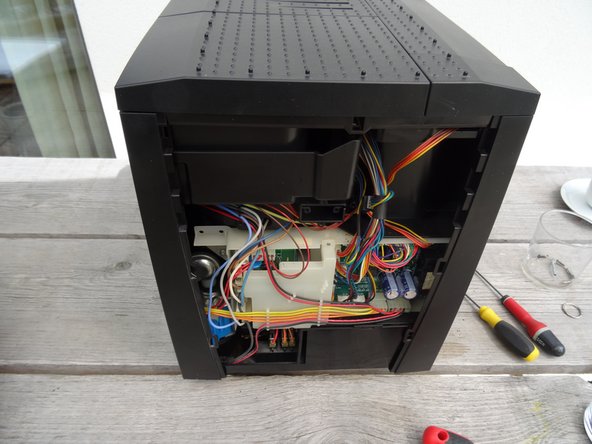
- Turn the machine so the back is facing toward the front.
- The Jura sign must be removed. Turn it a few millimeters counterclickwise.
- If this becomes difficult use a suction cup to assist.
- Remove the Jura sign.
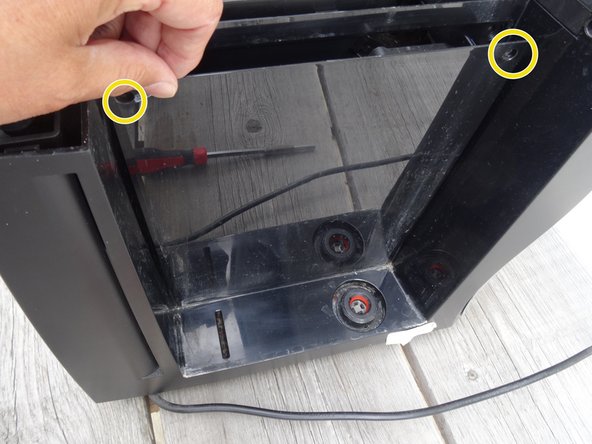
- Behind the Jura sign are two screws with an oval head. They have to be removed.
- These screws have an oval head that makes them look like rivets (picture 2). You need to use a special bit for their removal. If the right bit is not available, it could be done with a pair of needle nose pliers. Jura wants to keep us out of our own machines!!!!
- Push the back down a bit and then remove it.
- Pull the right side panel- as seen looking to the frontpanel - backwards and take it off.
- Sometimes it gets a bit stuck and may require a bit more of a pull.
- In this step, you should remove the screws of the left side panel. The side panel can only be removed after removing the top cover.
- Remove the Torx T15 screw on the front wall of the side panel.
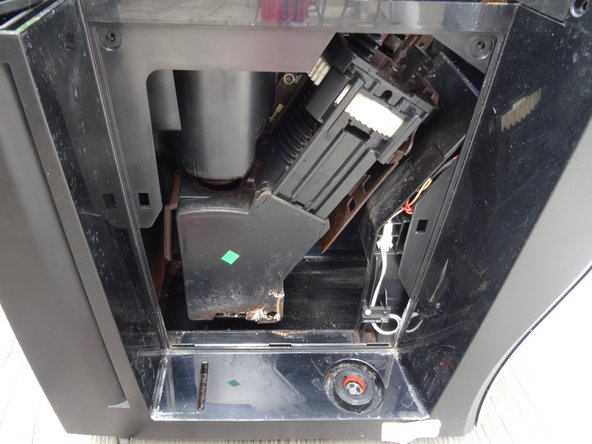
- In the side part there is a lid over the brew group. The lid is fastened at the top with two oval head screws. Remove those to remove the lid.
- With the cover removed the brew group becomes visible
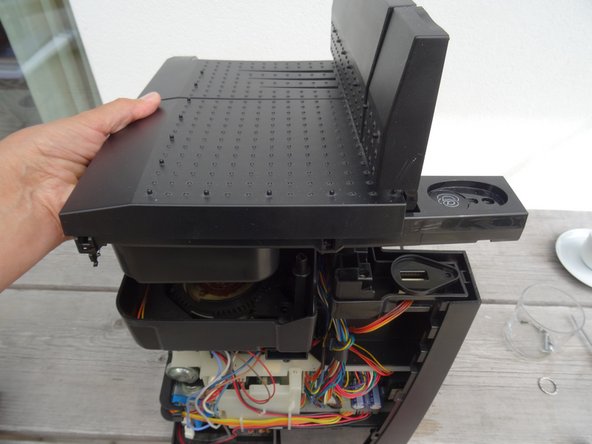
- This step shows how to remove the top cover
- Remove the powder tray and all coffee beans.
- The cover is fastened with three Torx T15 screws. Those are easily visible under the covers as well as the small cover on the left back side.
- Remove the two Phillips screws on the bean container and remove the bean container.
- Lift the cover upwards.
- If it is stuck, use a plastic opening tool to carefully pry it open.
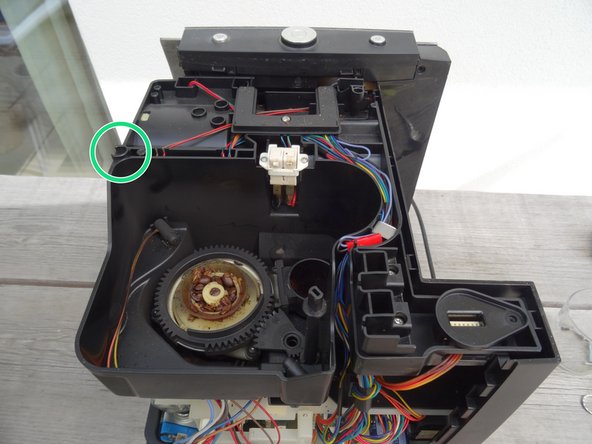
- The lid of the bean container is held in place by a small, strong magnet that loosely rests. It is either in the green marked recess, or it remains hanging on the bean container. Make sure it is not lost!
- Pull the left side panel backwards to take it off.
- For some repairs it is not necessary to remove the left side panel.
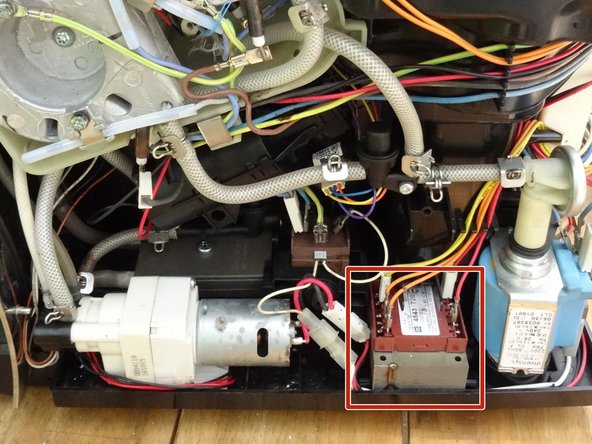
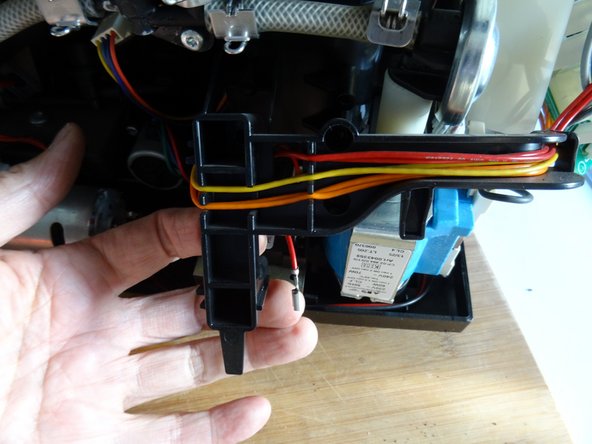
- The transformer is located on the side between the ceramic valve and the pump. Depending on the model, a bracket may need to be removed.
- The pictures depict different models.
- Unscrew the two low-lying Torx T15 screws from the bracket and remove the bracket.
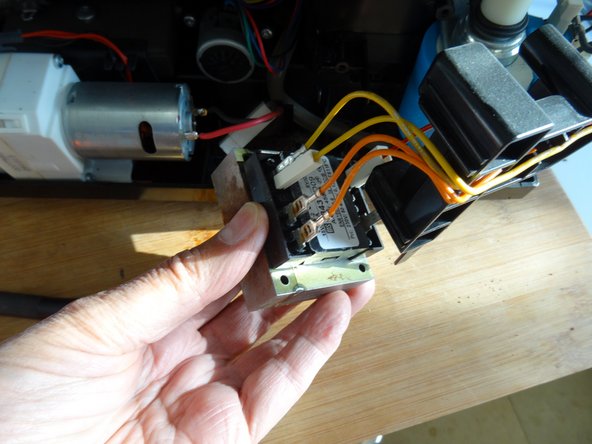
- Lift the transformer out.
- The transformers are the same in practically all Jura devices.
- Disconnect the two red (230 V), the two orange flat connectors (15 V), and two yellow ones (9 V) from the transformer.
- To test the transformer, start by measuring the resistances: the 15 V and 9 V terminals (secondary) should read about 1 Ohm, and the 230 V terminals (primary) should read approximately 100 Ohms.
- You can also apply an AC voltage of about 20 V to the 230 V (primary) side. You then should measure approximately 1.4 V on the 15 V (secondary) side and around 0.8 V on the 9 V (secondary) side. Never interchange the primary and secondary sides, as it could result in dangerously high voltages.