How to Replace a 2009-2015 Toyota Venza Brake Light
ID: 155090
Description: Use this guide to replace a burnt or damaged...
Steps:
- Turn the car completely off and wait 30 minutes to ensure that the bulb is not hot.
- If the car has not been on recently, then skip this step.
- Open the back trunk.
- Use a flathead screwdriver to remove the vent located on the inside wall of the trunk.
- Carefully reach your arm into the vent and locate the back of the socket.
- Turn the socket counterclockwise to loosen it.
- When loose, pull it out into view.
- The brake bulb socket will be towards the top of the vent.
- Ensure that bulb has had at least 30 minutes to cool. Touching the bulb while it is hot could result in burns.
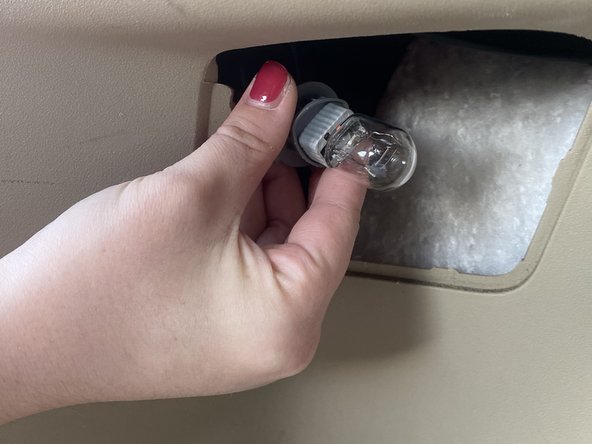
- Gently pull on the base of the bulb to loosen it from the socket.
- When loose, remove the bulb from the socket.
- Carefully discard of the old bulb, and acquire the new bulb.
- Wearing latex gloves when handling the new bulb(s) is highly recommended.
- Add bulb grease to the base of the new bulb.
- Return bulb to the socket by gently pushing the base of bulb into the empty socket until it clicks in.
- Reach your arm into the vent and locate the socket’s hole.
- Replace the bulb and socket by screwing clockwise to tighten it.
- Replace the vent into the wall of the trunk.
- You will know that the vent is properly closed when it “pops” into place.
- To test your new brake light, have an individual stand behind your car while you press on the brake. The light should come on when the brake is pressed.
- Enjoy the new lights!