HyperX Alloy Origins Backplate Replacement
ID: 155267
Description: This guide will show how to remove the...
Steps:
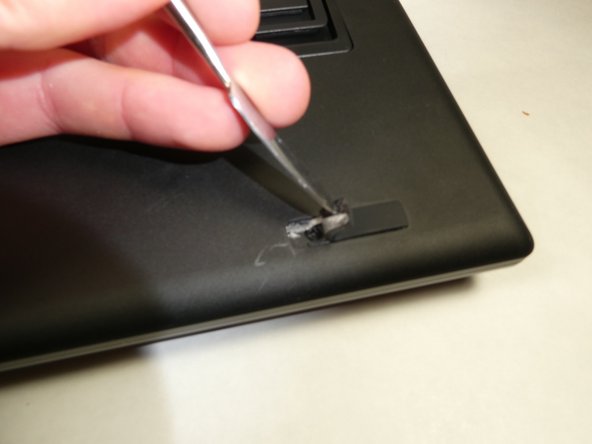
- Locate the toggle indicator tab on the top right corner of the keyboard.
- Insert the metal spudger or some other separating instrument into the right crevasse between the tab and the keyboard.
- Lift up gently on the tab, while holding the left side of the tab down.
- The tab can spring upwards upon removal. Eye protection is recommended during this step.
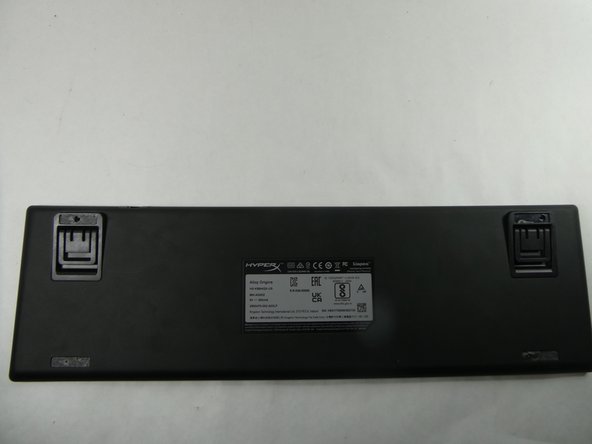
- Flip the keyboard over so that the backplate is facing you.
- Remove the rubber feet on the four corners of the backplate.
- When reassembling, use an adhesive to reattach the feet. A silicone rubber adhesive is recommended.
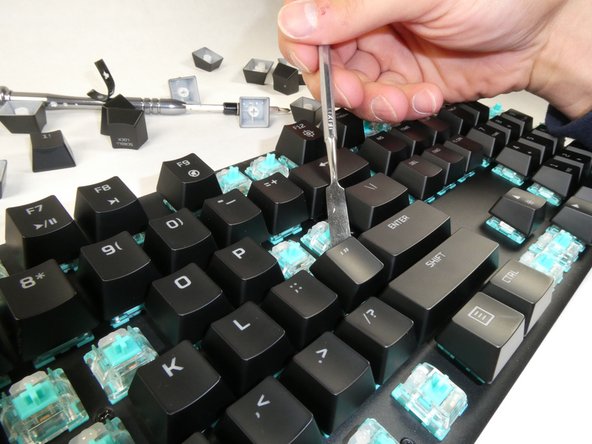
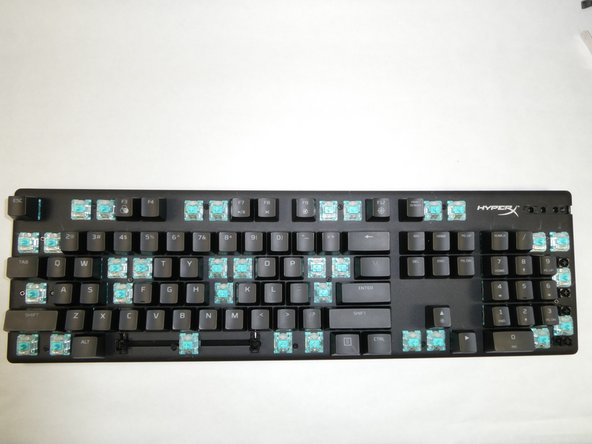
- Remove the specified keycaps as depicted in the image.
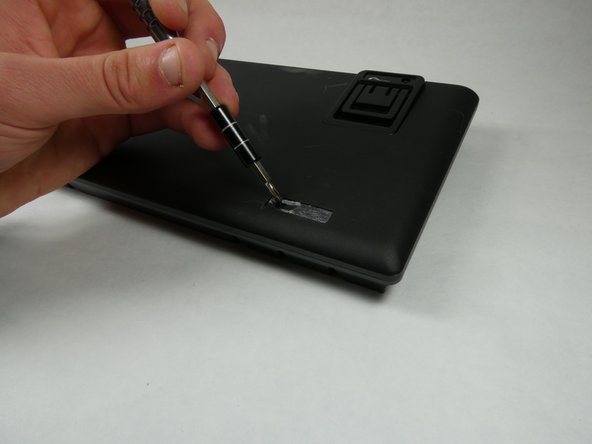
- Remove all Philips #0 screws from the new openings created after removing the rubber feet and plastic tab.
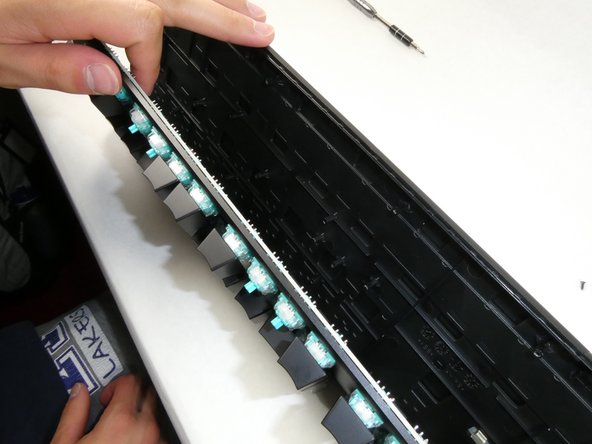
- Separate the backplate from the keyboard using your hands.