HP Chromebook 11 G8 EE Screen Replacement
ID: 155268
Description: For this guide, you will be replacing the...
Steps:
- Use a Phillips #1 screwdriver to remove:
- Four 7 mm screws.
- Two 8 mm screws.
- Flip the device over and open the lid.
- Use a plastic opening tool to pry the keyboard assembly away from the bottom case, prying around the perimeter until it fully separates.
- Lift the keyboard assembly from the laptop towards you, away from the screen.
- Lift the keyboard ribbon lock bar and use tweezers to disconnect the keyboard ribbon from the motherboard.
- Lift the lock bar and use tweezers to remove the touchpad ribbon.
- Remove the keyboard.
- Using your hands, pry off the hinge cover by lifting it.
- Using the opening tool, pry the bezel away from the top case.
- This requires firm, constant pressure. Be careful not to break the bezel.
- Pull the bezel toward you.
- Peel it away from the screen gently.
- Completely remove the bezel.
- Remove the four 3.5 mm screws with a Phillips #1 screwdriver.
- Flip the screen toward you.
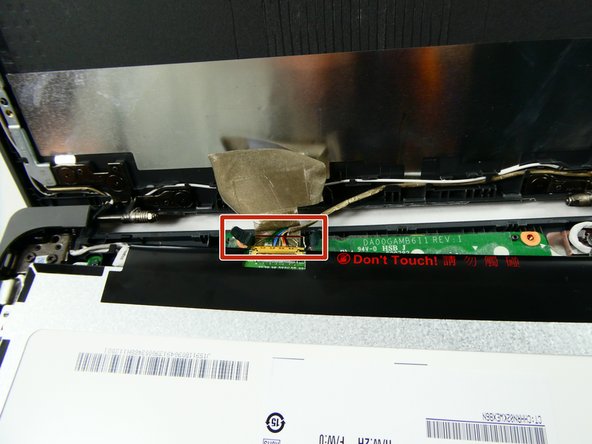
- Use tweezers to peel away the black tape holding the connector.
- Use the tweezers to pull away the tan tape.
- You should see the colored wires of the connector.
- Using the tweezers, lift up the small red latch on the connector.
- Pull off the connector.
- Remove the screen.