How to Replace the Adhesive for Your Google Pixel 6
ID: 155288
Description: This repair guide was authored by the iFixit...
Steps:
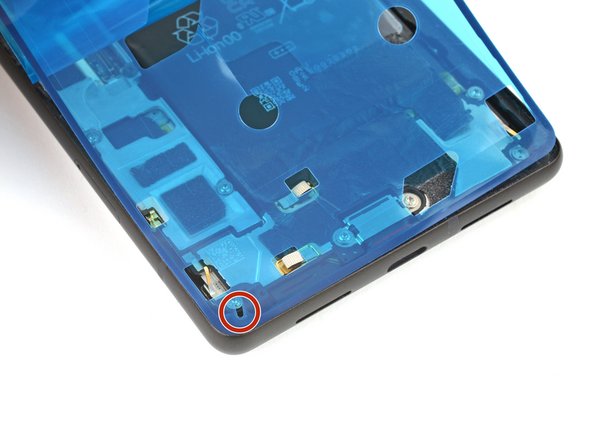
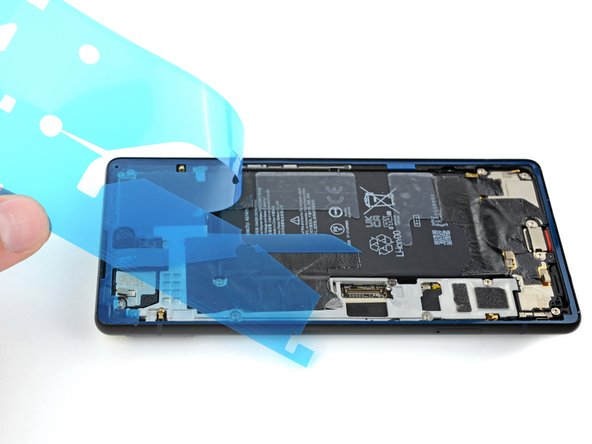
- Any residual adhesive or debris will prevent your screen from sealing properly.
- Use the flat end of your spudger to scrape off as much adhesive as you can.
- Use caution not to damage the spring connectors near the perimeter of the frame.
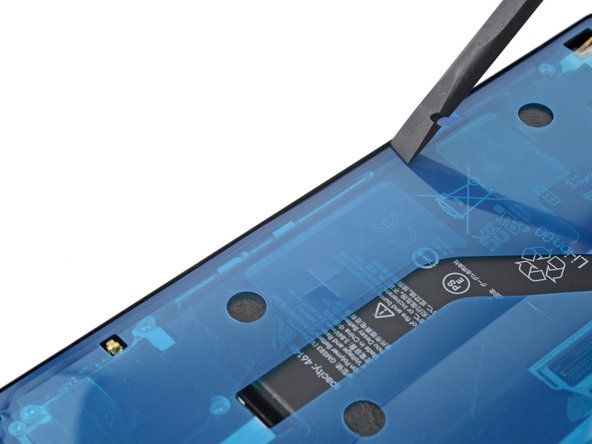
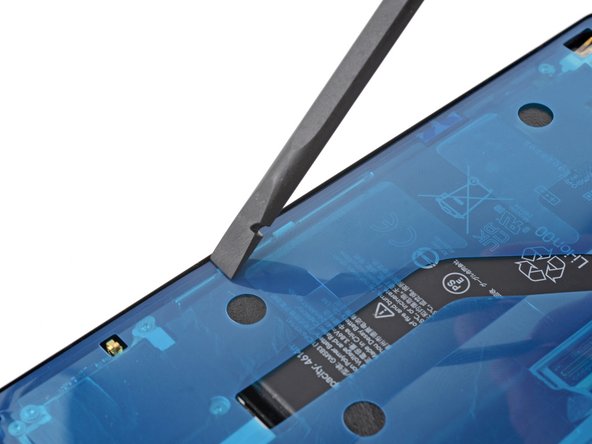
- Use tweezers or your fingers to peel and remove any remaining adhesive.
- Clean the perimeter of the frame with a small amount of highly-concentrated isopropyl alcohol (over 90%) and a lint-free or microfiber cloth.
- If you're reusing your screen, clean it as you did for the frame.
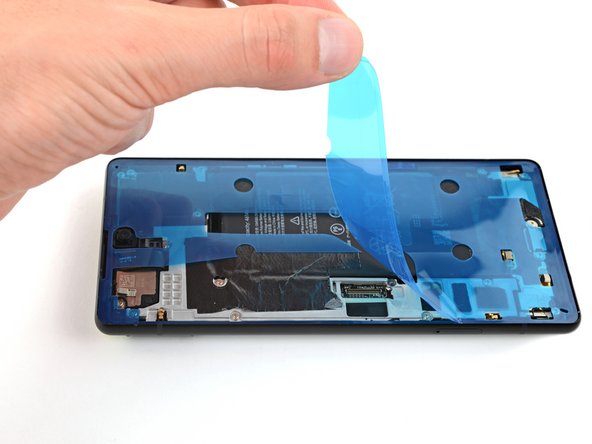
- Before applying the new adhesive, lay it over the frame to find its proper orientation.
- Use features such as the upper loudspeaker cutout, lower left hole, and upper right hole to orient the adhesive.
- Use the pull tab on the top of the adhesive to remove the protective backing.
- This will expose the adhesive that sticks to the frame.
- Be very careful during this step! The adhesive is very sticky and can't be repositioned once it sticks. Misaligned adhesive can lead to an improper seal.
- Lay the adhesive onto the frame, starting with the bottom or top edge. Make small corrections as you go.
- There are holes in the bottom left and top right corners to help align the adhesive.
- Use a spudger or your fingers to firmly press along the perimeter of the adhesive and adhere it to the frame.
- Be careful not to damage the spring connectors near the perimeter of the frame.
- Grab the pull tab on the upper left of the frame and peel off the main liner.
- If you replaced the screen, check the front-facing camera hole and sensor cutout on the replacement screen and remove any remaining protective liners in it.
- Return to your phone's guide and continue reassembly.
- Remember to reinstall the screen connector bracket.
- Finish this guide when your screen is installed and you're ready to seal the phone up.
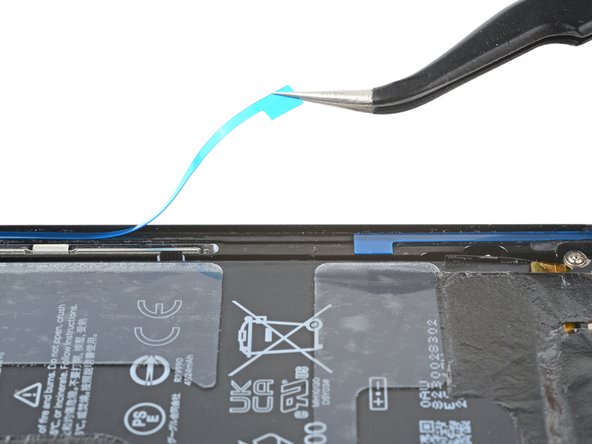
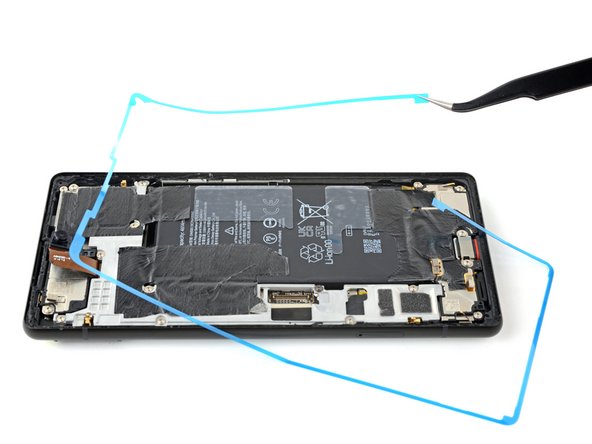
- Take care not to puncture the battery with your tweezers—a punctured battery may leak dangerous chemicals or cause a fire.
- Grab the pull tab on the lower right of the frame and peel off the liner covering the perimeter adhesive.
- Make sure the adhesive doesn't peel up with the liner.
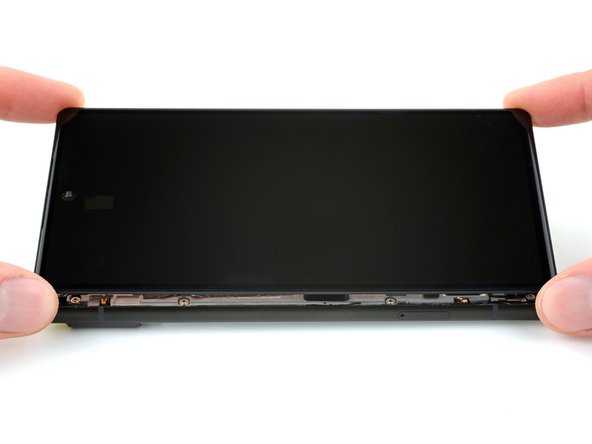
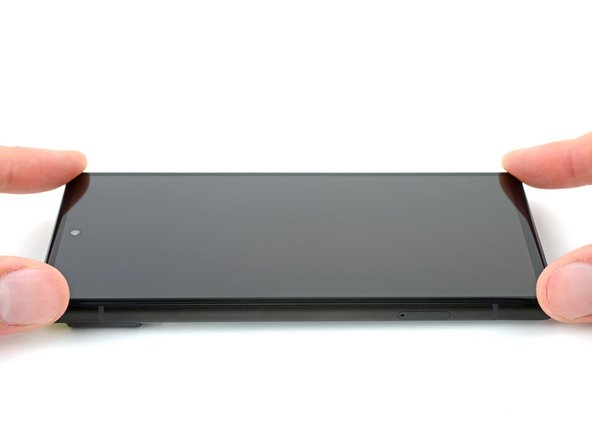
- Flip the screen over and lay it onto the frame.
- Press along the perimeter of the screen to secure it.
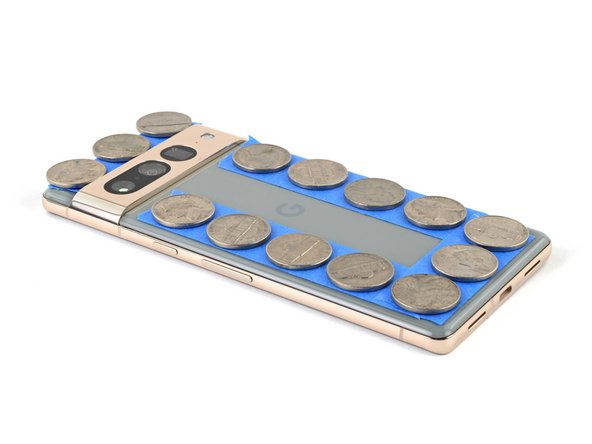
- To evenly compress your Pixel and strengthen the bond of the screen to the frame, you need to account for the camera bar.
- If you have screen vise clamps, you can work around the camera bar. Secure the clamps to the perimeter of the device.
- Apply tape to the perimeter of your rear glass to protect its finish.
- Place coins or similarly thick objects along the edges of the rear glass. Make sure they're as thick or thicker than the camera bar.
- Stack multiple books or other heavy objects on your phone. Leave them in place for thirty minutes or longer. Ideally, leave them stacked overnight.