Samsung Galaxy Book Pro 15" Motherboard Replacement
ID: 155290
Description: This is a prerequisite-only guide! This guide...
Steps:
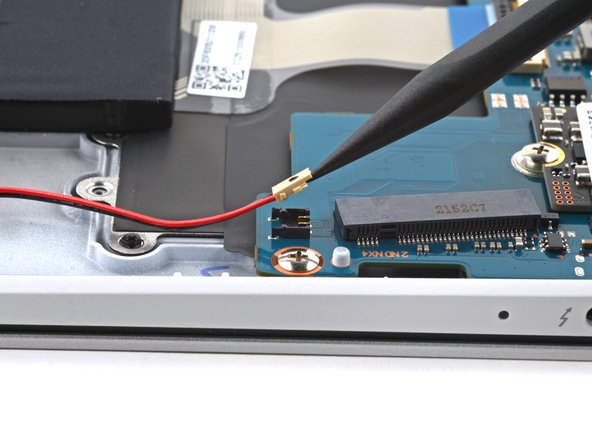
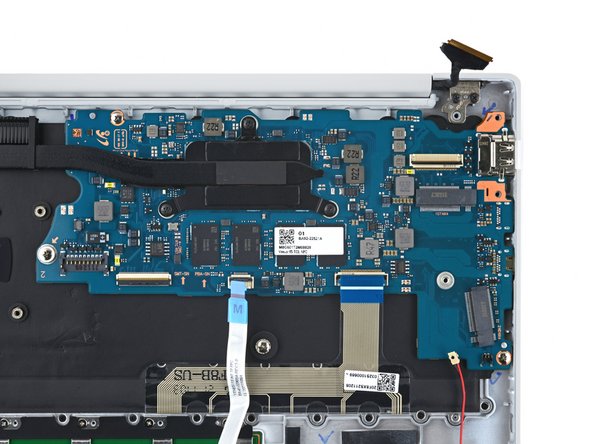
- Use a spudger to pry up and disconnect the bottom right speaker connector from the motherboard.
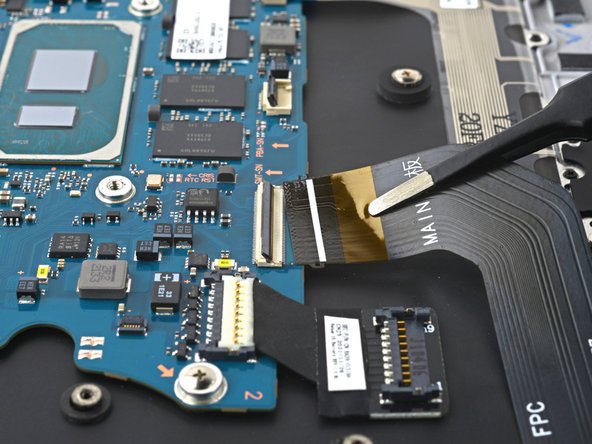
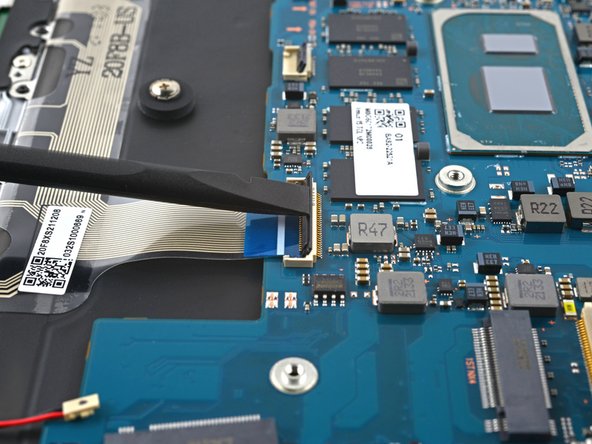
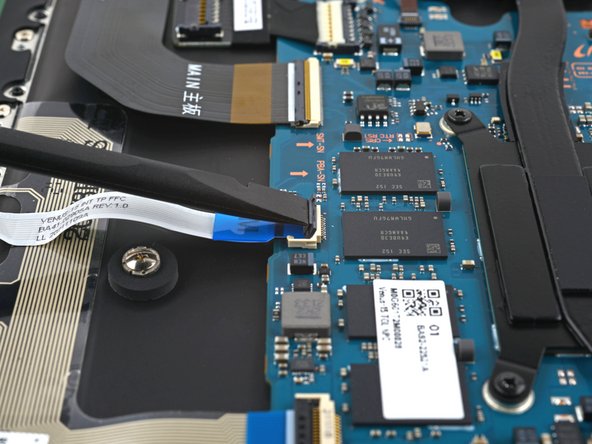
- Use a spudger to gently pry up the locking flap on the motherboard ZIF connector for the interconnect cable.
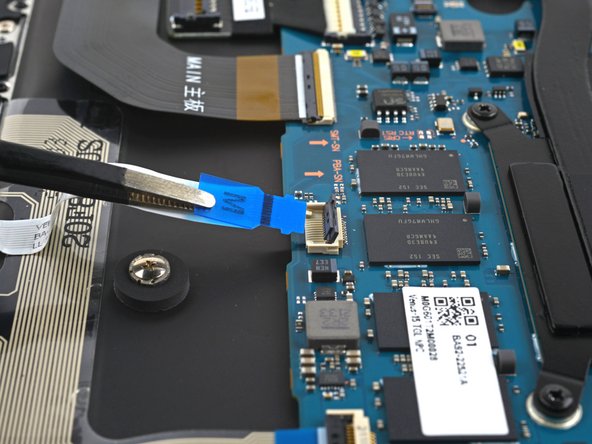
- Disconnect the interconnect cable by sliding it out from its socket on the motherboard.
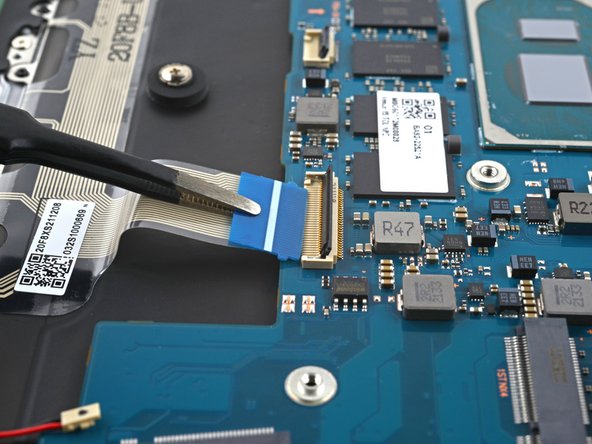
- Use your fingers, or tweezers, to remove the interconnect cable.
- Set the cable aside. You'll reuse it during reassembly.
- Insert a spudger between the frame and the bottom of the battery extender cable connector.
- Pry up and disconnect the battery extender cable connector.
- The battery extender is lightly adhered to the frame.
- Insert a spudger between the frame and the bottom of the battery extender.
- Pry up with the spudger to separate the adhesive.
- Remove the battery extender.
- During reassembly, reconnect the battery extender's connector to the motherboard before re-adhering it to the frame to ensure proper alignment.
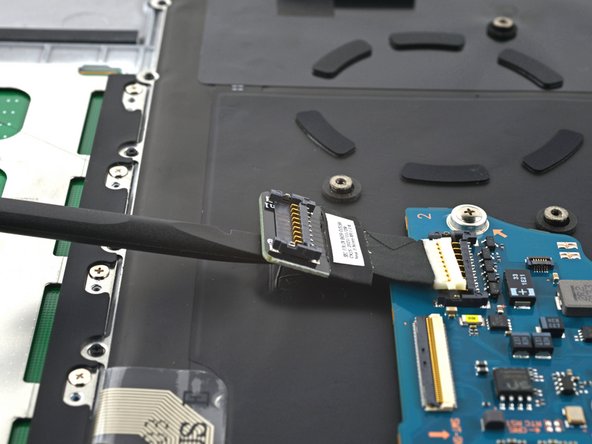
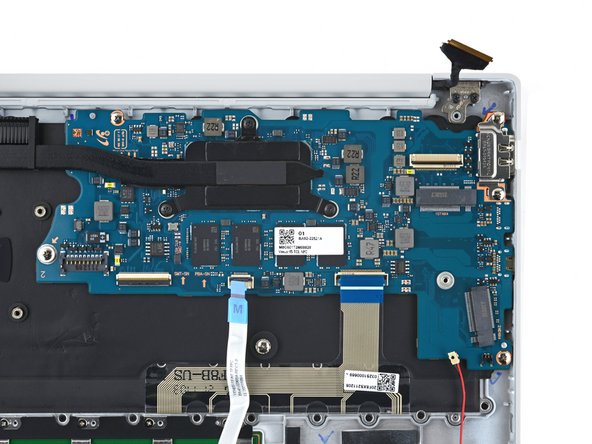
- Use a spudger to gently pry up the locking flap on the ZIF connector for the keyboard cable.
- Disconnect the keyboard cable by sliding it out from its socket on the motherboard.
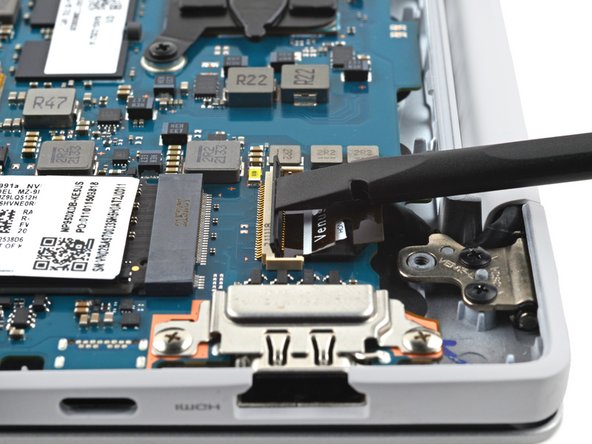
- Use a spudger to gently pry up the locking flap on the ZIF connector for the display cable.
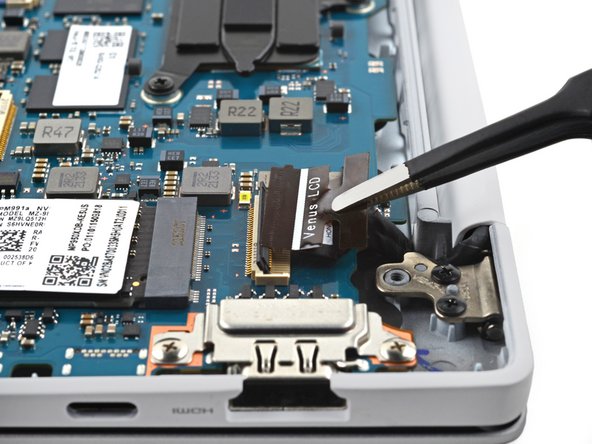
- Disconnect the display cable by sliding it out from its socket on the motherboard.
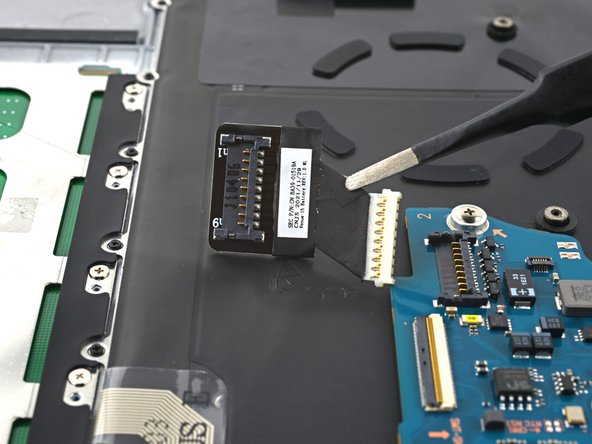
- Use a spudger to gently pry up the locking flap on the ZIF connector for the touchpad cable.
- Disconnect the touchpad cable by sliding it out from its socket on the motherboard.
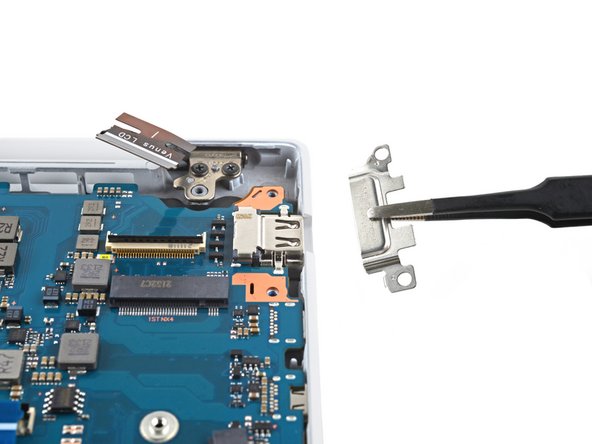
- Use a Phillips screwdriver to remove the two 3.5 mm-long screws securing the motherboard port bracket.
- Use tweezers, or your fingers, to remove the motherboard port bracket.
- Use a Phillips screwdriver to remove the three 3.5 mm-long screws securing the motherboard.
- If your laptop has a screw in the marked location, use a Phillips screwdriver to remove and transfer it to your replacement front case.
- This screw normally secures a secondary SSD drive.
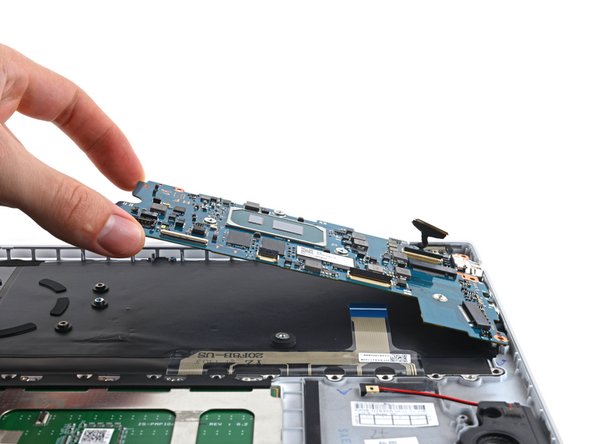
- Lift the left side of the motherboard upward to separate it from its pegs on the frame.
- Lift the motherboard straight up to separate the rest of the pegs.
- Remove the motherboard.
- During reassembly, make sure all of the connectors are above the motherboard before securing it back into the fame.