Macintosh Classic disassembly
ID: 155322
Description: The Macintosh Classic is a computer mounted in...
Steps:
- Turn the Mac so the screen is face-down
- Put a cloth under the screen to not scratch the screen.
- Unscrew the four Torx screws.
- Two screws are on the bottom side near the ports, the other two are Hidden in the handle.
- WARNING, IF YOU COME INTO CONTACT WITH THE DISCHARGE FROM THE CRT YOU RISK DYING, We recommend looking for a tutorial on YouTube
- Connect a flat screwdriver to the CRT ground cable (black cable attached to the screw) with an alligator cable.
- Slowly push the screwdriver under the red suction cup connected to the CRT and touch the metal part with the screwdriver.
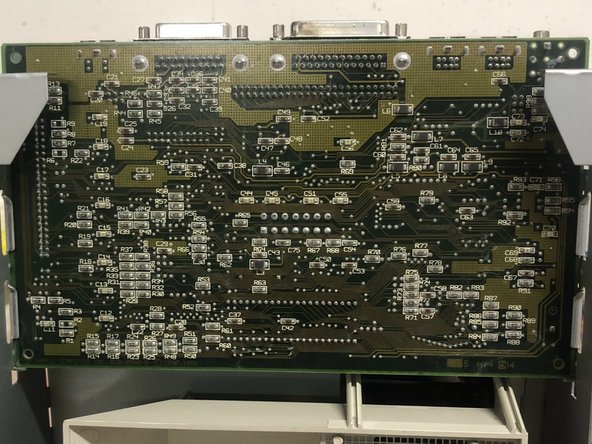
- The motherboard has no screws, so it can be removed by pulling upwards.
- Make sure to disconnect all cables.
- Remove the four screws and pay attention to the two hidden screws.
- The Floppy lock and Disk go away easily.
- WARNING - The POWER SUPPLY may still contain current inside it. Do not touch any capacitors on the power supply
- Unscrew the two screws that secure it to the chassis and remove the connected cables.
- To remove the Chassis you must use the same Torx 15 screwdriver as the handle.
- Unscrew the four screws and the Chassis can be removed.
- CAUTION: The cathode ray tube is under pressure, avoid scratching or breaking it.
- To remove the CRT, simply unscrew the four screws placed at the corners.