Samsung Galaxy S22 Back Cover Replacement
ID: 155378
Description: Follow this guide to remove or replace the back...
Steps:
- Let your phone's battery to drain below 25% before starting this repair. A charged lithium-ion battery may catch fire if damaged.
- Heat an iOpener and apply it to the bottom edge of the back cover for two minutes.
- A hair dryer, heat gun, or hot plate may also be used, but be careful not to overheat the phone—the display and internal battery are susceptible to heat damage.
- While you wait for the adhesive to soften, note the following:
- There's adhesive securing the back cover around the perimeter of the frame.
- The adhesive is strongest in the bottom right and top left corners.
- Apply a suction handle to the back cover, as close to the bottom edge as possible.
- Pull up on the suction handle with strong, steady force to create a gap between the cover and the frame.
- If you have trouble creating a gap, apply more heat to further soften the adhesive. Follow the iOpener instructions to avoid overheating.
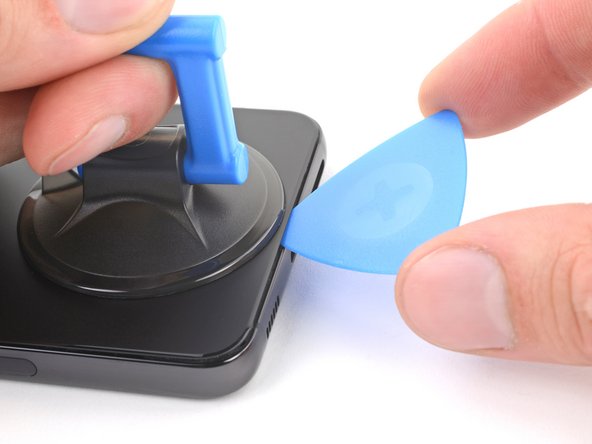
- Insert an opening pick into the gap.
- Slide the pick back and forth along the bottom edge to slice through the adhesive.
- Leave the pick inserted in the bottom left corner to prevent the adhesive from resealing.
- Apply a heated iOpener to the left edge of the back cover for two minutes.
- Insert a second opening pick at the bottom left corner.
- Slide the pick to the bottom of the camera bezel to slice the left adhesive.
- Only insert the pick up to 5 mm, as you may damage the antenna flex cable or the power button cable.
- Leave the pick in to prevent the adhesive from resealing.
- Heat an iOpener and apply it to the right edge of the back cover for two minutes.
- Insert a third opening pick at the bottom right corner.
- If the adhesive has resealed, insert the pick closer to the bottom edge.
- Slide the pick to the top right corner to slice the adhesive.
- Leave the pick in the top right corner to prevent the adhesive from resealing.
- Heat an iOpener and apply it to the top edge of the back cover for two minutes.
- Insert an opening pick in the gap at the top right edge.
- Slide the pick across the top edge and around the top left corner to slice the remaining adhesive.
- Only insert the pick up to 4 mm, as you may damage the rear cameras or flash.
- Grab and remove the back cover.
- If your cover is still sticking to the frame, slide an opening pick around the perimeter until the cover completely separates.
- During reassembly:
- This is a good point to power on your phone and test all functions before sealing it up. Be sure to power your phone back down completely before you continue working.
- Follow this guide to replace the back cover adhesive and install the back cover.