Creative Gigaworks T3 2.1 Speakers Volume Control Replacement
ID: 155395
Description: Learn how to replace the potentiometer of the...
Steps:
- Soldering iron
- Solder
- Small Philips screwdriver
- Cutting pliers
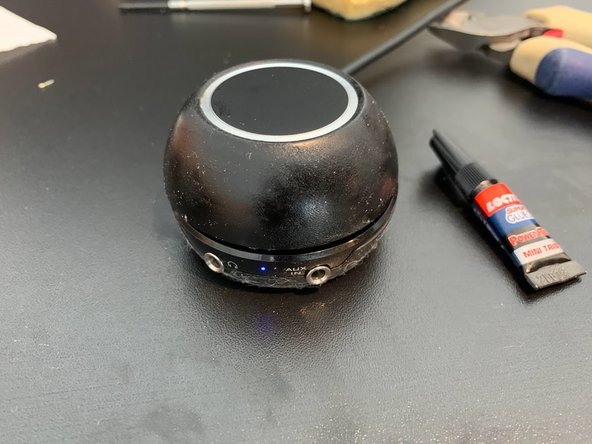
- Super glue
- New potentiometer (see details for purchase link)
- (Optional) Adjustable wrench
- Unplug your speakers and make sure they aren't powered
- Unplug the volume control cable from the bass speaker.
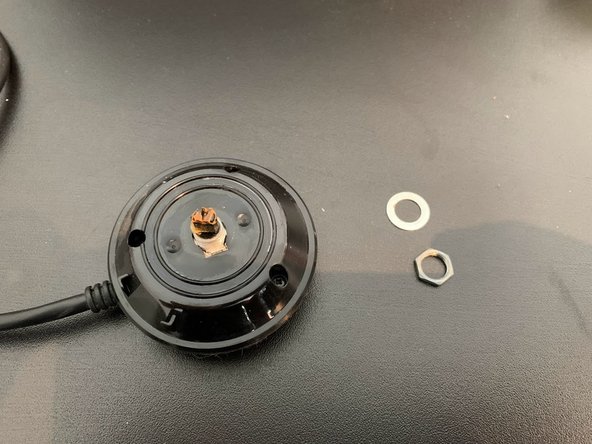
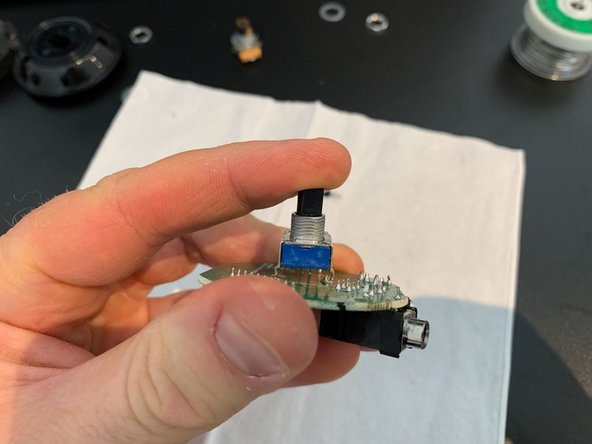
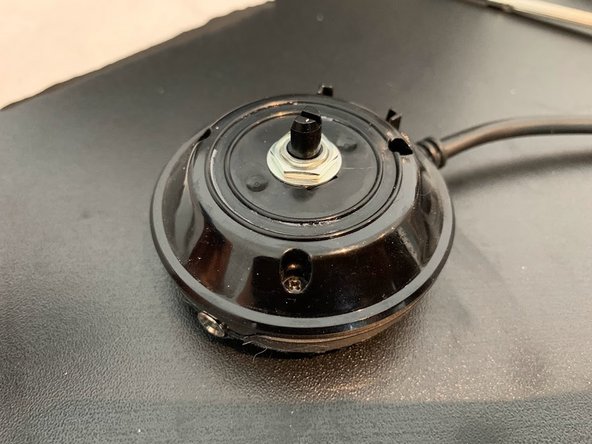
- Pull up firmly to break the glue securing the knob
- Unscrew nut
- Remove washer
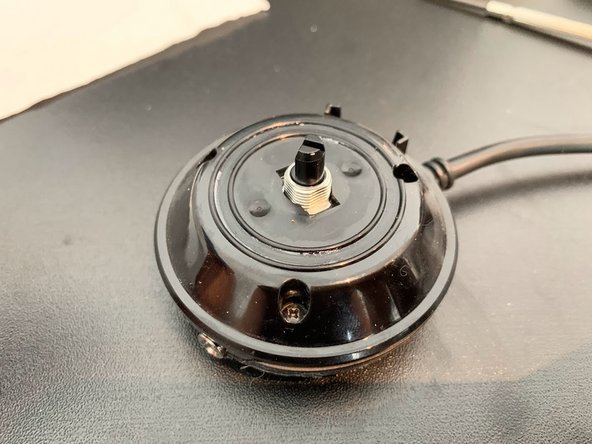
- Unscrew the 3 small screws
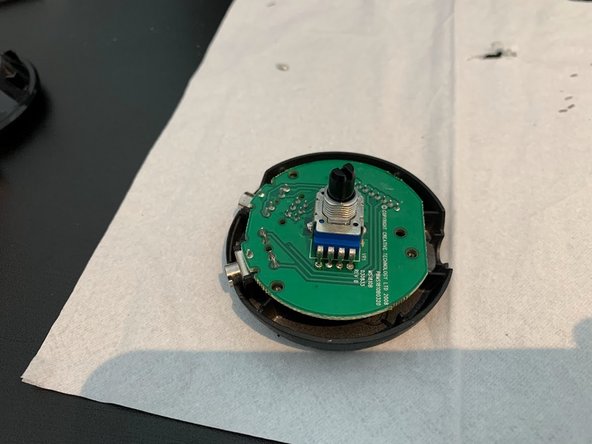
- Remove plastic cover
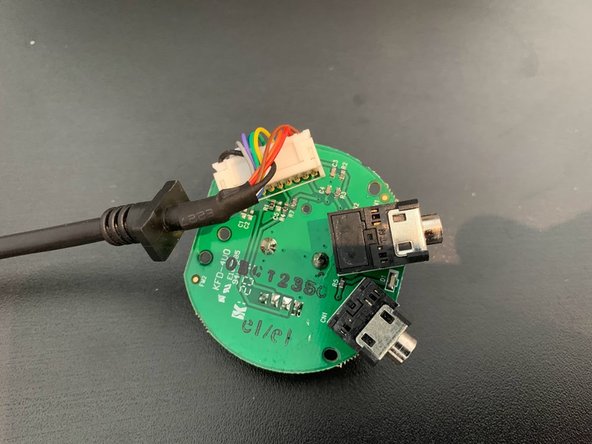
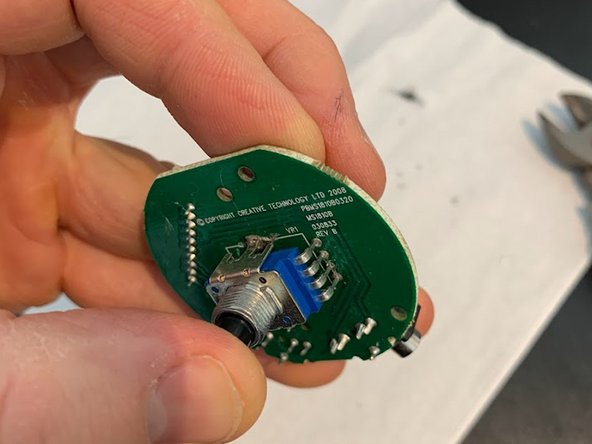
- Remove the circuit board from the base
- Unplug the white plug under the circuit board
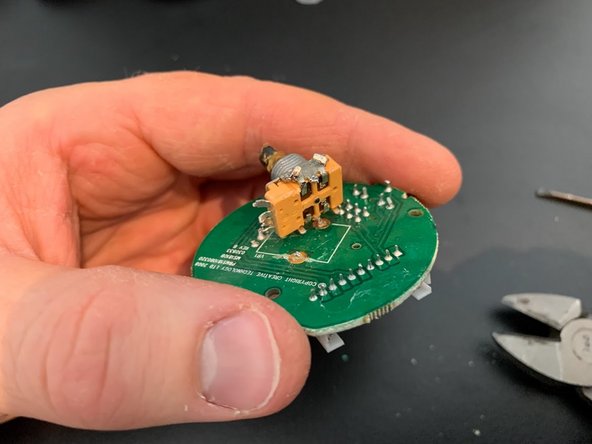
- Cut the legs of the potentiometer to separate it from the circuit board
- The legs of the old potentiometer will still be soldered to the board
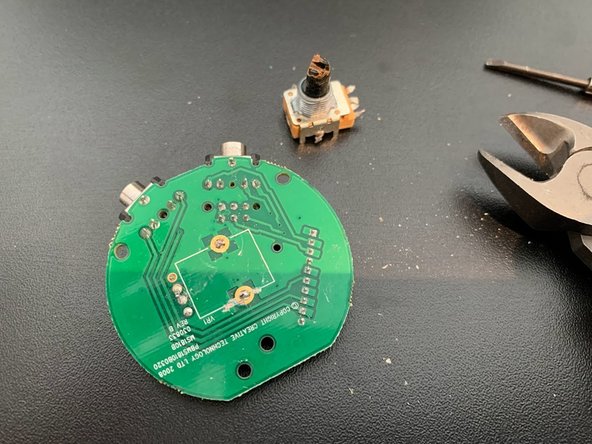
- Use the soldering iron to soften the solder and push the legs out the other side.
- Alternatively, you can use the pliers to hold the board by the tip of a leg while you heat up the solder. The board will then release and fall down.
- Repeat until you have removed all the legs from the board.
- The new potentiometer might not have its legs aligned to the contact points.
- Bend the legs until they align properly
- The legs will also be too long to place the potentiometer level to the board. Cut the legs to the right length for all legs to touch the contact points while keeping the potentiometer level and close to the circuit board.
- Hold the potentiometer firmly to the board and heat up the solder to allow the legs to set into place. Start with the two large legs.
- Repeat the process progressively until the potentiometer has sunken a little into the circuit board holes and is level.
- This step is just to position the potentiometer, the contacts don't have to be perfect.
- Temporarily replace the plastic cover to ensure the potentiometer is well positionned.
- Screw the 3 small screws to ensure everything fits.
- Remove screws and cover again.
- Solder the legs to the board, making sure contacts are good and that no two legs are soldered together.
- Plug the main cable back into the board.
- Place the board back on the base and screw the cover on.
- Place washer and nut
- Make sure your speakers are unplugged and not powered
- Plug the volume control cable into the bass speaker
- Power your speakers and check the volume control works.
- Put a few drops of super glue in the hole in the center of the control knob
- Carefully place the knob on the potentiometer and twist until they align and assemble
- Hold down for a few seconds for the glue to set
- Enjoy !