HP Pavilion x360 Convertible 14-dw1025nr Motherboard Replacement
ID: 155510
Description: If your HP Pavilion x360 Convertible...
Steps:
- Turn off the device and set it upside down. Orient the hinges away from you.
- Wedge the opening pick under the grip. Lift the end of the grip.
- Pull the grip off all the way. Repeat for the second grip.
- Use a Phillips #0 screwdriver to remove the 3 mm screw from the center bottom.
- Use a Phillips #1 screwdriver to remove the 6 mm screw from all four corners of the bottom cover.
- Use the opening pick to separate the back panel from the device.
- Begin near the hinge and carefully follow the perimeter until you have taken the pick around all four sides.
- The back panel will come loose once the pick has been around the whole edge of the device.
- Lift the panel off.
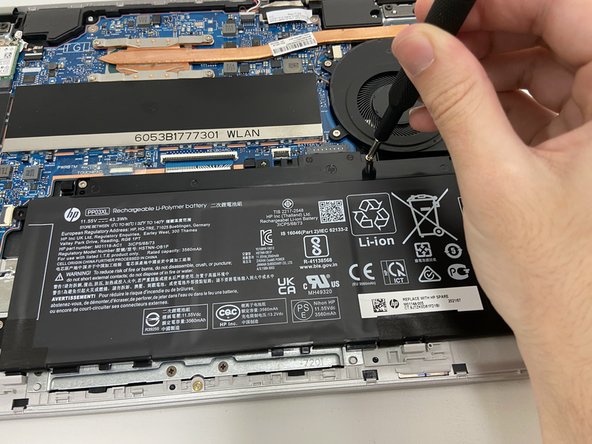
- Use a Phillips #1 screwdriver to remove all four of the 4 mm screws that secure each corner of the battery.
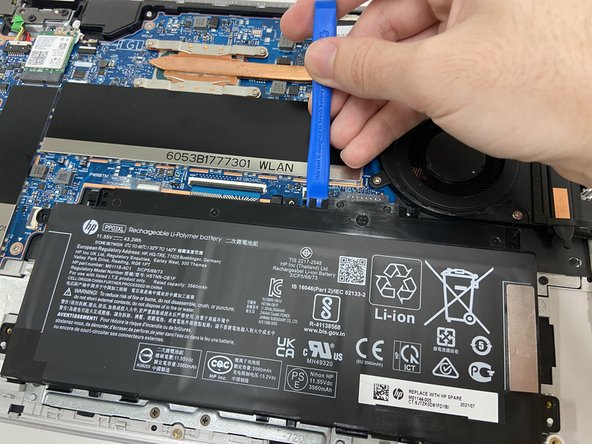
- Use the opening tool near the connector to gently apply pressure and lift the battery away from the device.
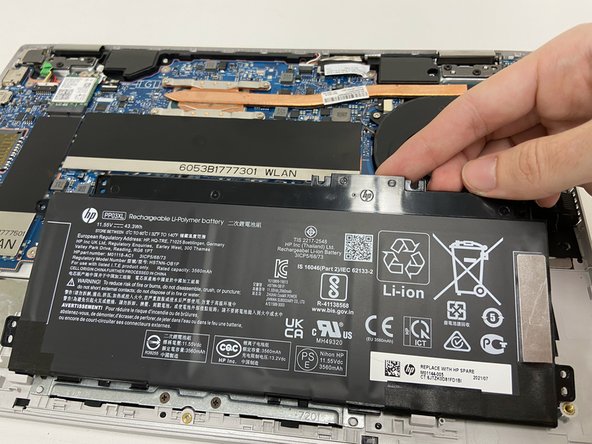
- Once loose, lift the battery from the connector side to separate it from the device.
- The stabilizer for the battery (small black part held in by the top left screw) may come loose. Leave the part in its original position.
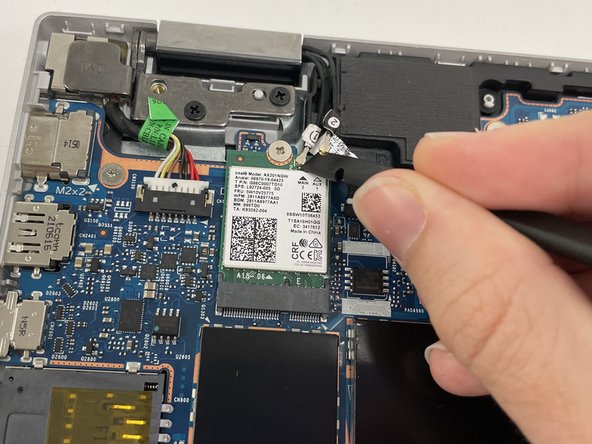
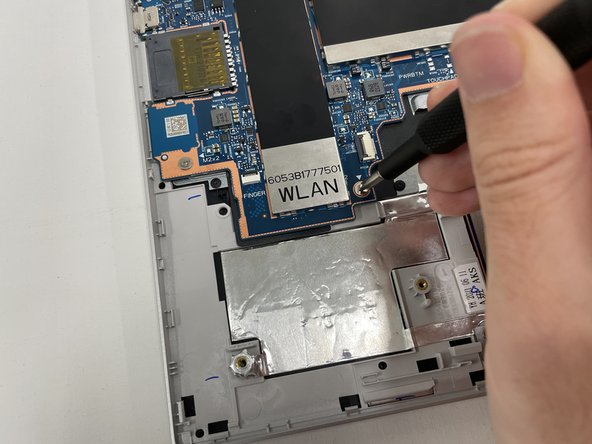
- Disconnect connectors 1 and 2 of the wireless card using the spudger.
- Use PH1 to remove the 2.5mm holding screw.
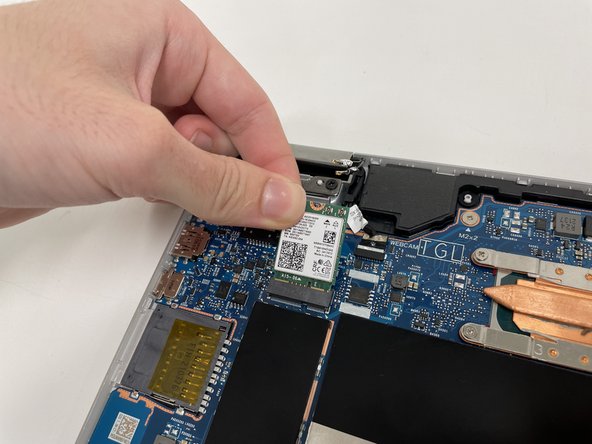
- Lift the card up and out.
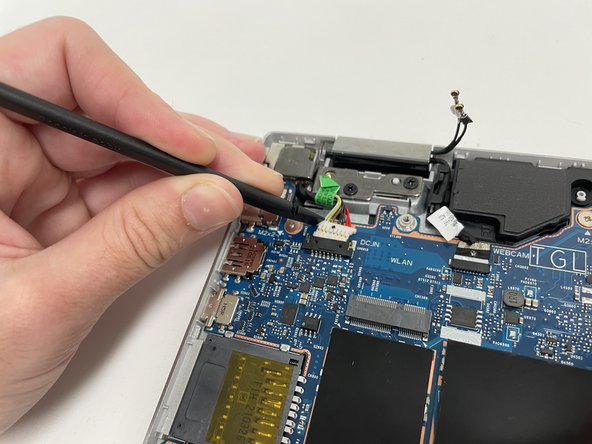
- Use the spudger to disconnect the power connector.
- Use the pointy end of the spudger to disconnect the webcam.
- There are indents on either side of the connector that the pointy end of the spudger fits into.
- Remove the sticker covering the touch sensor connector using the angled tweezers.
- Firmly pinch the plastic loop and pull straight up to disconnect the touch sensor.
- This connector is very tight and will likely make a pop sound when it disconnects.
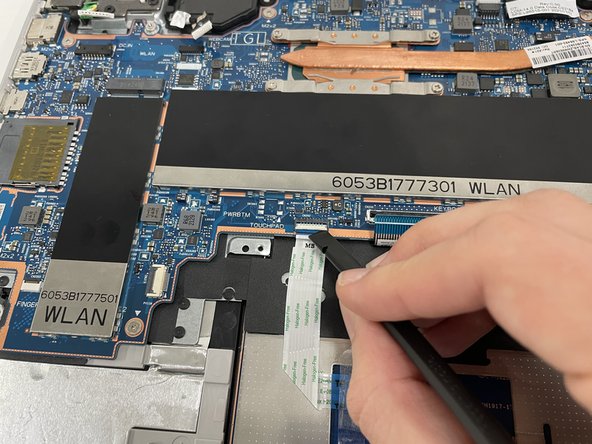
- Use the spudger to disconnect the cable to the left of the touch sensor connector.
- Be sure not to scratch or puncture the ribbon cable.
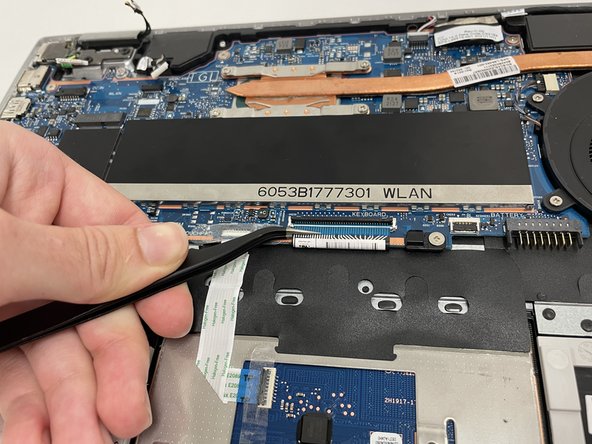
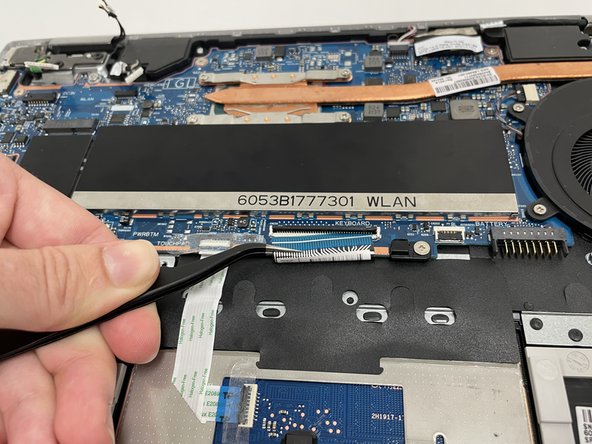
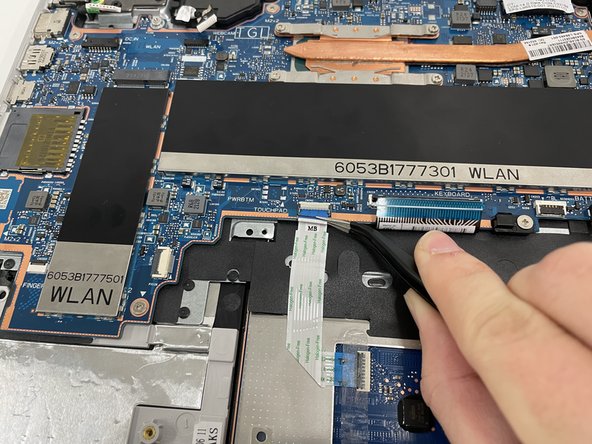
- Use the spudger to lift the black flap of the keyboard connector.
- Use the angled tweezers to carefully grip and pull out the ribbon cable.
- Use the angled tweezers to remove the clear sticker covering the trackpad connector.
- Be sure not to scratch or puncture the ribbon cable.
- Use the spudger to lift the white flap of the connector.
- Use the angled tweezers to pull out the ribbon cable.
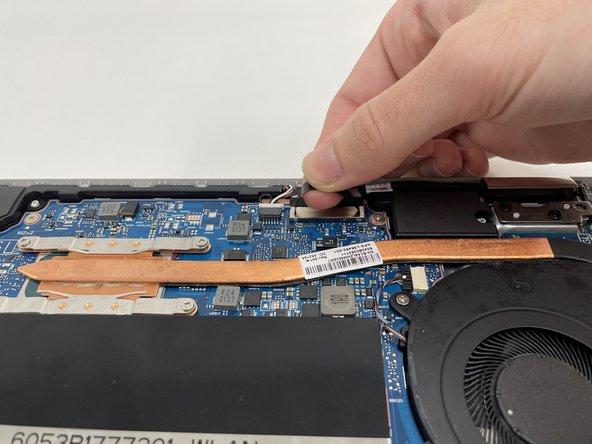
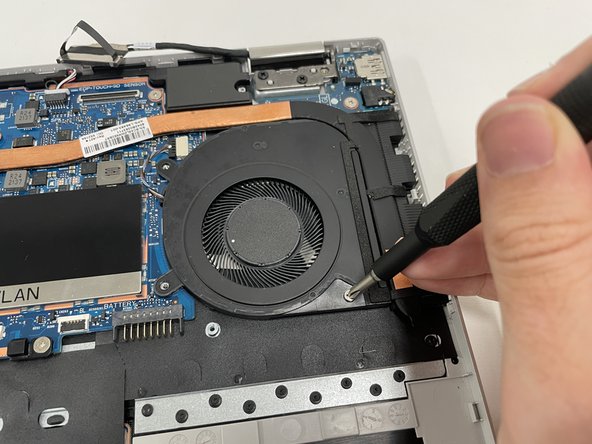
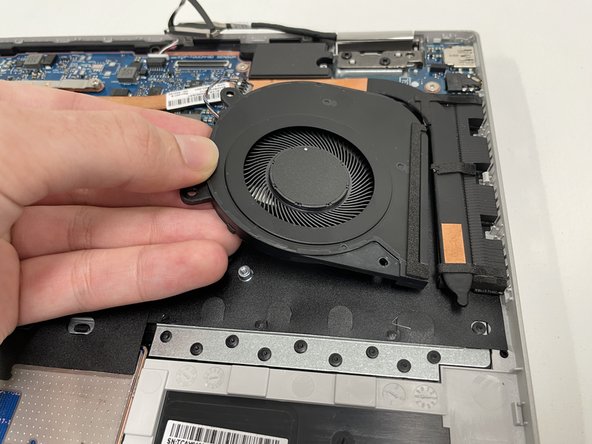
- Use the spudger to disconnect the fan cable.
- Use PH1 to remove the 3 4mm screws holding the fan.
- Lift the fan up and away from the heat pipe.
- Use PH1 to remove the 7 2.5mm screws holding down the motherboard
- Both battery stabilizers (small, black plastic parts) will be loose.
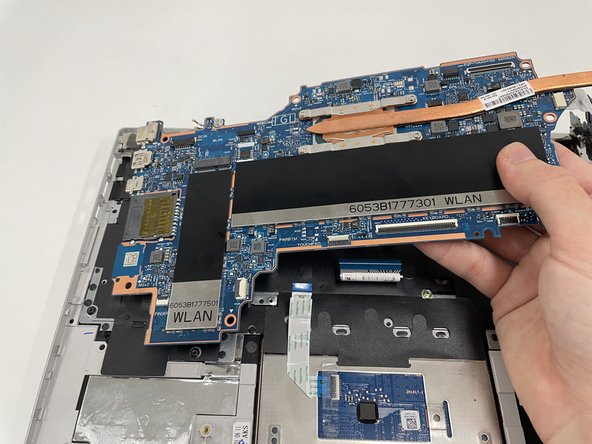
- Slightly lift the heat pipe with one hand.
- Using your other hand, lift the small part of the motherboard up and away from the laptop frame.
- The silver section under the heat pipe is a ribbon cable that connects the small piece to the large section of the motherboard.
- Lift the right side of the large portion of the motherboard up and away from the frame of the laptop.