GameSir T4 Pro Directional Pad Replacement
ID: 155549
Description: This guide will help you repair the directional...
Steps:
- Using the Phillips 1 screwdriver, gently turn the screw to the left (repeat this step until all four screws are taken out).
- Use your iFixit opening tool to break the seam of the back of your controller.
- Be careful when pulling apart, as the charging port wires are connected to both sides of the controller.
- Using the plastic spudger, wiggle the connection out of place.
- Apply a slow, but consistent pull to the old 600 maH battery.
- Attach new battery onto the pad.
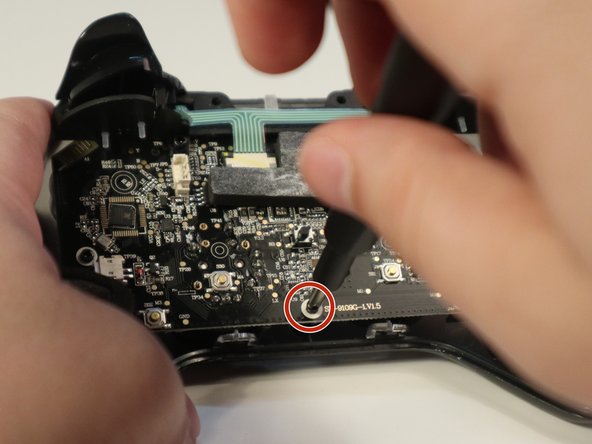
- To get to the directional pad (d-pad), remove the three 5mm screws on the motherboard.
- Disconnect all white connectors from the motherboard.
- Carefully pull the motherboard away to reveal the front panel.
- Remove the d-pad from the front panel.
- Place your new d-pad in place.