Google Pixel 5 Screen Adhesive Installation
ID: 155635
Description: This repair guide was authored by the iFixit...
Steps:
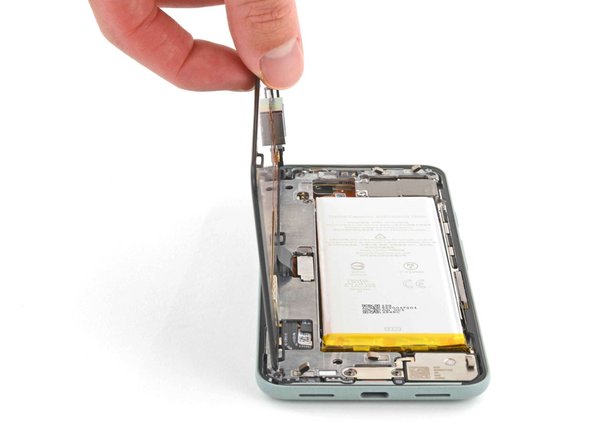
- Peel off as much adhesive as you can with a pair of tweezers.
- Use a spudger to scrape away any lingering adhesive.
- Don't use metal tools to scrape away adhesive as this will damage the frame.
- For best results, clean the area underneath the removed adhesive with 90% or greater isopropyl alcohol to prep the surface for the new adhesive.
- Repeat the previous step for the screen adhesive.
- Don't use metal tools to scrape away adhesive as this will damage the screen.
- Don't use isopropyl alcohol near the front camera bracket as it will loosen its adhesive.
- Use the holes in the top right and bottom left corners of the frame to correctly align the adhesive:
- The top right hole is circular
- The bottom left hole is oblong
- Peel away the clear plastic lining to expose the frame side of the adhesive.
- Be very careful during this step! The adhesive is very sticky and can't be repositioned once it sticks. Misaligned adhesive can lead to an improper seal.
- Lower the adhesive onto the frame.
- Use the holes in the top right and bottom left corners to properly align the adhesive during installation.
- Use the flat end of a spudger or your fingernail to press down on the adhesive.
- Slide along the perimeter to secure the adhesive to the frame.
- Use your fingers to grasp the blue plastic lining near the center and peel it away from the phone.
- This should leave a thin perimeter of adhesive still covered by blue plastic lining.
- Follow the screen replacement guide in reverse order and connect the screen to your Pixel.
- Peel away the blue plastic lining to expose the perimeter adhesive.
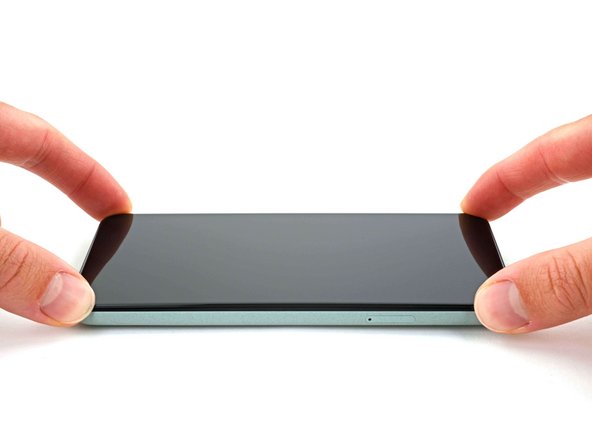
- Position the screen so it lays on the frame.
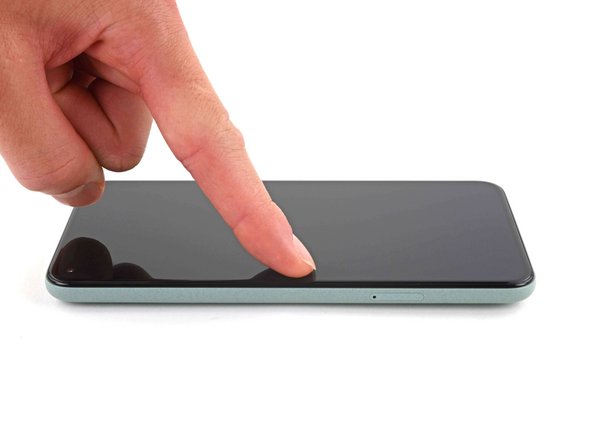
- Press down the corners of the screen to secure them to the frame.
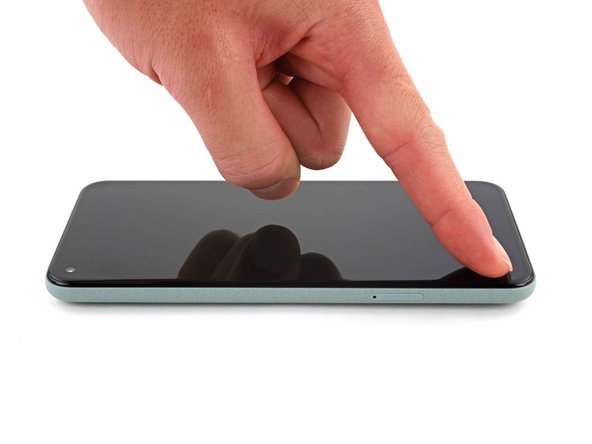
- Press down on the edges of the screen.
- Slide along the perimeter to secure it to the frame.
- You can heat the perimeter of the screen to soften the adhesive and help it bond more securely.