Acer Aspire V5-131-2680 Motherboard Replacement
ID: 155690
Description: If you want to upgrade or replace a broken...
Steps:
- Turn the Acer Aspire upside down, with the stickers facing up.
- Unplug the charger and make sure the device is off.
- Unscrew the twenty M2 x 6 screws using a Phillips #00 screwdriver.
- Unplug the battery and disconnect all the components connected to the motherboard.
- Pry open the bottom of the laptop using the opening tool.
- Disconnect the two components that are attached to the motherboard and keyboard.
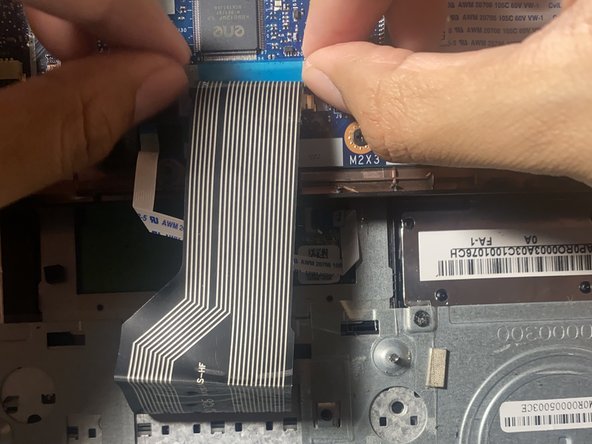
- The large ribbon cable is disconnected by pulling apart the two white tabs found on each side of the connection and lifting the cable out.
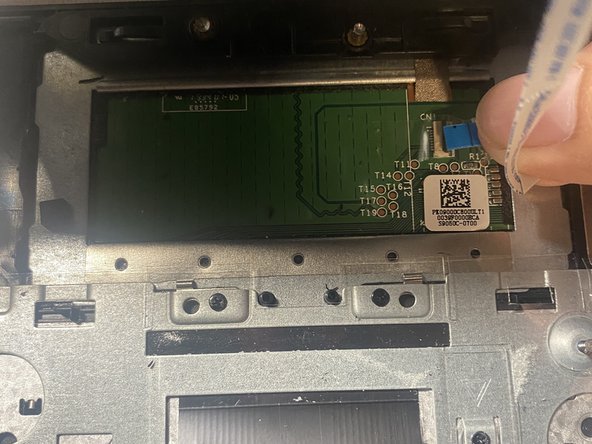
- The small wire can be removed by simply pulling on the blue tape
- Unscrew the three M2 x 3 Phillips screws on the motherboard.
- Disconnect all the big and small wires connected to the motherboard.
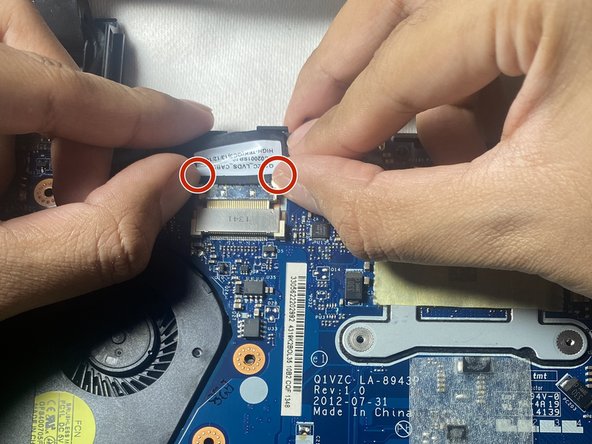
- The big wires must be squeezed on each side of the connection to release the tabs, then pull the cable out.
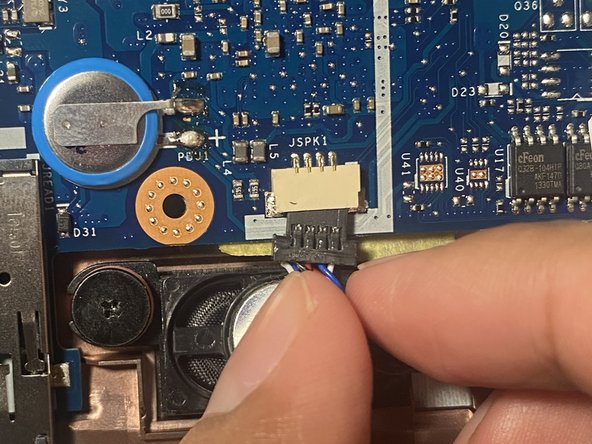
- The small wires can be removed simply by pulling the cable out of the connection
- Gently pull the motherboard up and to the right at the same time.
- Once the motherboard is out, take off the tape that is holding the fan and the motherboard together. Push the fan down and it will come off.