How to Fix a Stuck Button(s) On an Xbox One Controller 1697
ID: 157269
Description: The Letter Buttons (A,B,X,Y) can become jammed...
Steps:
- Using a prying tool, unclip and remove the back parts of each handle.
- Remove the battery in the center of the back panel.
- Using a TR9 Torx screwdriver, remove the top and bottom screw of each handle and the one screw within the battery area (five screws total).
- Note: You will have to remove the warranty sticker or puncture it to reach the battery-area screw.
- Remove the front and back plate of the controller by pulling them apart.
- Carefully remove the right and left thumbsticks by pulling them off of the controller.
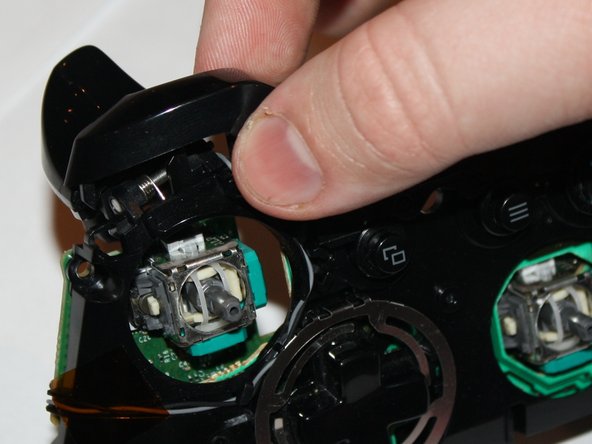
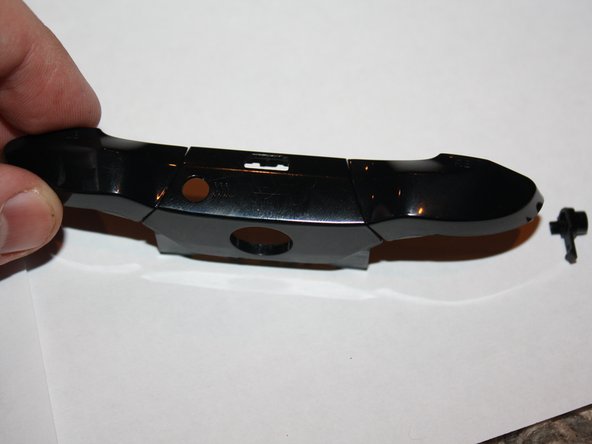
- Using your hands or a prying tool, gently remove the top bumper strip from the top of the controller.
- After removing the bumper piece, a small piece know as the sync button may come off. Make sure to set this aside as it will be important for the reassembly of the controller.
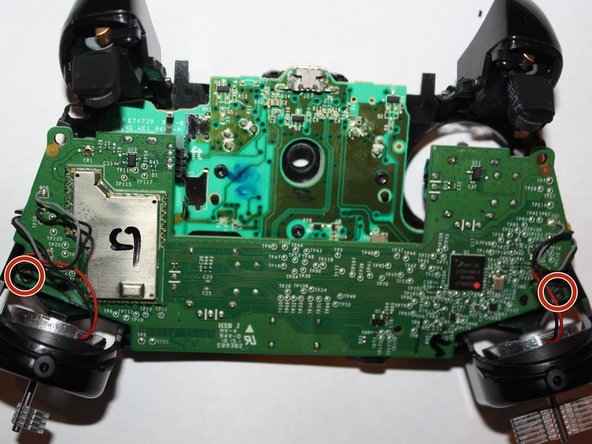
- Using a TR6 Torx screwdriver, remove the two screws on the top motherboard and unclip it.
- Be very careful after removing the screws from the top motherboard panel. While de-soldering is not required, you still must be careful to not damage the wires for the rest of the repair.
- After unclipping the top motherboard, the 3.5 mm audio jack piece will fall out. Set this aside for the reassembly of the controller.
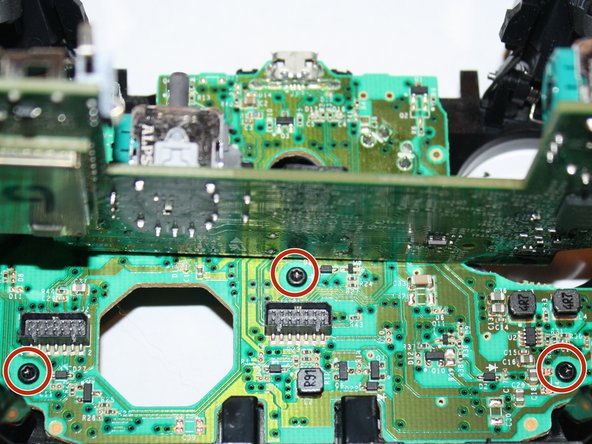
- Using the TR6 Torx screwdriver, remove the six screws on the bottom motherboard.
- Carefully remove the motherboard from the controller.
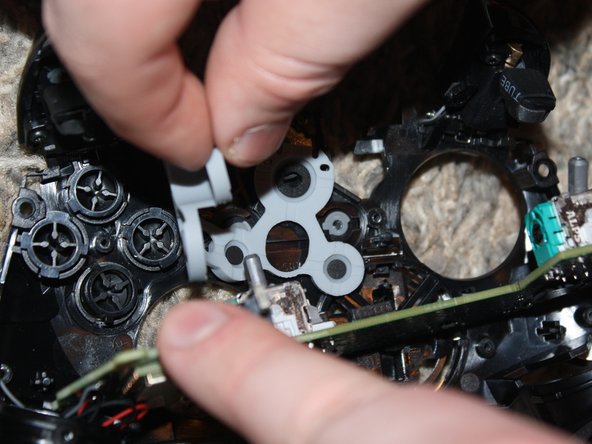
- Remove the rubber button cover holding the buttons in the controller.
- Once the cover has been removed, flip the controller over to dump out all the plastic buttons.
- Set aside all the buttons as they will be important for reassembly.
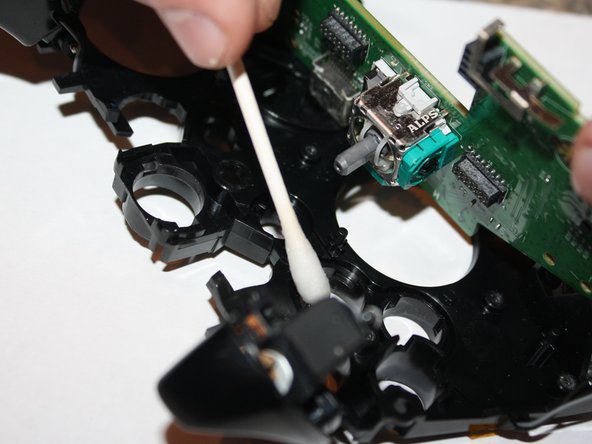
- While holding a q-tip, gently pour a small amount of rubbing alcohol onto the q-tip.
- Use the the q-tip to rub the inside where the buttons go in order to clean out any debris or dirt that might be in there.